Rack mounting, Restoring factory default setting – Toa DP-K1 User Manual
Page 17
17
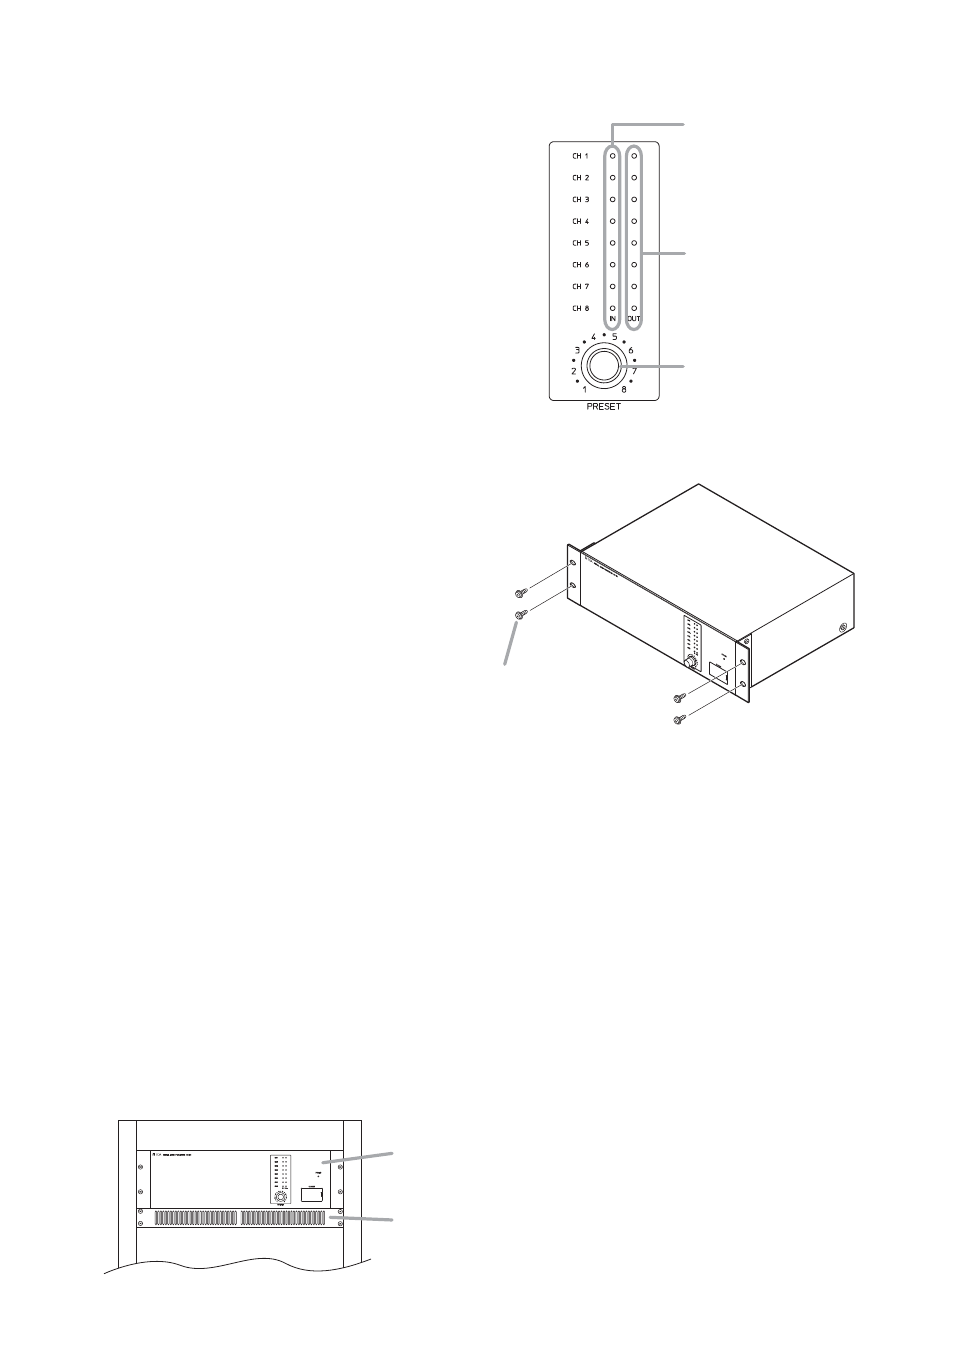
10. RACK MOUNTING
Mount the unit in an equipment rack using the
supplied rack-mounting screws.
Note
The supplied rack mounting screws are special
screws for the TOA equipment rack.
They cannot be used for other racks.
DP-K1
Rack-mounting screw
with plain washer
5 x 12 (supplied)
Cautions
• Install the unit as far as possible away from amplifiers or other equipment that generate heat.
• The socket-outlet shall be installed near the equipment and the plug (disconnecting device) shall be easily
accessible.
• When installing the unit in an equipment rack, pay attention not to block the ventilation slots on the unit's
bottom. It is recommended that a Perforated panel of over 1-unit in size be mounted directly below the unit
as shown below.
DP-K1
Perforated panel
(panel with ventilation slots)
9. RESTORING FACTORY DEFAULT SETTING
Step 1. Switch off the unit's power.
Step 2. Switch on the power while holding down the
preset knob.
All input channel indicators light up.
Step 3. After 5 seconds, release the preset knob when the
indicators extinguish and all output channel
indicators light up.
The internal parameter is restored to the factory
default setting.
Note
The network settings are not initialized.
Output channel indicators
Input channel indicators
Preset knob
Attentions
• Installer l'appareil aussi loin que possible des amplificateurs ou autres équipements générant de la chaleur.
• La prise doit être installée à proximité de l'équipement et la fiche (dispositif de déconnexion) doit être
facilement accessible.
• Lors de l'installation de l'appareil en bâti, veiller à ne pas obstruer les évents de ventilation sur le dessous. Il
est recommandé de monter un panneau perforé plus grand que l'appareil directement sur ce dernier,
comme indiqué ci-dessous.