Calibrating the co, Display, Calibrate the co – Shellab SCO31 User Manual
Page 28: E 28, Operation (continued), Alibrating the, Isplay
28 |
P a g e
OPERATION (CONTINUED)
C
ALIBRATING THE
CO
2
D
ISPLAY
Note: The CO
2
display and sensor come calibrated from the factory to a 5% concentration at 179
Feet (54 meters) above sea level.
The calibration procedure verifies the accuracy of the CO
2
reading and
corrects for any measurement errors. Calibrate as often as required by your
laboratory or production protocol, or regulatory requirements. Sheldon
Manufacturing recommends calibrating the CO
2
display whenever the SCO
Incubator is installed in a new environment.
Always use a CO
2
reference sensor regularly calibrated to a concentration
accuracy of 0.1%. For best results use a digital gas analyzer with a sample
collection tube. The accuracy of the calibration process is limited by the
accuracy of your reference device.
The incubator should be calibrated at the CO
2
concentration level it will be set to
during your incubation application or process. Wait until the unit has stabilized at its
CO
2
set point before starting the calibration procedure. Stabilized means there have been no
changes in concentration on the unit’s CO
2
display for 1 hour while the unit is sitting undisturbed.
Failure to wait until the unit is stabilized prevents an accurate calibration from being carried out.
Procedure continued on next page
Calibrating the CO
2
Display
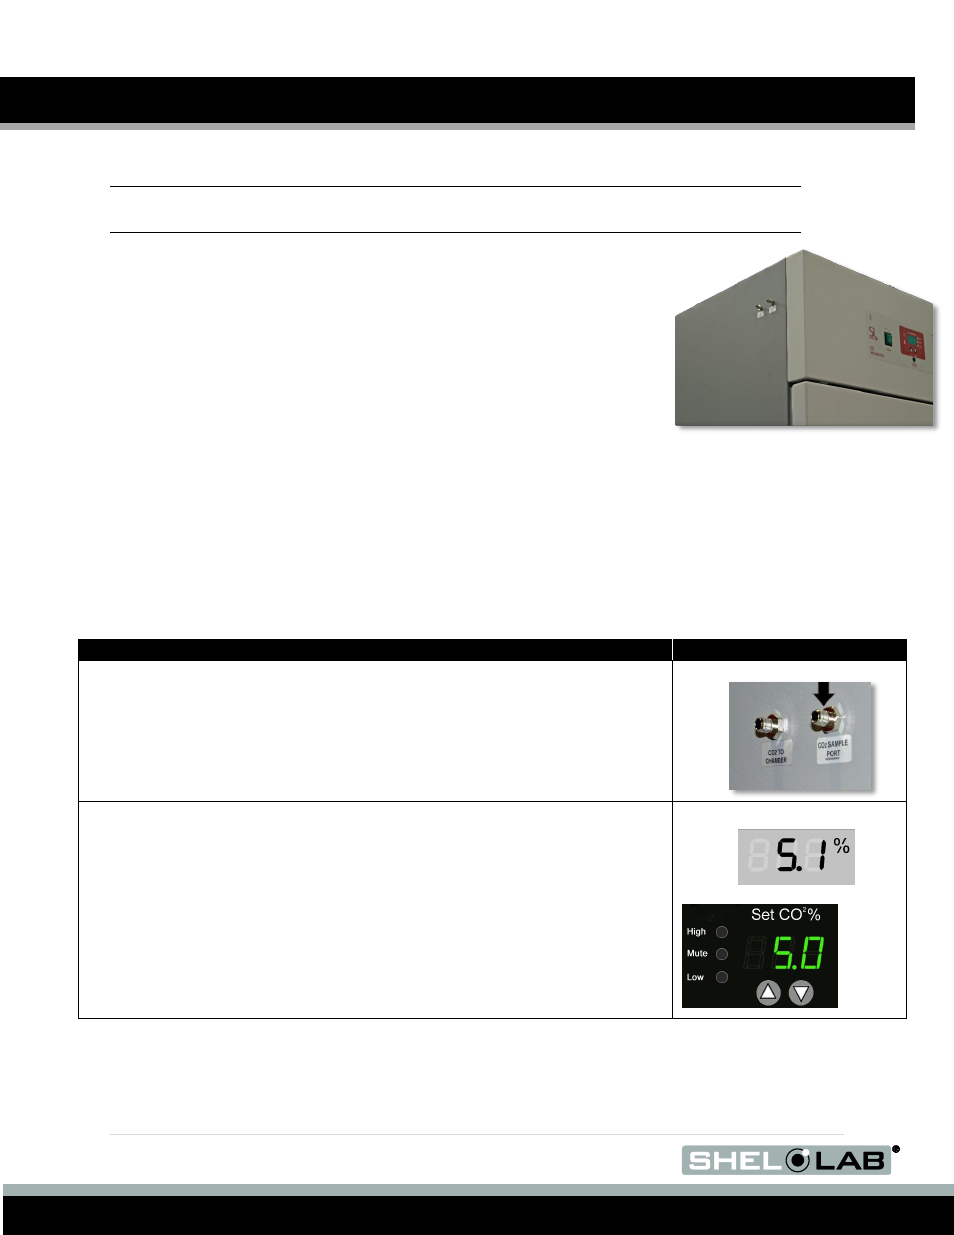
1. Connect a digital CO
2
analyzer sample tube to the sample port on
the top left side of the Incubator.
2. Measure the current CO
2
percentage (%) inside the chamber with
the CO
2
analyzer.
a. Compare that reading with the percentage (%) shown on
the incubator’s CO
2
display panel.
b. If the readings are the same or fall within your laboratory
protocol acceptable range the incubator is now
calibrated for CO
2
. The Calibrate CO
2
Display
procedure is complete.
Reference Device
CO
2
Sample Port Location