Electronic air cleaner (eac), Humidifier, Optional humidistat – Reznor B6BM Unit Installation Manual User Manual
Page 13: Startup & adjustments, Before you start the unit, Warning
13
When electric heat packages with circuit breakers are
field-installed, the circuit breaker may be used as a
disconnecting means in most applications. Reference
the NEC and local codes for disconnect requirements.
If a heater kit is installed:
The B6BM air handler is shipped from the factory without
an electric heater kit installed. If Electric heat is desired,
the H6HK heater kit may be purchased separately and
field installed. Determine the correct size heater kit for your
unit by referring to the list below or the units rating label.
A Cabinet ....................................................... 15Kw max
B Cabinet ....................................................... 20Kw max
C Cabinet ....................................................... 30Kw max
1. Connect the 2 wire plug of the air handler to the mating
2 wire plug of the heater kit.
2. Connect the line voltage leads to the circuit breaker or
terminal block provided.
3. Connect the heater kit plug with the mating receptacle
on the air handler control board.
If a heater kit is not installed:
1. Remove the 2 wire plug of the air handler by cutting the
wires and discarding the plug.
2. Strip the ends of the 2 air handler wires and connect
to the line-voltage leads with the 2 wire nuts provided.
Electronic Air Cleaner (EAC)
The unit has an output to power an electronic air cleaner
when the blower is running. This output is rated to 1.0
amp at 208/240V.
Humidifier
The unit has an output to power a humidifier when the
blower is running. This output is rated to 1.0 amp at
208/240V.
Optional Humidistat
(B6EM or B6VM Models Only)
The optional humidistat may be installed in the return air
duct to provide excellent humidity control when needed
and maximum system capacity and energy efficiency when
humidity levels are normal. The humidistat senses when
humidity in the return air stream is above a preset level
(field adjustable) and sends a signal to the motor to reduce
the airflow so that more moisture may be removed until the
humidity level drops. The air handler is pre-programmed
for humidistat operation.
Install the humidistat in the return air duct as directed in
the installation instructions included with the kit. Wire the
humidistat through the low-voltage wire entrance in the
air handler to the control board terminal marked
DEHUM.
See
. Wire
the humidistat to close on rise in humidity.
STARTUP & ADJUSTMENTS
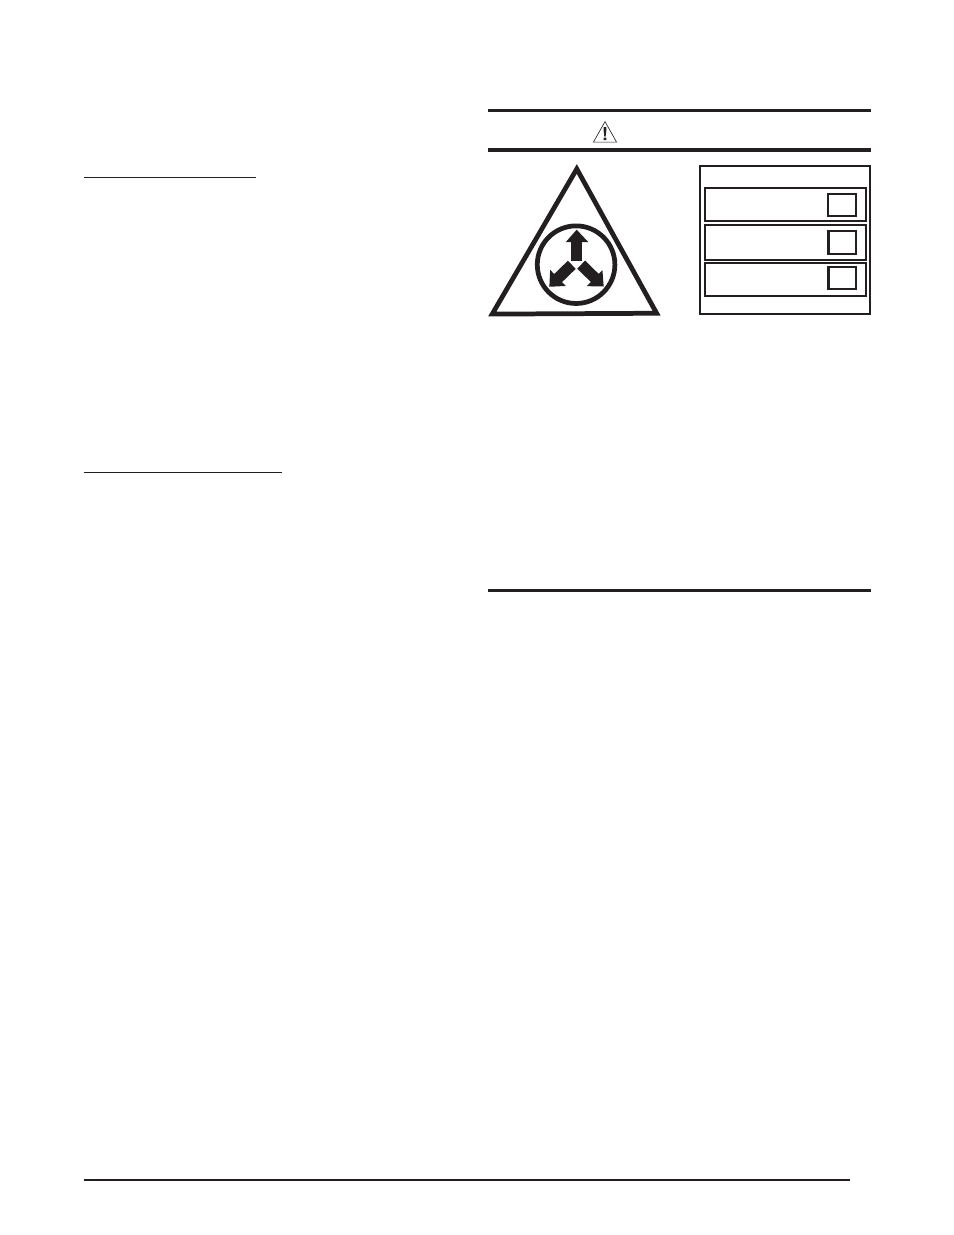
WARNING:
The evaporator coil is shipped from the factory
with a nitrogen charge. Use caution when
preparing coils for field connections. If repairs
make it necessary for evacuation and charging,
it should only be attempted by qualified,
trained personnel thoroughly familiar with this
equipment. Some local codes require licensed
installation service personnel to service this type
of equipment. Under no circumstances should
the equipment owner attempt to install and/or
service this equipment. Failure to comply with
this warning could result in equipment damage,
personal injury, or death.
NITROGEN
HEALTH
FLAMMABILITY
REACTIVITY
0 Minimal Hazard
1 Slight Hazard
1
0
0
Before You Start the Unit
Prior to start-up, complete the following inspections:
√ Verify the unit is level and properly located with adequate
clearances for servicing the unit as shown in
.
√ Check condensate drain line(s) for proper drainage.
√ Verify the surrounding area and top of the unit is free
from obstructions and debris.
√ Check all duct connections. Make sure the duct work
is adequately sealed to prevent air leakage.
√ Check all coil connections for leaks.
√ Verify that the line voltage power leads are securely
connected and the unit is properly grounded. Make sure
all doors are installed before restoring power to the unit
√ Verify the thermostat is wired correctly. Make sure all
low voltage wires are securely connected.
√ Verify the power supply branch circuit overcurrent
protection is sized properly.
√ Verify filter is properly and securely installed.
IMPORTANT: Before starting the unit, install the initial
charge on units that are factory shipped with a nitrogen
holding charge:
1. Read all installation instructions first.
2. Purge the nitrogen holding charge.
3. Evacuate the unit to 350 - 500 microns.
4. Allow the unit to remain under vacuum for at least 30
minutes.