System options, System confi guration – Citation Stereo Receiver User Manual
Page 40
40
System Confi
guration
The last item on the Program Setup menu determines whether either or both triggers are activated
when the program is selected. Press the
¤
Menu Control
button
one more time, and use the
‹
or
›
Menu Control
buttons
to determine trigger status. If you wish to have either trigger acti-
vate for certain, but not all, sources, the
Power
option for trigger programming must be turned
OFF
in the
System Options
sub-menu titled
Program Triggers
.
As described earlier, a typical use for Trigger 1 is to turn on audio power amplifiers. If you are using
power amplifier(s) which may be controlled by 6- to 12-volt trigger signals (see the Specifications
section on page 69), Trigger 1 would be set to be
ON
for all programs.
Typical uses for Trigger 2 would be the control of devices associated with video sources. These
include motorized screens and light-control devices such as electrically-operated blinds or shades. If
this is what a Trigger 2 will be used for in your installation, it would be set to
ON
only in programs
with which a video source is associated, and would be left
OFF
in audio-only programs.
System Options
There are a number of secondary system controls, many of a “housekeeping” nature, whose settings
are normally set only once, at the time of installation. These are set at the factory to suit the needs of
most users, and need not be adjusted unless you wish to change one or more settings. These adjust-
ments are grouped in the “System Options” menu.
If you do not need to change the details of the on-screen video display, are not adding infrared sen-
sors to the system, how loud the system is when it is turned on or set to Mute, or the operation of
the two trigger outputs, you may now turn to “Operating the Citation 5.0” on page 44. You may
always return to these adjustments at a later time, should you decide to change one or more settings.
To enter the System Options menu, press the
Menu
button
˙
and then the
¤
Menu Control
button
seven times, or press the
⁄
Menu Control
button
once, until the words
System Options
are
highlighted. Press the
›
Menu Control
button
once, and the
SYSTEM OPTIONS
menu will appear
(Figure OSD-10). As each setting is adjusted, you may proceed to the next one or exit the menus by
pressing the
Menu
button
˙
until you reach the
Main Menu
, and pressing
Menu
once more.
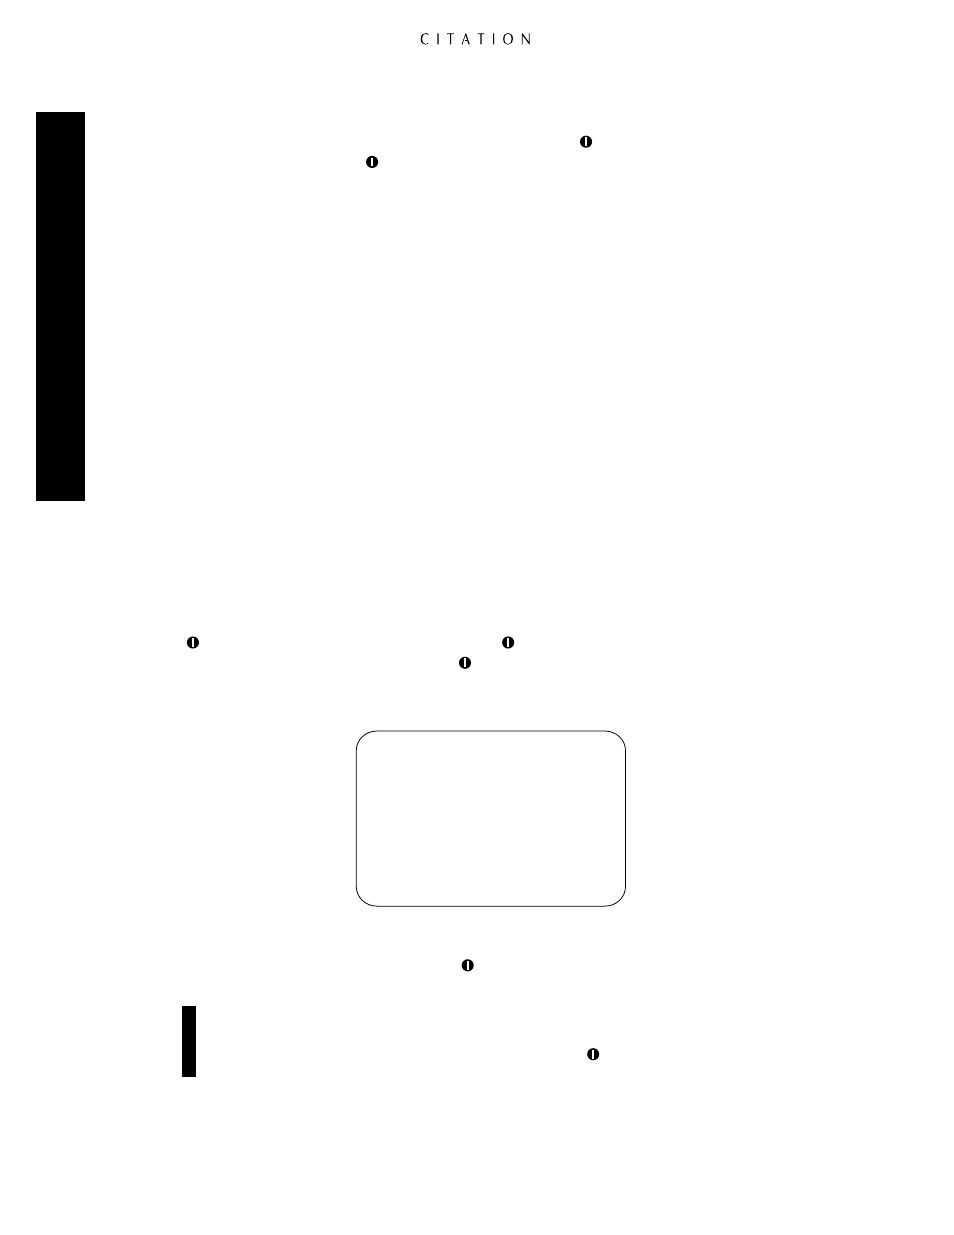
Figure OSD-10
The first menu listing refers to the position of the on-screen video display on your video monitor.
Press either the
‹
or
›
Menu Control
buttons
to select whether the display will appear at the
TOP
,
MIDDLE
,
BOTTOM
, or will not appear (
OFF
).
Note:
Choosing
OFF
will immediately blank the on-screen video display, and you will have
to use the front panel display to continue. Or, if no other menu control buttons have been
pressed, simply depress either the
‹
or
›
Menu Control
button
once; the on-screen display
will reappear.
S y s t e m O p t i o n s
<
M a i n M e n u <
O S D P o s i t i o n B O T T O M
V i d e o S t a n d a r d N T S C
I R M o d e F R O N T
P o w e r O n V o l 0 3
M u t e V o l u m e 0 0
O w n e r C i t a t i o n
P r o g r a m T r i g g e r s
>