System confi guration – Citation Stereo Receiver User Manual
Page 35
35
System Confi
guration
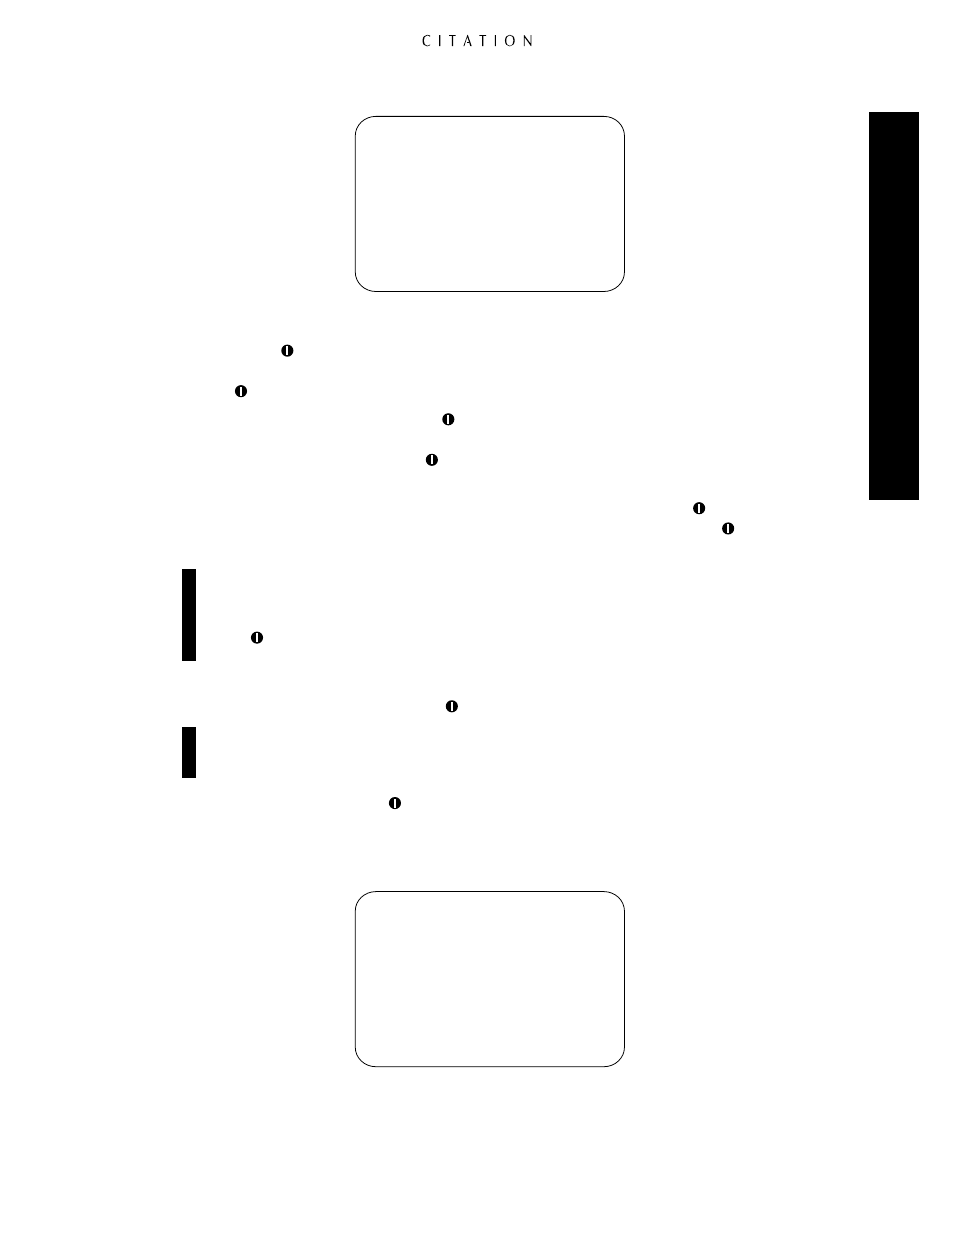
Figure OSD-5
After the distance information has been entered for the Front Left/Right speakers, press the
¤
Menu
Control
button
so that
Center Spkr
is highlighted, and repeat the procedure for the distance
from the center channel speaker to the prime listening position using the
‹
or
›
Menu Control
buttons
.
Finally, press the
¤
Menu Control
button
so that
Surrounds
is highlighted, and repeat the
procedure once more for the distance from the surround speakers to the prime listening position
using the
‹
or
›
Menu Control
buttons
. If separate side and back surround speakers are installed,
enter the distance to the closer speaker.
When all distance information has been entered, press the
¤
Menu Control
button
so that the
<
Spkr Setup Menu <
is highlighted, and then press the
‹
Menu Control
button
. This will
return you to the main
Speaker Setup
menu (Figure OSD-4).
Note:
The second line on most menu screens, directly below the top line that contains the
menu’s title, will typically contain the name of the prior menu bracketed by “
<
” at either end.
This is your instruction that whenever this line is highlighted, pressing the
‹
Menu Control
button
will return you to the prior menu, or exit the menu system completely when
<
Exit Menus <
appears.
The final step in the speaker setup process is to calibrate the speaker output levels. To begin this
process, press the
¤
Menu Control
button
until
Calib Speaker Levels
>
is highlighted.
Caution:
When you proceed to the next step, a test noise signal will immediately be heard from
one of the speakers in the listening room. It is advisable that anyone who is sensitive to loud
noises leave the room before taking the next step in the configuration process.
Press the
›
Menu Control
button
to move to the
Sound Level Calibration
menu (Figure
OSD-6). As soon as you enter this menu, the test noise will appear, enabling you to calibrate the
output level of the 5.0 so that the sound from each speaker location is equal. This is essential for
accurate surround production.
Figure OSD-6
S o u n d L e v e l C a l i b r a t i o n
<
S p k r S e t u p M e n u <
N o i s e S o u r c e O N
( o ) ( o ) ( o )
+ 0 0 + 0 0 + 0 0
( o )
+ 0 0
( o ) ( o )
( o ) + 0 0 + 0 0 ( o )
+ 0 0 + 0 0
S p e a k e r D i s t a n c e s
<
S p k r S e t u p M e n u <
S e t D i s t a n c e :
F r o n t L / R S p k r 1 0 F t
C e n t e r S p k r 1 0 F t
S u r r o u n d s 0 5 F t