System confi guration – Citation Stereo Receiver User Manual
Page 36
36
System Confi
guration
Press the
¤
Menu Control
button
and note that the words
Noise Source ON
will be high-
lighted. If you wish to temporarily silence the test noise at any point during this step, press the
¤
or
⁄
Menu Control
buttons
until this line is highlighted. Then, press the
‹
or
›
Menu Control
button
until the display changes to
Noise Source OFF
. The configuration process may be
resumed by using the buttons to turn the display back to
Noise Source ON
.
Before starting the formal configuration process, turn the test noise off and look at the on-screen
display. It should contain a speaker present indication
(0)
and a level offset indication of Zero
+00
at each speaker location established in the previous steps. For example, the configuration shown
above in Figure OSD-6 is for a full complement of speakers: left, center and right fronts, Dual Drive
surrounds and stereo subwoofers. Your screen display will differ if there is a mono subwoofer or dif-
ferent surround speaker configurations.
If all speakers appear where they should, the next step is to verify that they are properly connected.
Turn the
Noise Source
back on, and press the
¤
Menu Control
button
once. Use the
Volume
Controls
∫ 8
to adjust the volume level if needed.
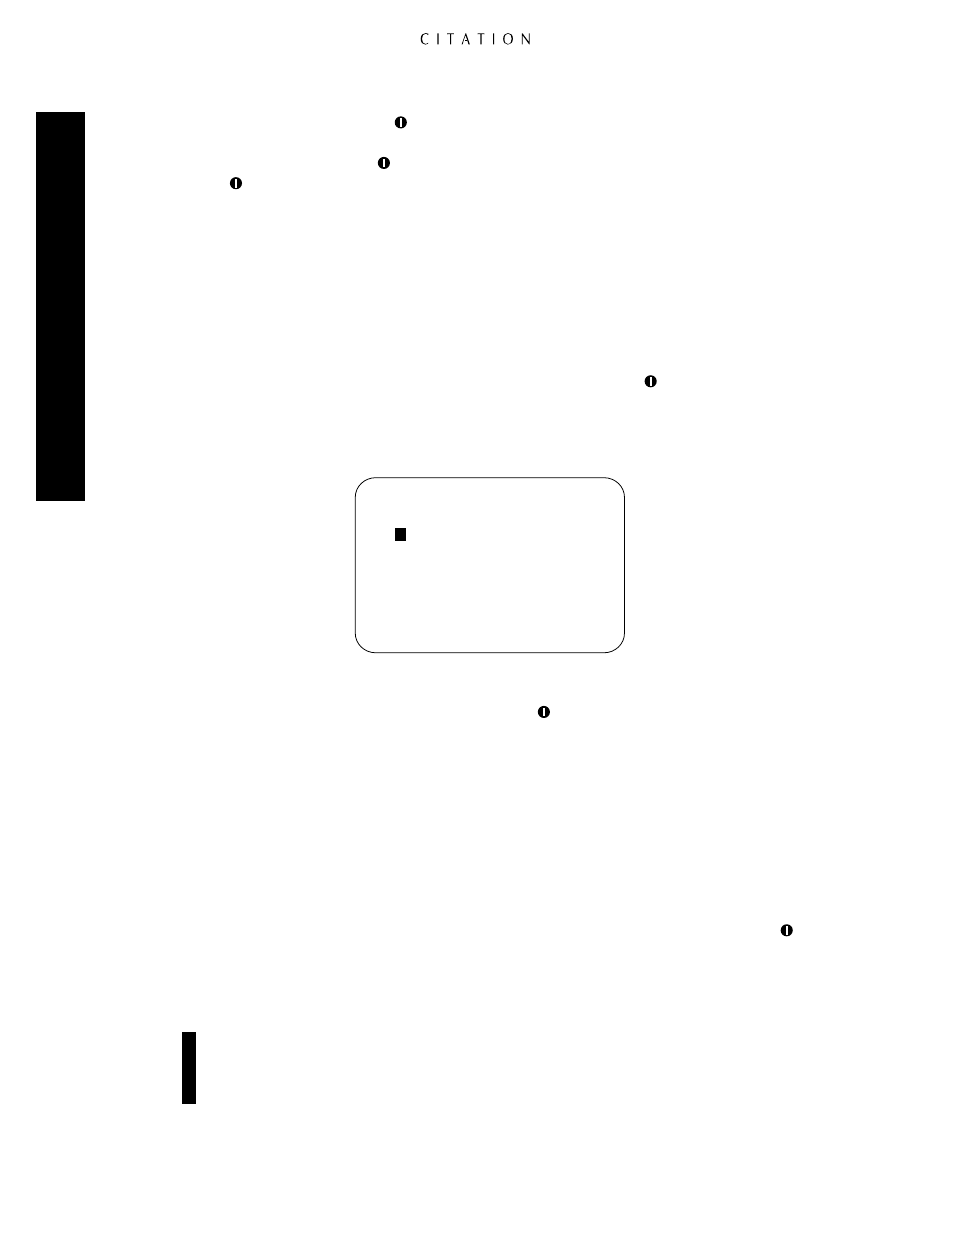
Note that the highlight will move to the icon for the front speaker, as indicated by a highlight for
that position (Figure OSD-7).
Figure OSD-7
In addition, the words
Left Front
will appear in the middle of the screen, or on the right side of
the front panel display. Press the
¤
Menu Control
button
to advance the active speaker, and note
that the sound location will change. If all speakers have been properly connected, the sound will
emanate from the speaker location that matches the on-screen display. If all speaker locations match
the displays, proceed to the next step.
If any position you hear sound from a speaker that
DOES NOT
match the on-screen indication, press
the
Menu
button
˙
three times so that the on-screen displays go out. Turn the 5.0 off using the
Master Power
button
1
, and turn off all power amplifiers connected to the 5.0. To correct the mis-
match, make certain that the connections are corrected, turn the 5.0 and the amplifiers back on, and
then use the instruction shown above to return to the
Sound Level Calibration
menu
(Figure OSD-6).
When all amplifier and speaker connections have been verified, press the
¤
Menu Control
button
so that the
Left Front
speaker is highlighted (Figure OSD-7) and use the
Volume Controls
∫ 8
so that the test noise is at a comfortable level. For more accurate calibration of the system, it is
recommended that a sound-pressure level meter be used, and that the first calibration be made to an
SPL level of 75dB, at the “C Weighting/Slow” setting on the meter.
Note:
The use of a properly calibrated SPL meter in setting the output levels is critical in order
to achieve the maximum performance from the 5.0. If you do not have an SPL meter, or are
unfamiliar with its use, it is strongly recommended that a trained installer assist with this portion
of the system installation.
S o u n d L e v e l C a l i b r a t i o n
<
S p k r S e t u p M e n u <
N o i s e S o u r c e O N
(
o
) ( o ) ( o )
+ 0 0 + 0 0 + 0 0
( o ) L e f t F r o n t
+ 0 0
( o ) ( o )
( o ) + 0 0 + 0 0 ( o )
+ 0 0 + 0 0