Compact disc, 2 press pause on tape deck 1, 3 press recdrd on tape deck 1 – Philips FW391C User Manual
Page 15: 4 press play on tape deck 2, Erasure prevention tabs, Warning, Cassette deck compact disc, Printed side up
Attention! The text in this document has been recognized automatically. To view the original document, you can use the "Original mode".
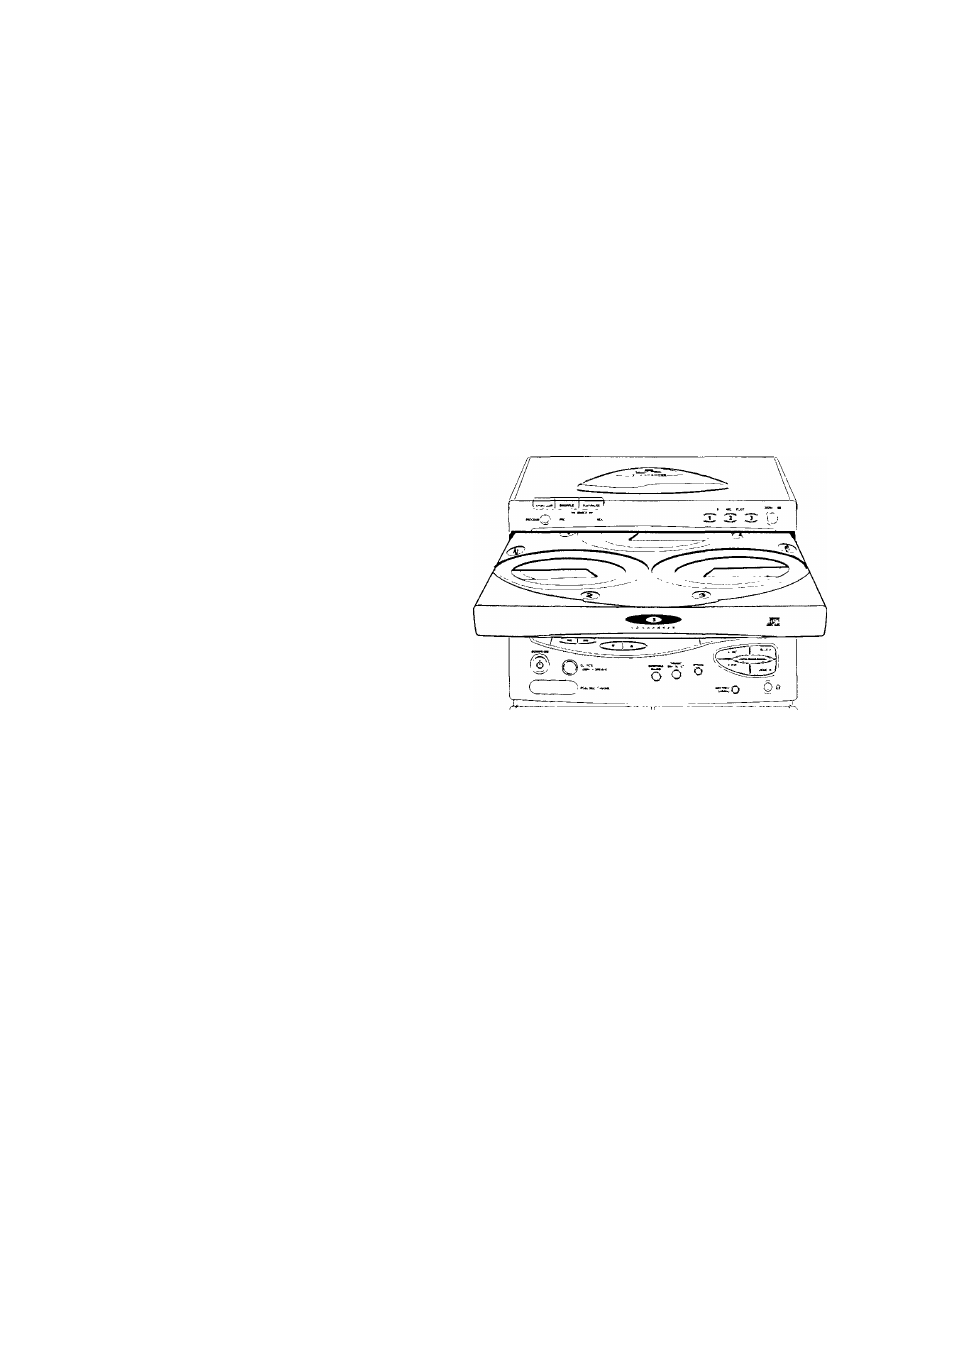
Cassette Deck
Compact Disc
HIGH SPEED
DUBBING
Dubbing cassettes (from TAPE DECK 2 to TAPE DECK 1)
1
Load the pre-recorded cassette into
TAPE DECK 2
and a
blank cassette into
TAPE DECK 1.
-
Make sure that both cassettes have their full spools to
the left.
• For high speed recording, press
HIGH SPEED DUBBING.
— HIGH SPEED appears on the
display.
2
Press
PAUSE
on
TAPE DECK 1
.
3
Press
RECDRD
on
TAPE DECK 1.
RECORD appears on the display.
4
Press
PLAY
on
TAPE DECK 2.
Recording will start automatically.
5
Press
STOP'DPEN
on
TAPE DECK 1
and
TAPE DECK 2
to
stop dubbing.
Notes;
-
At the end of side A, flip the cassettes to side B and repeat
the procedure.
-
Dubbing of cassettes is only possible in the TAPE mode. To
ensure good dubbing, use tapes of the same length.
-
During high speed dubbing operation in the Tape mode, the
sound is reduced to a low volume.
General Information
-
For recording, use only a cassette of lEC type I (normal
cassette).
-
The tape in the cassette is secured at both ends with leader
tape. At the beginning and end of a cassette, nothing will be
recorded for six to seven seconds.
-
The recording level is set automatically, regardless of the
position of VOLUME.
-
Check and tighten slack tape with a pencil before use. Slack
tape may get jammed or may burst in the mechanism.
-
To prevent accidental recording, break out the tab on the left
shoulder of the cassette side you want to protect. To re
record the cassette, cover each hole with cellophane tape.
Erasure Prevention Tabs
C-120 tape is extremely thin and may be easily deformed or
damaged. It is not recommended for use in this unit.
Store the cassettes at room temperature and do not put
them too close to a magnetic field (for example,
transformers, TVs or speakers).
Warning!
1) This set is designed for conventional CDs. Do not use
any accessories like disc stabilizer rings or CD
treatment sheets, etc, which may damage the CD
mechanism.
2) Do not load more than one disc into each tray.
3) When the CD changer is loaded with CD(s), do not turn
over or shake the unit as this may jam the changer
mechanism.
You can load up to three discs in the CD changer for continuous
play without interruption. In addition to the conventional 12-cm
disc, 8-cm discs can also be used without an adaptor.
Loading the CD Changer
CO
"o>
c
1X1
Press
SOURCE
to select
CD.
Press
OPEN'CLOSE.
-*• The CD compartment slides out.
Load a disc with the
printed side up
in the right tray.
You can load another disc in the left tray.
To load the third disc, press the corresponding
3 CD
DIRECT PLAY
button of the empty tray.
The CD changer will rotate until the empty tray is at the
right hand side and is ready for loading.
— Playback will always start with the outer right disc tray.
Press
OPEN»CLOSE
to close the CD compartment.
— The total number of tracks and the playing time of the
last selected disc will appear on the display.
The following display indications will help you to know whether
the disc trays are empty or loaded.
1
-
indicates the
- indicates the
- indicates the
13