Configuring the camera’s network settings – Interlogix TruVision IP Open Standards Outdoor Cameras User Manual User Manual
Page 23
2BChapter 3: Network and streaming configuring
TruVision Outdoor IP Camera User Manual
19
Item
Name
Description
2.
Live view
Click to view live video.
3.
Playback
Click to play back video.
4.
Log
Click to search for event logs. There are four main
information types: All, Alarm, Notification and Operation
Note
:
The Playback and Log functions are only available
when an SDHC card is inserted in the camera.
5.
Configuration
Click to display the configuration window for setting up the
camera. See Figure 6 on page 20.
6.
Viewer
Click to view live or play back video. Time, date and camera
name are displayed here.
7.
Current user
Displays current user logged on.
8.
Exit
Click to log out from the system. This can be done at
anytime.
9.
Full screen
Click to view as full screen.
The top toolbar is not visible in full-screen mode.
10.
Start/stop live view
Click to start/stop live view.
11.
Capture
Click to take a snapshot of the video. The snapshot will be
saved to the default folder in JPEG format. See “Local
configuration” on page 20 for more information.
12.
Start/stop recording
Click to record live video.
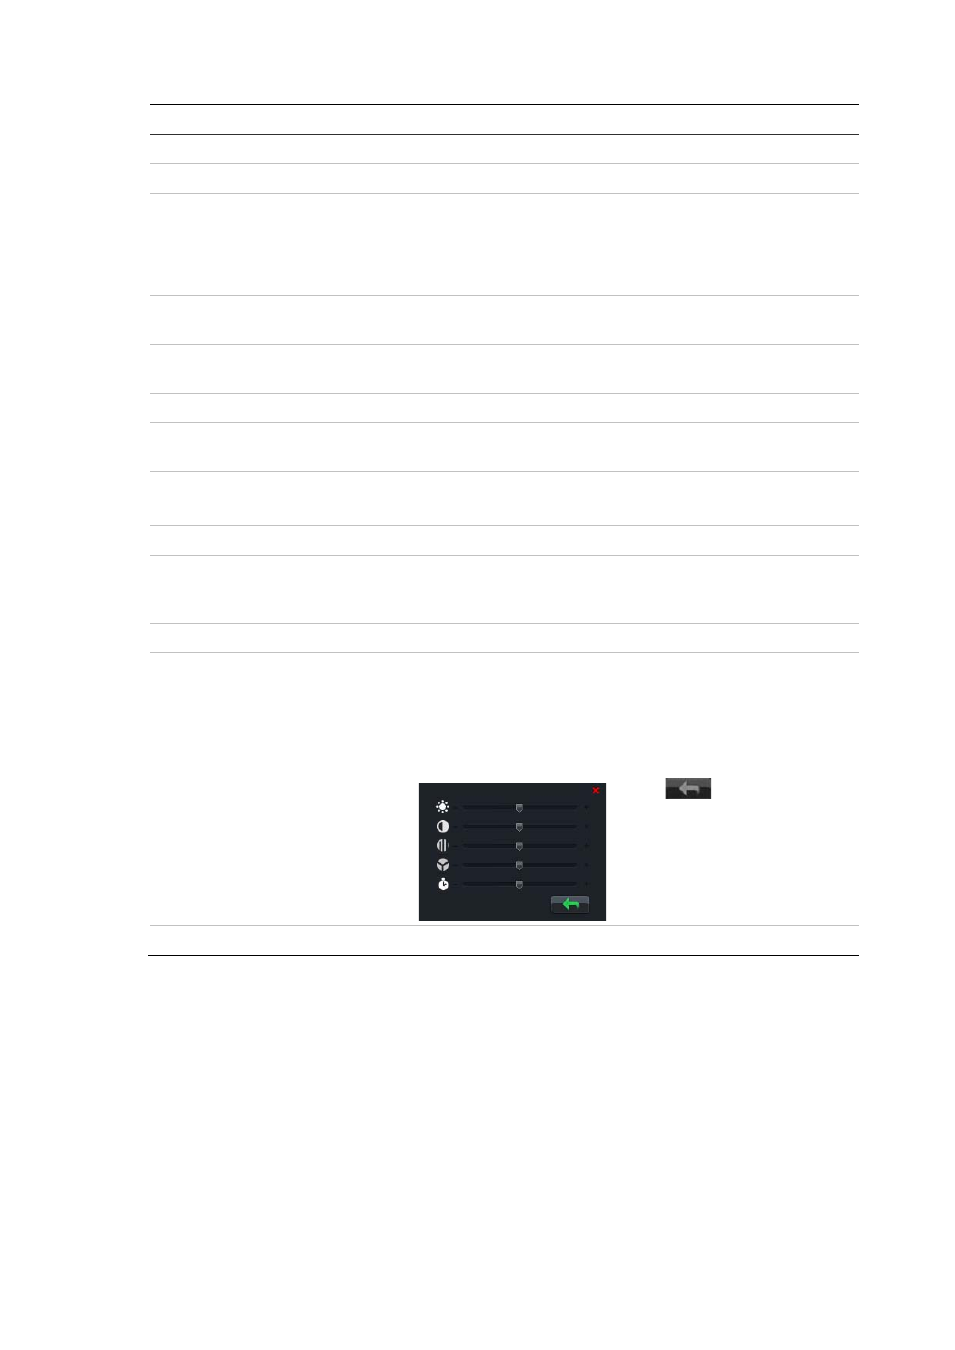
13.
Video image settings
Click the required icon in the pop-up window and then slide
the bar to adjust video image settings such as brightness,
contrast, saturation, hue and exposure time (exposure time
is equivalent to shutter speed). Changes appear immediately
and are also applied to the settings in the menu “Camera
image settings” (see page 34).
Click
to return to default
settings.
14.
e-PTZ
N/A
Configuring the camera’s network settings
Once the camera hardware has been installed, configure the camera’s network
settings through the Web browser.
The camera Web browser lets you configure the camera remotely using your PC.
The camera is configured using on-screen display (OSD) menus. In the Web
browser window click the
Configuration
button on the toolbar to display the