4 schedule – IC Realtime Specialty: 4-CH Mobile DVR User Manual
Page 40
40
Manual playback
frame by frame.
Click pause button in normal playback mode,
you can use
W│ and │X
to view frame by
frame.
button
►
/
to go to
normal playback.
Note:
All the operations here (such as playback speed, channel, time and progress) have
relationship with hardware version. Some series DVRs do not support some functions or
playback speeds.
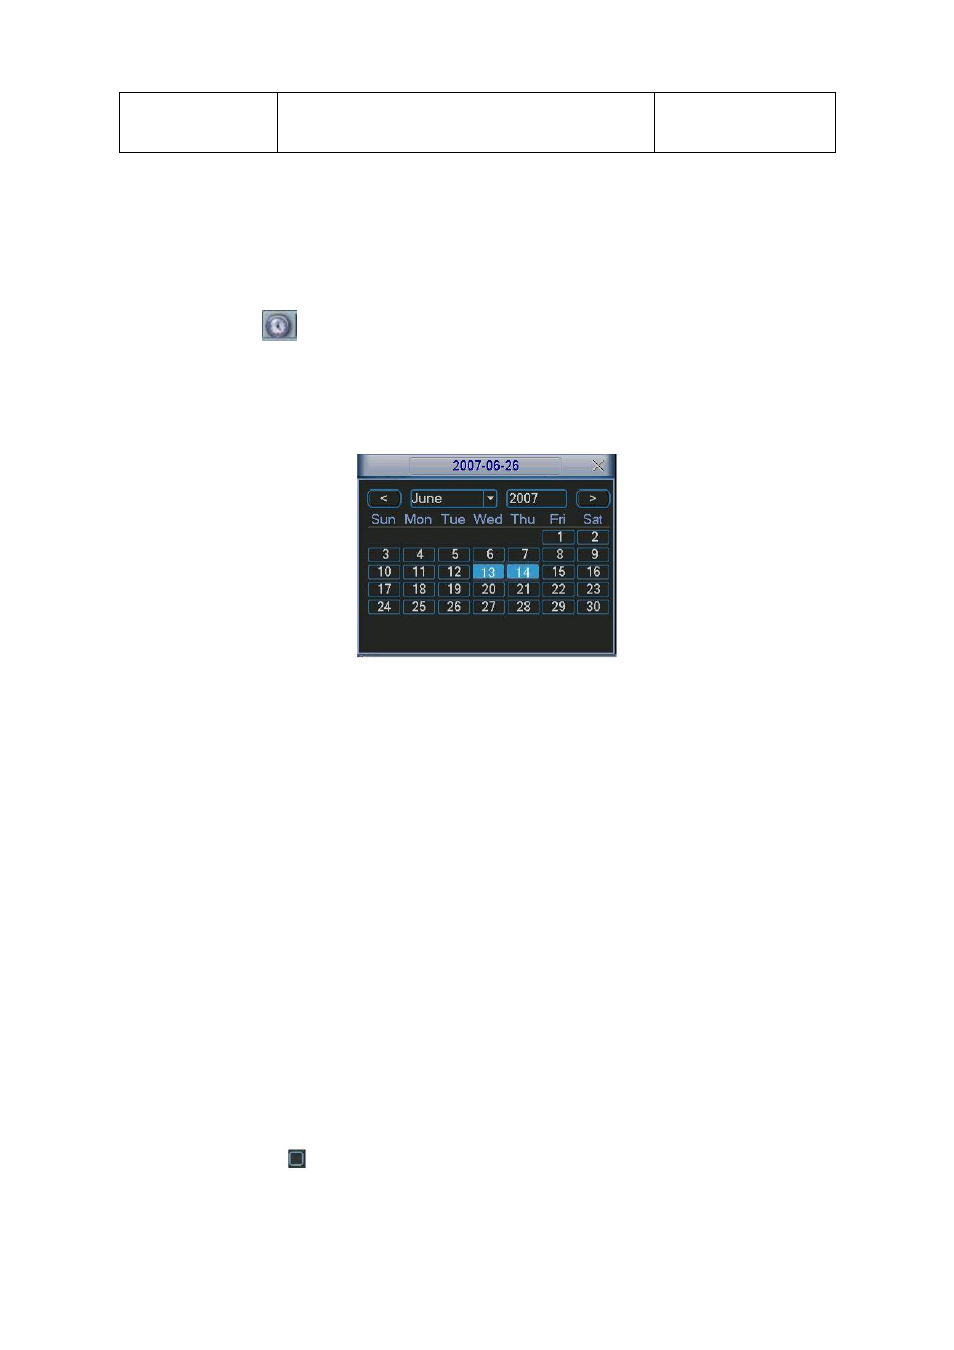
4.3.3 Calendar
Click calendar icon
in Figure 4-11, system pops up a calendar for your reference.
The highlighted date means there are record files in that day. You can click blue date to view
file list.
In
X300H300H300H
figure 4-12
X
, there are video files in June 13
th
and 14
th
. Double click the date to view its file
list.
Figure 4-12
4.4 Schedule
After system booted up, it is in default 24-hour regular mode. You can set record type and
time in schedule interface.
4.4.1 Schedule Menu
In the main menu, from setting to schedule, you can go to schedule menu. See
X301H301H301H
Figure 4-13.
z
Channel: Please select the channel number first. You can select “all” if you want to set for
the whole channels.
z
Week day: There are eight options: ranges from Saturday to Sunday and all.
z
Pre-record: System can pre-record the video before the event occurs into the file. The value
ranges from 1 to 30 seconds depending on the bit stream.
z
Redundancy: Please note the redundancy function is null if you just installed one HDD. This
function is valid after you installed a HDD and one SD card. You can set the SD card as the
redundancy disk.
z
Snapshot: You can enable this function to snapshoot image when alarm occurs.
z
Record types: There are three types: regular, motion detection (MD) and Alarm.
Please highlight icon
to select the corresponding function. After completing all the setups
please click save button, system goes back to the previous menu.