Linking, Maintenance – Heli-Max HMXE0821 User Manual
Page 14
14
®
LINKING
LINKING
1. Turn on the transmitter, making sure all the switches are in the back position.
2. Remove the canopy from the helicopter and locate the small black button
on the corner of the PC board.
3. Place the transmitter in close proximity to the helicopter (1 to 2 feet away).
4. Press and hold the button for 3 seconds. Then remove pressure.
5. Monitor the flashing LED, when it stays on with no flashing your transmitter
is now bound to the helicopter. Note: This could take several seconds.
®
MAINTENANCE
MAINTENANCE
We will describe a few simple repairs that you can do to your helicopter.
We will list them as removing with the understanding that to reassemble
one just follows each step again from the bottom up. NOTE: it’s a good
idea to keep a magnet handy to help secure the small screws. You can also
use this magnet to “magnetize” your screwdriver; just rub the end of the
screwdriver on the magnet for a few seconds. This will be needed to keep
the screws in place on the tip of the screwdriver. TIP: We use a small piece
of paper over the magnet to help see the screws.
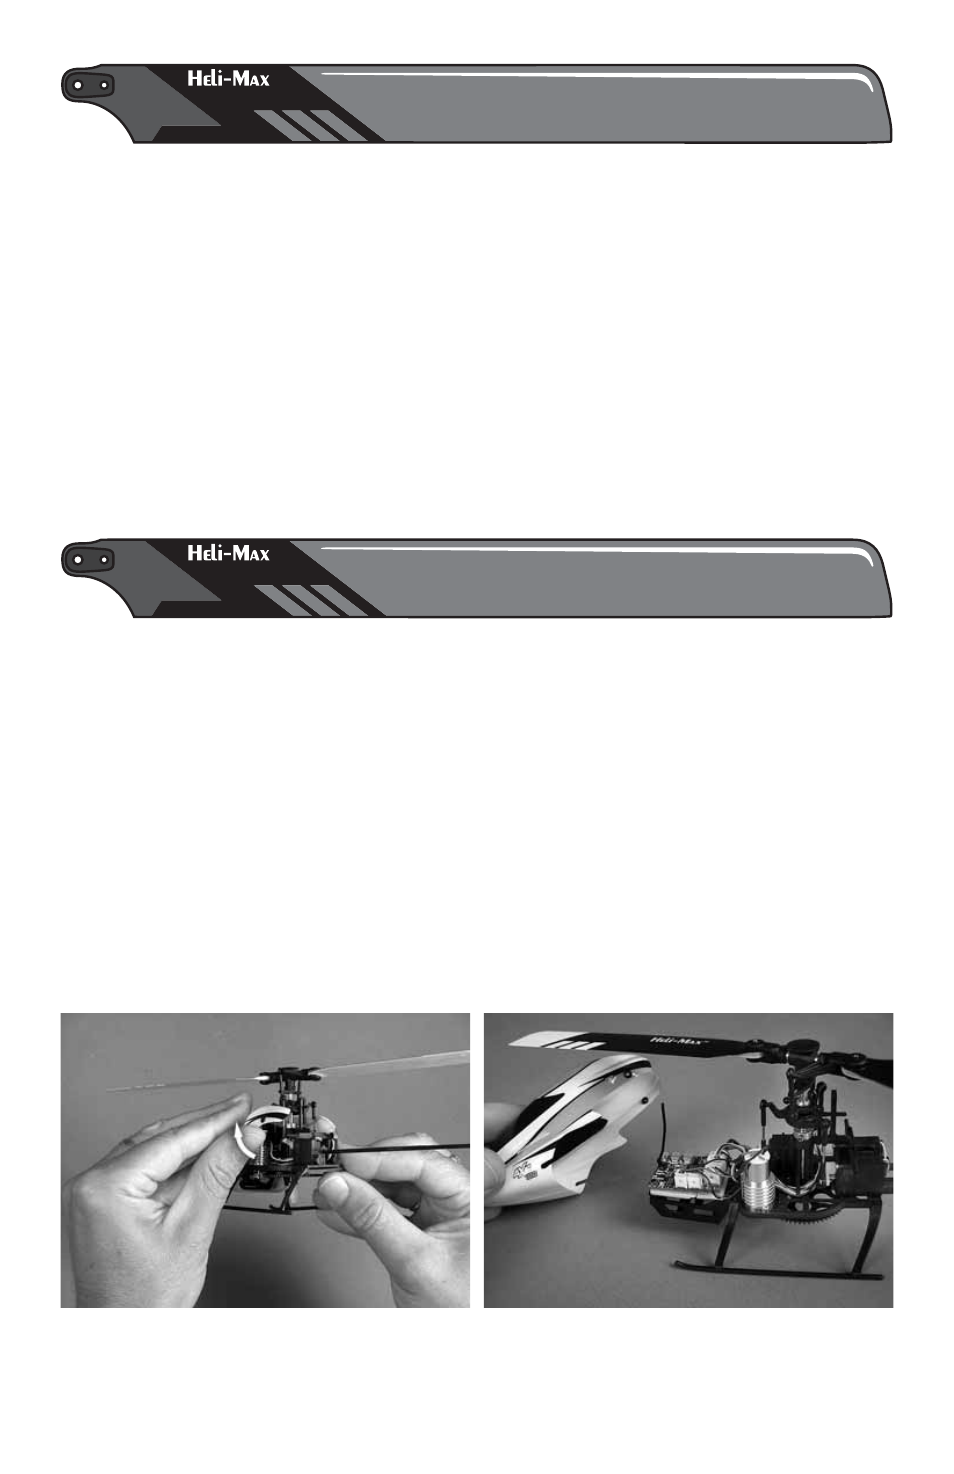
REMOVING THE CANOPY
Slowly and carefully pull the back edges of the canopy outward sliding the rubber
grommets off the pegs. Then slide the canopy forward.