Great Planes Fun One 40 - GPMA0490 User Manual
Page 7
D 5. Pin the leading and trailing edges in place and
glue everything together with thin CA
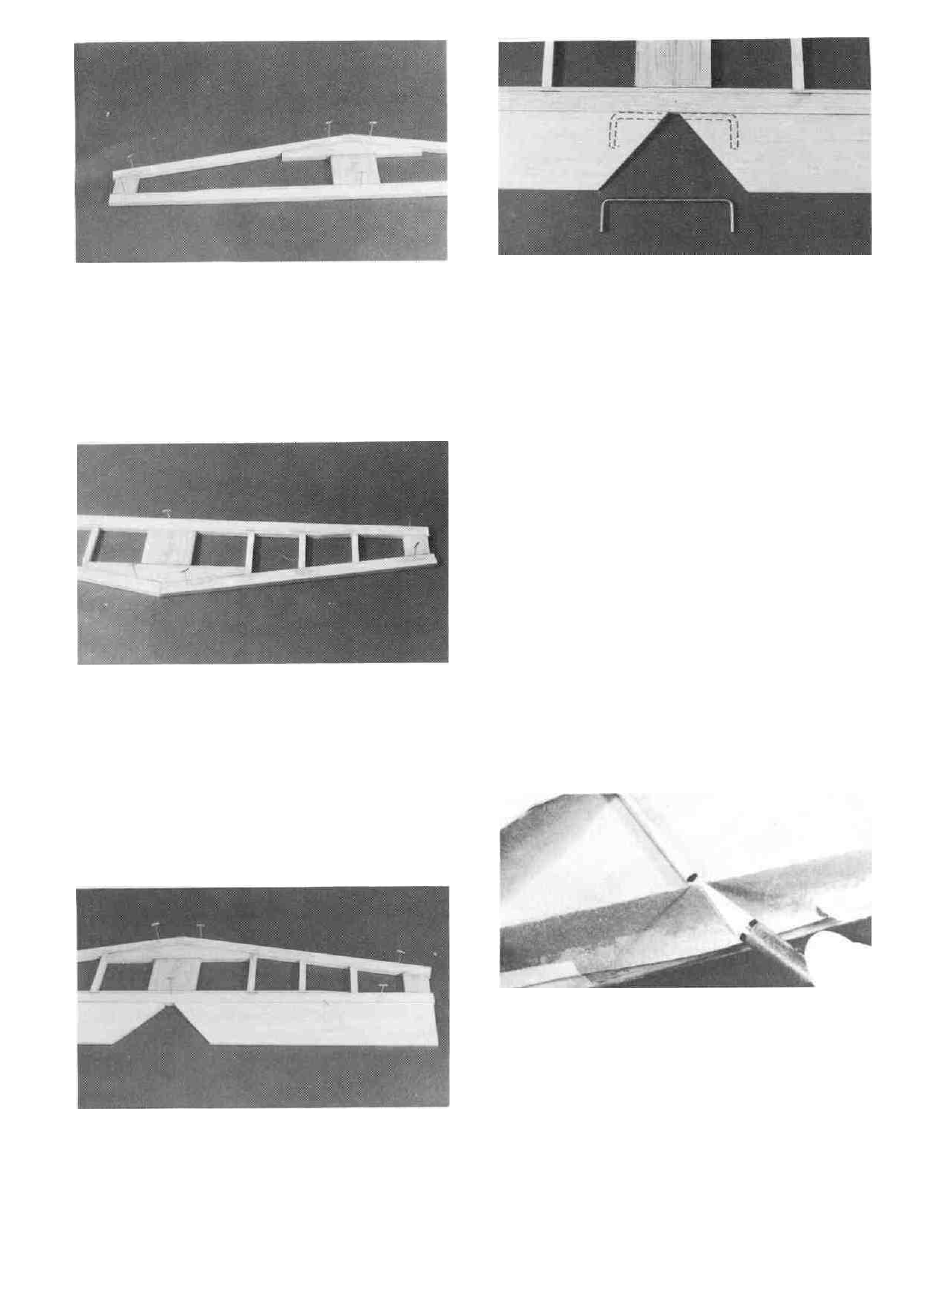
D 8. Lay the 1/8" wire elevator joiner (WBNT145)
in place on the elevators and mark its outline using a fine
point fell-tip pen. Be sure to position the joiner wire
directly over where it is shown on the plans which gives
you about 1/32" clearance between the front of the wire
and the trailing edge of the stab.
D 9. Remove the elevators from the plan and draw a
centerline along the leading edge of each. Accurately drill
holes in the elevators for the 1/8" wire joiner. Begin by
drilling a 1/16" or 5/64" pilot hole, then drill the final hole
to a depth of 7/8" with a 9/64" drill bit. (The hole is drilled
slightly oversize to allow for positioning, and to create a
hard epoxy "sleeve" around the wire).
D 6. Cut the "ribs" from the 1/4" square x 30" stick
(FUN 1 S02) and glue them in place. Remove the stab from
the work surface and apply med/thick CA to all of the
joints. Sand both sides of the stab smooth and replace the
stab on the plan.
D 7. Cut the two elevators from the Tapered Elevator
Strip (FUN1S05) and pin or tape them in place behind the
stab.
D 10. Using an Xacto knife, sharpen the inside of one
end of a 1/8" diameter brass tube and use it to cut grooves
in the leading edge of the elevators to accept the joiner
wire.
D 11. Roughen the joiner wire with coarse sandpaper,
then clean the wire thoroughly with alcohol to remove any
oily residue.