Final assembly – Great Planes Fun One 40 - GPMA0490 User Manual
Page 27
D 8. Insert the hinges into the slots and trial fit the
ailerons in place on the wing. Do not glue the hinges until
after you have covered the wing.
There should be no hinge gap!
FINAL ASSEMBLY
INSTALL LANDING GEAR
NOTE: The landing gear included in this kit is designed
to help absorb the impacts of hard landings. It will bend
easier than traditional landing gear but it will help keep the
plane in one piece and it can easily be removed and
straightened out many limes. A different landing gear may
be used if you desire but we have found this feature a
bonus at fun flys when other pilots are knocking the gear
off or breaking the plane slamming it on the runway trying
to do quick touch-and-go's.
landing gear to the fuselage with 4-40 x 3/8" machine
screws (SCRW031) and #4 flat washers. Use the bolts to
pull the blind nuts into place.
4-40 x 3/8"
Machine Screw
INSTALL ENGINE
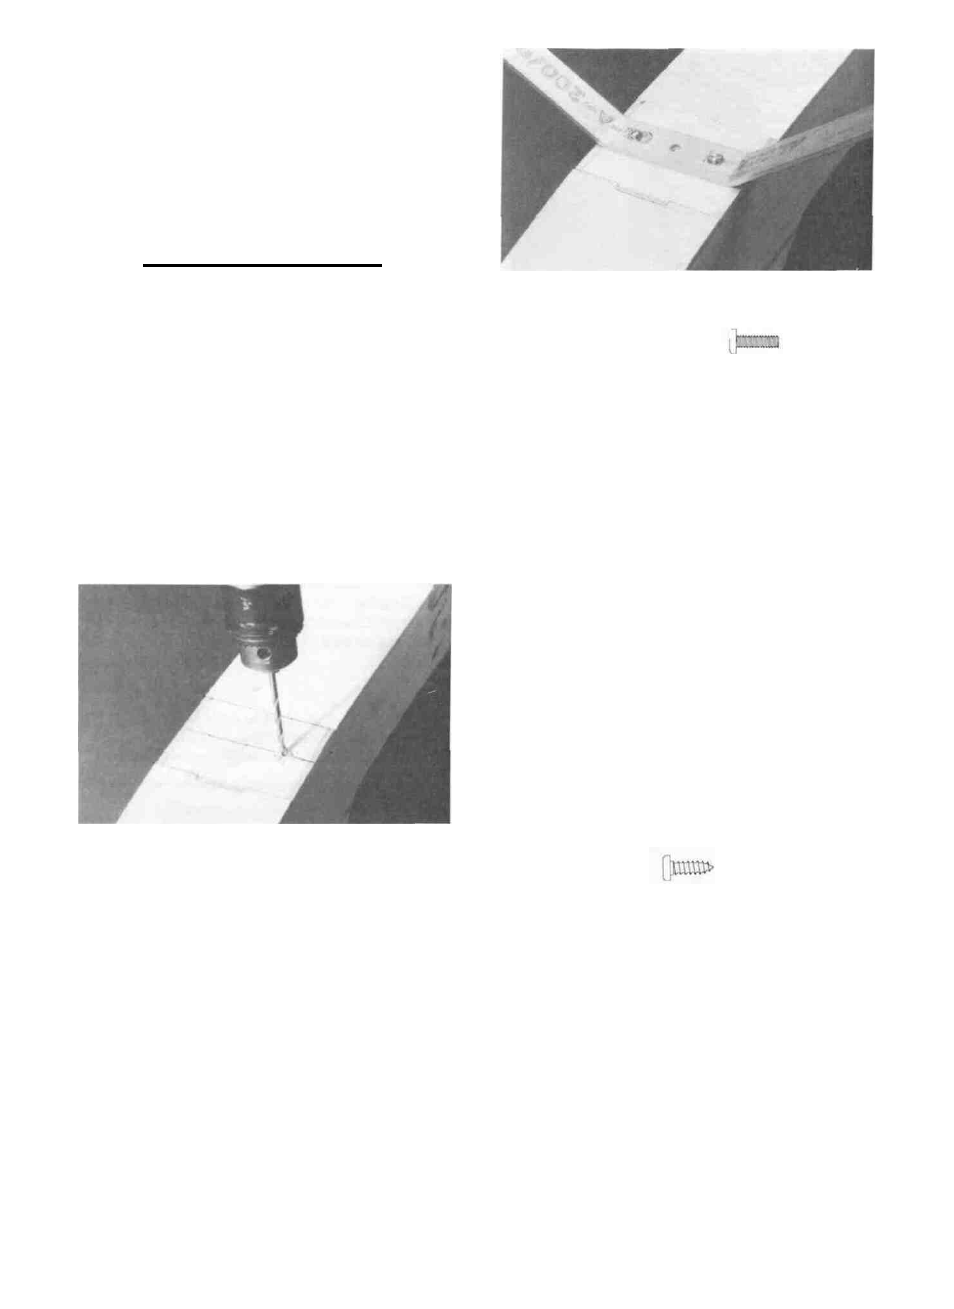
D 1. Flip the fuselage upside down and draw a line
across the middle of the landing gear plate. Now make a
dot at the midpoint of that line. Position the landing gear
(L-6U) so that it is centered on this line and mark where the
two outside holes should be drilled. Drill a 9/64" hole at
each outside dot. The holes should be perpendicular to the
landing gear plate.
D 1. Place the engine pointing straight ahead on the
mount and mark the mounting hole locations on the mount.
At the marked locations, accurately drill 3/32" (or #43)
holes. NOTE: If you have access to a drill press, use it for
drilling these holes to insure that they are drilled vertically.
D 2. N o w y o u m a y u s e o n e o f t h e f o l l o w i n g m e t h o d s t o
attach your engine to the mount:
Method 1: Screw the #4 x 1/2" sheet metal screws
(SCRW004) (provided in the kit) through the engine
mounting flange and into the mount. When first installing
these screws, put a drop of oil into each screw hole.
#4 x 1/2"
Sheet Metal Screw
Method 2: Cut threads into the holes you just drilled
using a 4-40 tap and tap wrench. If you use this method
you'll have to supply your own bolts (4-40 x 1" socket
head cap screws) for attaching the engine to the mount.
NOTE: 6-32 hardware is recommended if you are install-
ing a 4-cycle engine.
D 2. Insert a 4-40 blind nut (NUTS001) on the inside
of the fuselage in each hole. Temporarily mount the
D 3. Temporarily install the engine mount onto the
fuselage.
27