Preparations, Assemble the wing – Great Planes Giant Citabria 30cc/EP ARF - GPMA1435 User Manual
Page 6
6
PREPARATIONS
❏
1. If you have not done so already, remove the major parts
of the kit from the box and inspect for damage. If any parts are
damaged or missing, contact Product Support at the address or
telephone number listed in the “Kit Inspection” section on page 5.
❏
2. Use a covering iron with a covering sock on high heat
to tighten the covering if necessary. Do this for all of the
components of the model. Apply pressure over sheeted areas
to thoroughly bond the covering to the wood.
ASSEMBLE THE WING
Note: Throughout this instruction manual you will be instructed
to use screws to secure different parts. In all cases, whenever
a screw is threaded into wood sheeting or wood blocks we
recommend that you install the screw and then remove it.
Apply a drop of thin CA glue into the hole to harden the threads.
After the glue has hardened, re-install the screw. Following this
step will insure that you have a solid thread for your screws.
Begin with your left wing panel first so your assembly
matches the photos in the manual.
❏ ❏
1. Install the grommets and eyelets into the servo and
then attach a 20" [500mm] servo extension to your aileron
servo. Secure it with heat shrink tubing, tape or other method
for securing them together.
❏ ❏
2. Install a 8" [200mm] servo extension to your flap
servo. Secure it with heat shrink tubing, tape or other method
for securing them together.
❏ ❏
3. Remove the tape
holding the servo covers
to the bottom of the wing.
Locate two 5/16" x 3/4"
x 3/4" [8mm x 19mm x
19mm] hardwood blocks.
Place your servo on the
cover, centering the servo
arm in the slot. Adjust the
positioning of the blocks for
your brand of servo.
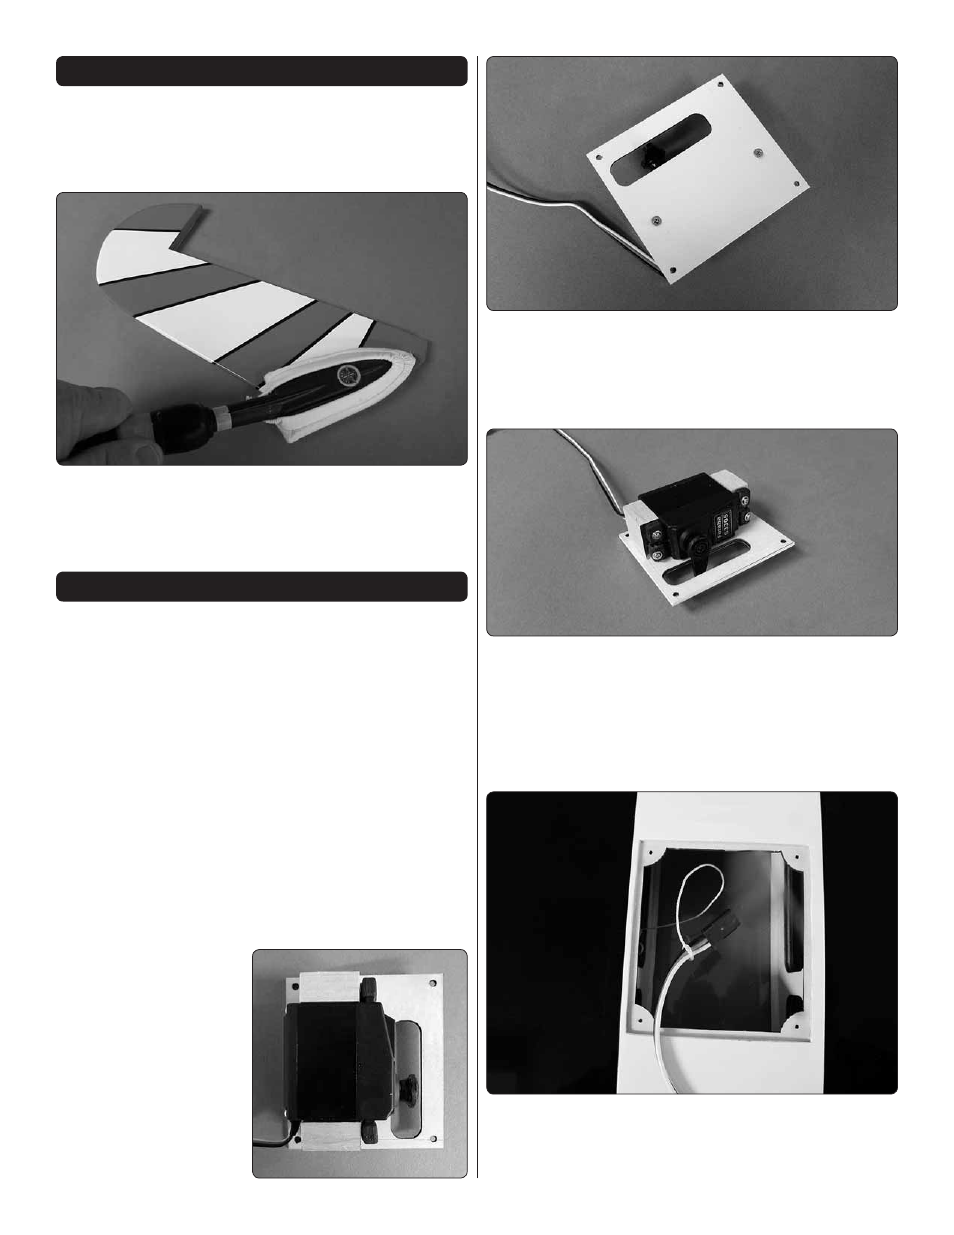
❏ ❏
4. Glue the blocks to the servo cover. Once the glue
has cured, drill a 1/16" [1.6mm] hole through the cover and
into the servo mounting blocks Secure the block to the cover
with a #2 x 3/8" [#2 x 9.5mm] wood screw. Do this for both of
the servo covers.
❏ ❏
5. If you haven’t already, center the servos and install
the servo arm onto your servos. The servos require a 3/4"
[19mm] servo arm (typically the longest servo arm with your
servo). Place your servo onto the mounting blocks. Drill a
1/16" [1.6mm] hole through the servo mounting tabs into the
mounting blocks. Secure the servos to the mounting blocks
with the screws that came with your servos.
❏ ❏
6. Inside the aileron and flap servo compartment you
will find a string. Tie the string to the servo lead. The other
end of the string is taped to the root wing of the rib. Pull the
leads through the wing.