Comtrol DM ATS-LNX User Manual
Page 8
Installation and Setup
8
Initial Hardware Installation to Configure the ATS-LNX
Initial Hardware
Installation to
Configure the ATS-
LNX
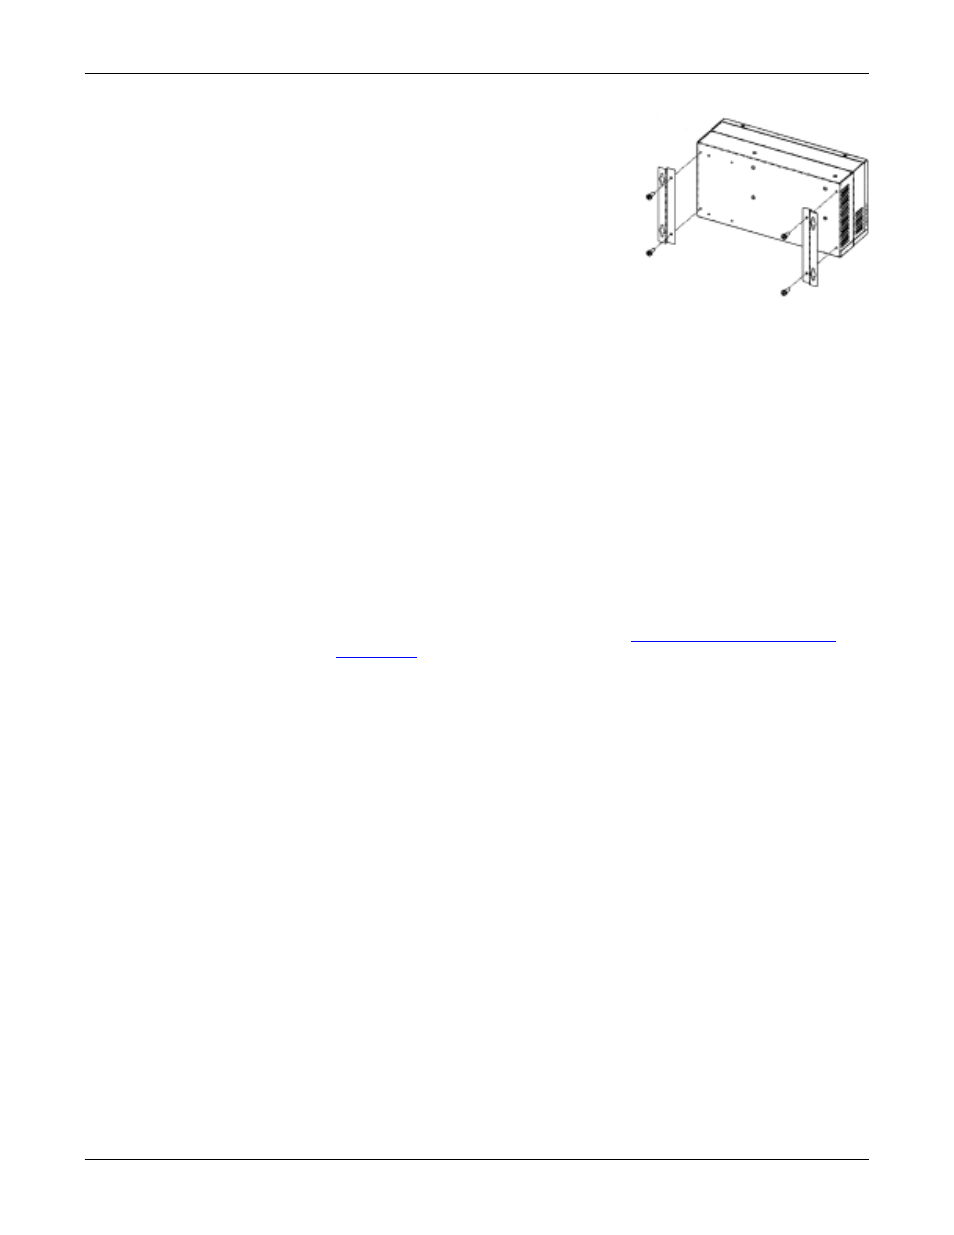
1.
Place the DeviceMaster ATS-LNX on a stable
surface or attach it to a suitable surface
using the mounting brackets shipped with
the device.
2.
Verify that the compact flash is fully
inserted. When installed correctly, the
compact flash is recessed into the ATS-LNX
and the eject button protrudes about 1/4
inch. If necessary, without using excessive
force or sharp objects, seat the compact flash
in its socket. Too much force can damage the
device.
3.
Use one of the following methods to set up communications:
ASCII Terminal
You can use a VT100 compatible terminal to perform the system configuration.
a.
Configure the terminal for these port attributes:
•
Bits per second = 57600
•
Data bits = 8
•
Parity = None
•
Stop bits = 1
•
Flow control = None
b.
Connect the ASCII terminal to the CONSOLE port.
PC COM Port
You can connect the ATS-LNX to a PC COM port to perform the system
configuration.
a.
Connect a null-modem cable from a COM port on a PC or laptop to the port
labeled CONSOLE on the ATS-LNX. See
on Page 29 for connector information.
b.
Start a terminal program, for example, Minicom and configure the
following port attributes:
•
Bits per second = 57600
•
Data bits = 8
•
Parity = None
•
Stop bits = 1
•
Flow control = None
Monitor and Keyboard
You can connect a standard monitor and keyboard to perform the system
configuration.
a.
Connect the 15-pin monitor cable from a standard VGA monitor to the
VGA connector.
b.
Connect a standard PS/2 compatible keyboard (6-pin mini DIN) into the
KEYBOARD connector or a USB keyboard to one of the USB ports.
c.
Optionally, connect a PS/2 compatible mouse (6-pin mini DIN) into the
MOUSE connector or a USB mouse to one of the USB ports.
Network
You can configure the ATS-LNX through the network, if you can communicate
to one of the default IP addresses. Connect an Ethernet cable between the port
that corresponds to the IP address to which you want to communicate and a
NIC or Ethernet hub.
•
eth0: 192.168.255.252 (port labeled Ethernet #2)