Carl Goldberg GBGA1041 User Manual
Page 7
7
Gluing Stabilizer:
1. Using a pencil, make an outline where the
stabilizer rest against the fuselage.
2. Remove both stabilizers from the tubes.
3. Remove the tubing from the fuselage.
4. Lightly sand the tubing using 220 sand paper.
5. Remove the covering from the fuselage
inside the outline that you made.
6. Mix up epoxy and slide the stabilizer assem-
bly together again, allow to dry.
HINGING THE ELEVATORS
1.
Collect the following items:
(2) Elevators
(6) Hinges
4.
Take the elevators and the stabilizers and just
like you did for the ailerons pre-drill each of
then hinge holes.
Place a drop of oil on each of the hinges.
5.
Mix up some 30 minute epoxy and glue each
of the elevators to the stabilizers.
Tape the elevators to the stabilizers till dry.
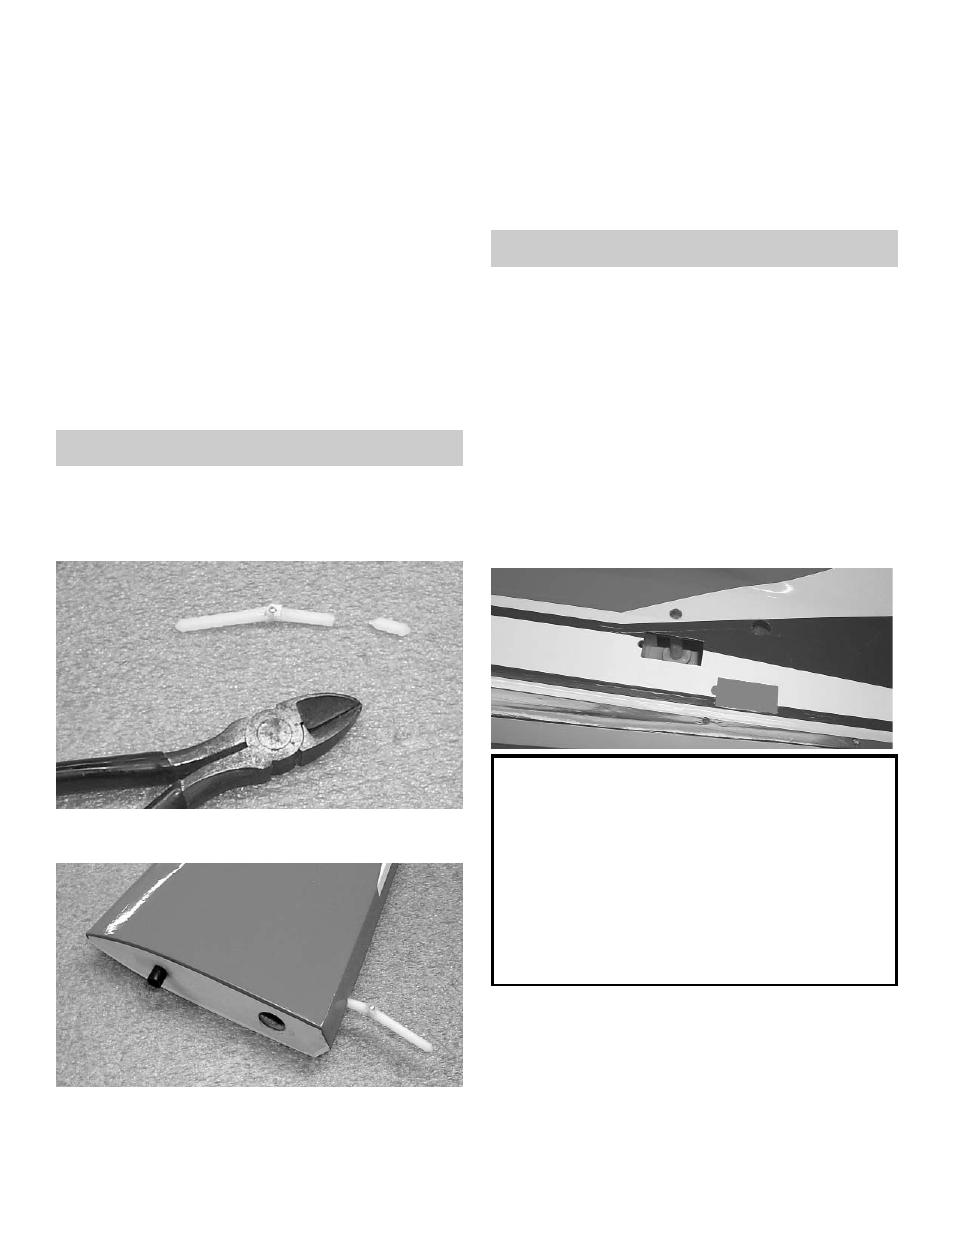
2.
cut two barbs off of two hinges on one side
only.
3.
Insert the shortened hinge into the hinge hole
closes to the fuselage.
Make sure that the hinge fits completely into
the stabilizer. Keep cutting the hinge till it fits.
ELEVATOR & SERVOS
1.
Collect the following items:
(2) Servos
(2) 24” Servo Extensions
(2) 4-40 x 3-1/2” Double Threaded Pushrod
(4) 4-40 Hex Nuts
(4) 4-40 Metal Clevis
(4) Clevis Clips
(2) 6-32 x 2-1/2 “ Flat Head Bolt
(2) #6 Washer
(2) 6-32 Hex Nut
(2) 6-32 Horn Bracket
Note:
We have included a rudder servo hole in the
fuselage just behind and below the elevator
servo hole. If you choose to install a large
engine or just want better rudder control,
then install your rudder servo here(There is
a hole on both side of the fuselage for
push-pull system). More weight in the nose
will be required for this system.
1. Remove the covering over the elevator servo
holes on both sides of the fuselage.