Application a – Awntech DESTIN User Manual
Page 9
9
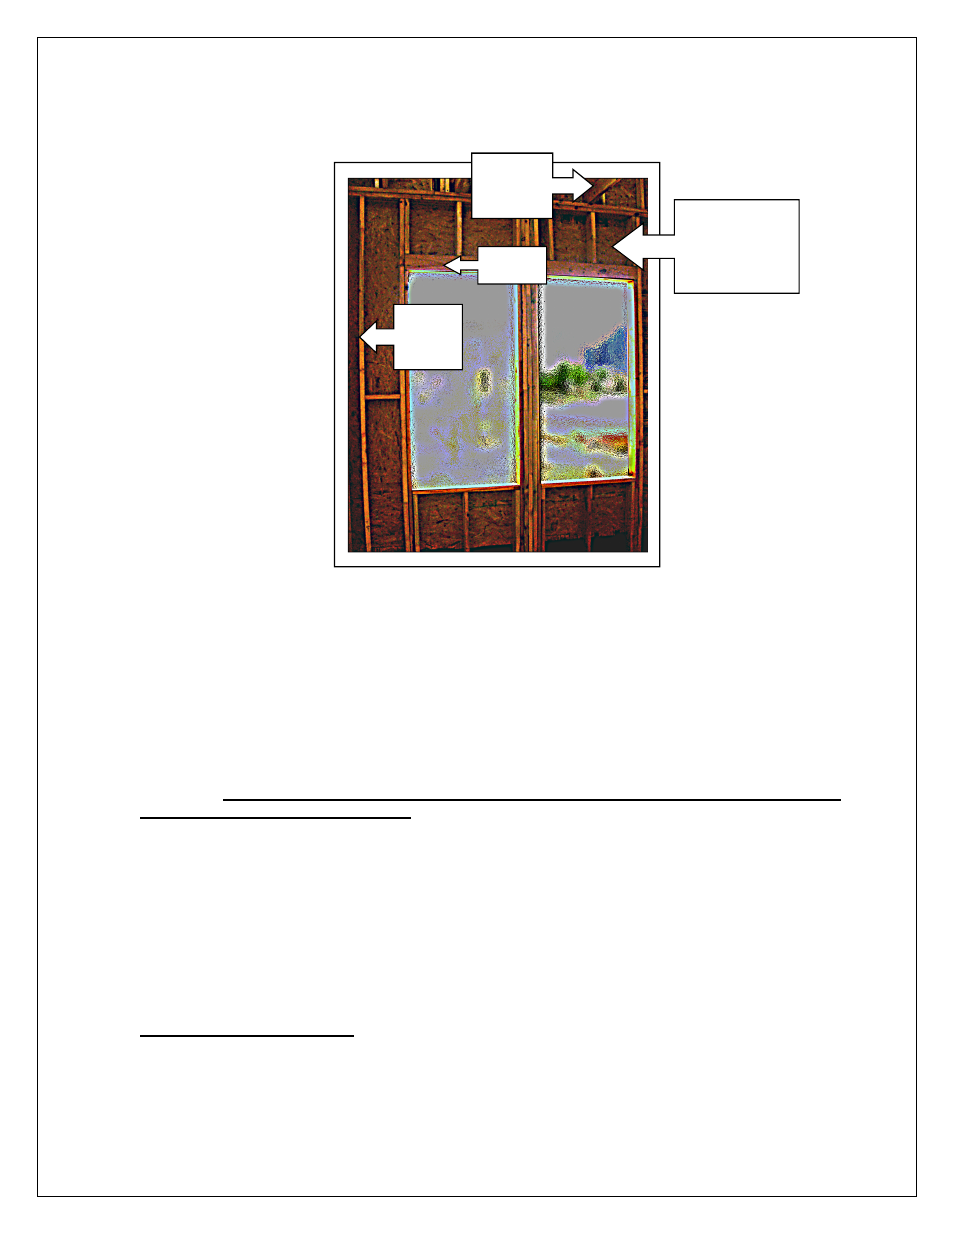
TYPICAL DETAIL OF THE STUDS INSIDE THE WALLS (INTERIOR VIEW)
Wall Stud
THE
FOLLOWING PAGES
ARE INSTRUCTIONS
FOR THE MOST
COMMON
INSTALLATION
APPLICATIONS
APPLICATION A
INSTALLING WALL MOUNTING BRACKETS TO FLAT SIDING, STUCCO, CEMENT OR CULTURED STONE (OF ANY
TYPE):
•
Place a safe ladder on a flat, dry, stable surface at both ends of where the awning will be
installed
•
Using a chalk-line and a string level (or a laser level) mark a horizontal line at your chosen
height above the patio.
•
Using a stud finder, mark the center of all the studs along the line where the awning will be
installed. Failure to center bolts in structural studs will cause premature failure and result in
awning collapse and possible injury.
•
Mark both ends of where the awning will be installed on that line.
•
There should be one bracket within one feet of each end or close to the lateral arms and then
distribute the rest of the bracket(s) evenly spaced across the awning torsion bar. Choose and
mark the best studs to install the brackets on given those requirements.
•
Cultured stone surfaces may require a grinder to flatten off the area where the brackets are to
be installed
•
Using the bracket as a template (the top of the bracket has a ridge on it), mark the holes. Place
the bottom of the bracket on the chalk line. BRACKETS WILL BE THE LOWEST POINT OF
THE AWNING.
•
For stucco or cultured stone: Use a 5/16” masonry bit to get through the surface. Drill a pilot
hole into the stud beyond it with a 3/16” wood/metal bit. For wood, cement or hardboard
surfaces drill a pilot hole into the stud with a 3/16” wood/metal bit. Using a ratchet, install (2)
5/16”x3” lag screws and (2) 5/16” washers to secure the bracket to the wall.
Ceiling
joist
Spacing
between
studs vary
between 0” &
heade
r
Wall
Stud