Application c – Awntech DESTIN User Manual
Page 11
11
Using the brackets as a template (the top of the bracket has a ridge on it), drill (2) 5/16” holes
in the blocks. Sand the corners and paint the blocks to match your exterior paint color.
Drill a pilot hole into the stud with a 3/16” wood/metal bit.
Using a ratchet, install (2) 5/16”x4-1/2” lag screws (9/16” socket) and (2) 5/16” washers to
secure the bracket to the stud behind the block.
Seal around each block with clear paint-able silicone caulking.
Repeat the process for the remaining brackets.
APPLICATION C
INSTALLING WALL MOUNTING BRACKETS TO FACIA
CAUTION: BEFORE INSTALLING BRACKETS ON FASCIA ALL GUTTERING MUST BE REMOVED.
AWNING CAN NOT BE INSTALLED ON THE FACIA IF THE FACIA BOARD IS LESS THAN 5” HIGH.
TOP OF THE AWNING WILL STAY ABOVE THE ROOF LINE SINCE THE MOUNTING BRACKETS ARE
THE LOWEST POINT OF THE AWNING.
•
Place a safe ladder on a flat, dry, stable surface at both ends of where the awning will be
installed
•
Using a chalk-line and a string level (or a laser level) mark a horizontal line, one inch
above the bottom edge of the fascia
•
Using a stud finder, mark the center of all the rafters along the line where the awning will
be installed. Failure to center bolts in structural rafters will cause premature failure and
result in awning collapse and possible injury.
•
Mark both ends of where the awning will be installed on that line.
•
There should be one bracket within with in one feet of each end or close to the lateral arms
and then distribute the rest of the bracket(s) evenly spaced across the awning torsion bar.
Choose and mark the best studs to install the brackets on given those requirements.
•
Using the bracket as a template (the top of the bracket has a ridge on it), mark the holes.
Place the bottom of the bracket on the chalk line.
•
Drill a pilot hole into the rafter with a 3/16” wood/metal bit. Using a ratchet, install (2)
5/16”x5” lag screws (9/16” socket) and (2) 5/16” washers to secure the bracket to the
fascia.
•
Repeat the process for the remaining brackets.
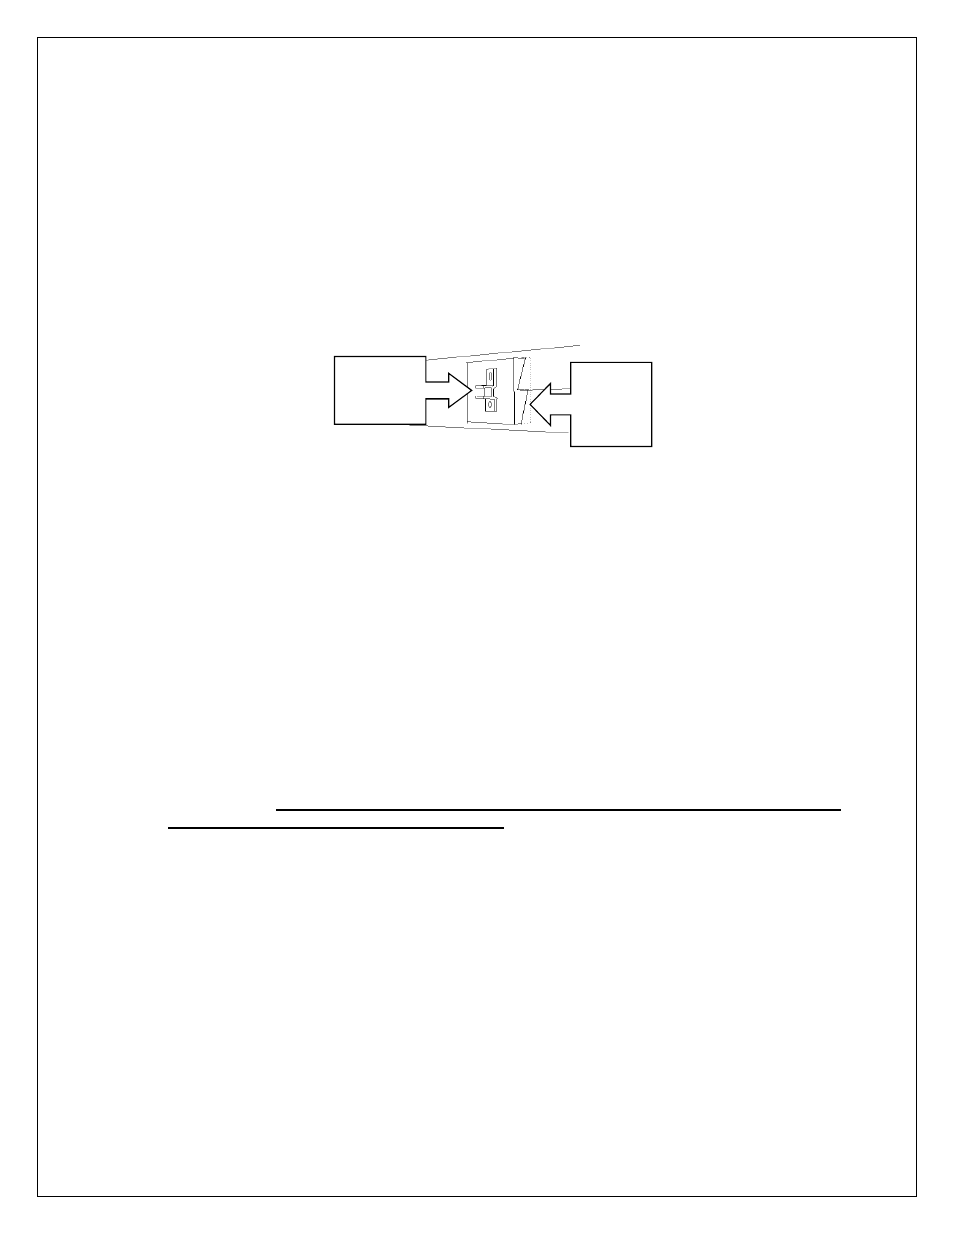
BRACKET
BLOCK