Application b – Awntech DESTIN User Manual
Page 10
10
•
For concrete surfaces: Use a 5/16” masonry bit to drill 3” deep holes into the surface. Insert
two 5/16”X3” wedge anchors into the hole. Install a washer on each anchor. Place the bracket
so the anchors come through the mounting holes. Install another washer and fully tighten the
nuts.
•
For flat siding: The easiest way is to mount a 1" x 5”- 6" treated/painted timber beam (the
same length as your awning width) through the siding into the studs using (2) 5/16”x3” lag
screws and (2) 5/16” washers. Then you mount the awning to the studs through the timber
beam. Or mount a 2" x 5”- 6" treated/painted timber beam (the same length as your awning
width) through the siding into the studs.
•
Repeat the process for the remaining brackets.
•
Seal around each bracket with a clear paint-able silicone caulking.
APPLICATION B
INSTALLING WALL MOUNTING BRACKETS TOALUMINUM, VINYL, HARDBOARD OR LAP
SIDING
Place a safe ladder on a flat, dry, stable surface at both ends of where the awning will be
installed
Using a chalk-line and a string level (or a laser level) mark a horizontal line at your chosen
height above the patio.
Using a stud finder, mark the center of all the studs along the line where the awning will be
installed. Failure to center bolts in structural studs will cause premature failure and result in
awning collapse and possible injury.
Mark both ends of where the awning will be installed on that line.
There should be one bracket within one feet of each end or close to the lateral arms and then
distribute the rest of the bracket(s) evenly spaced across the awning torsion bar. Choose and
mark the best studs to install the brackets on given those requirements.
Using the bracket as a template, mark the holes. Place the bottom of the bracket on the chalk
line
For aluminum or vinyl: Mark a 5-1/2”x5-1/2” square (centered on the stud left to right and on
the bracket vertically) where the bracket will be placed. Cut the siding with a sharp utility
knife.
For all other siding: Mark a 5-1/2”x5-1/2” square (centered on the stud left to right and on the
bracket vertically) where the bracket will be placed. Cut the siding with a circular saw set at
the depth of the siding. Corners may need trimmed with a hammer and a sharp chisel.
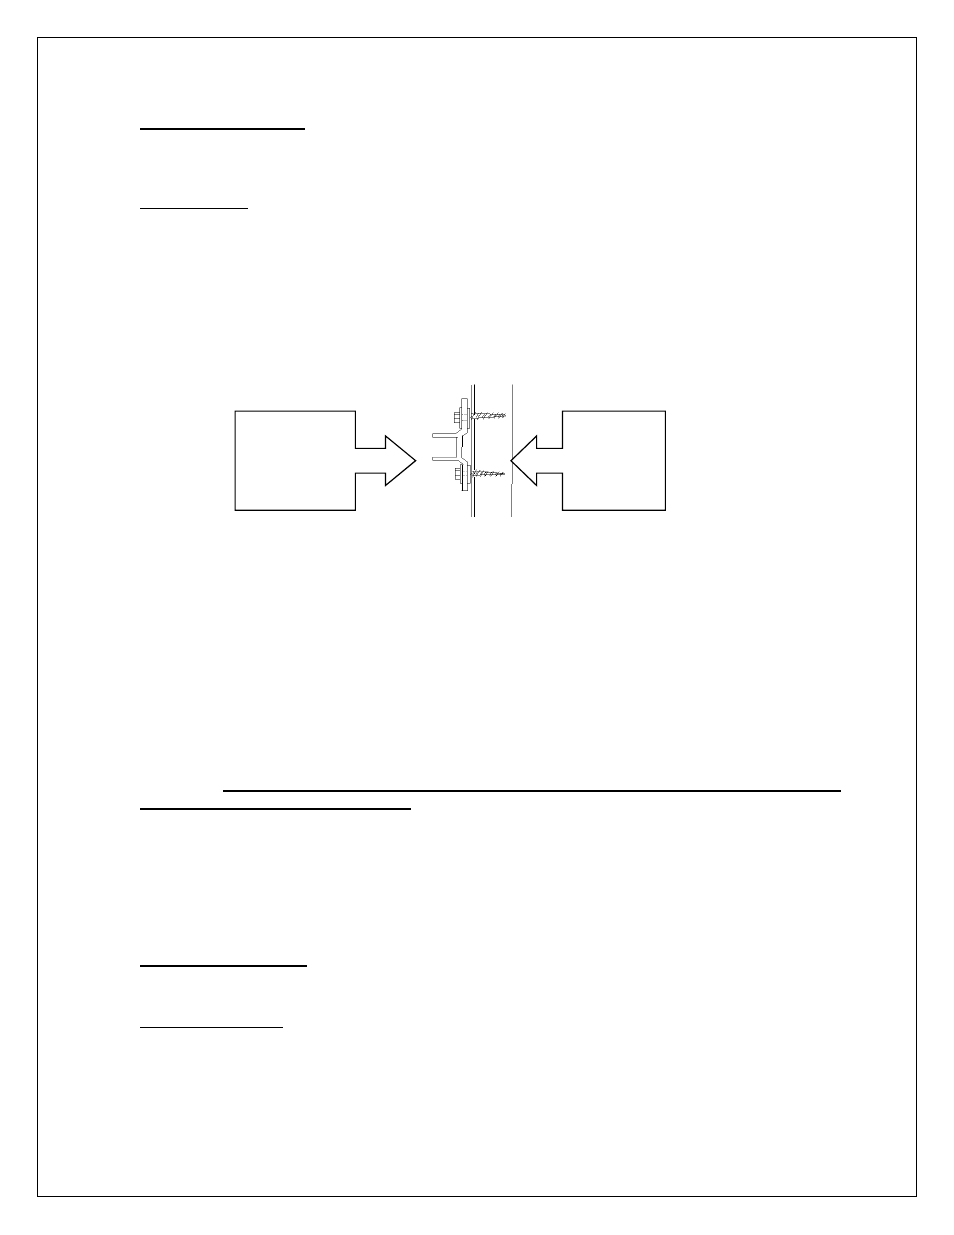
Make the appropriate number of 5-1/2”x5-1/2” wood blocks made from a piece of 2x6 lumber.
WALL
BRACKET
WALL
STUD