Section 3: servo installation (aileron) – Hangar 9 Piper J-3 Cub 40 ARF User Manual
Page 11
11
Required Parts
• Wing (L&R)
• Servo hatch (L&R)
• #2 x 3/8" screw (8)
• Control horn (2)
• 2mm x 20mm screw (6)
• Clevis (2)
• Clevis retainer (2)
• 4
3
/
4
" pushrod wire (2)
• Pushrod wire keeper (2)
Required Tools and Adhesives
• Phillips screwdriver (small) • 6-minute epoxy
• Felt-tipped pen
• String
• Drill
• Drill bit: 1/16", 3/32"
• Pliers
• “Y” harness
• 12" servo extension (2)
• Hobby knife
• Long Servo Arm (JRPA212) (2)
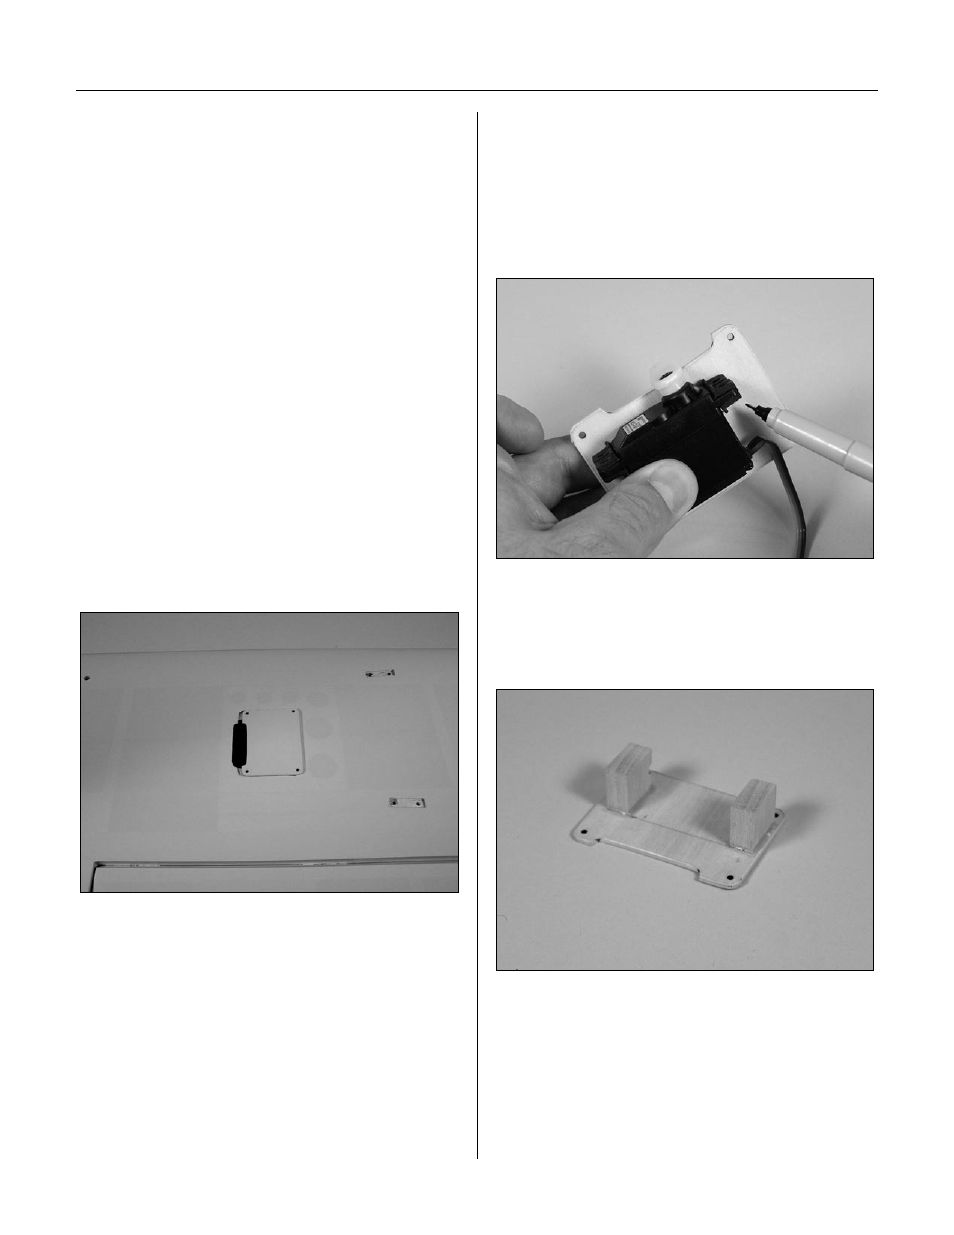
Step 1
Remove the covering from the servo opening in the
bottom of the wing using a hobby knife. Select the correct
servo hatch by checking the alignment for the servo arm
on the plate with the one on the wing.
Step 2
Install the recommended servo hardware (grommets and
eyelets) supplied with the servo. Temporarily install a long
half servo arm (JRPA212) onto the servo and position
the servo onto the hatch so the servo arm is centered in
the notch. Once satisfied, mark the location for the servo
mounting blocks using a felt-tipped pen.
Step 3
Locate the 3/8" x 3/4" x 3/4" servo mounting blocks.
Use 6-minute epoxy to glue the blocks to the hatch. Let
the epoxy fully cure before proceeding to the next step.
Section 3: Servo Installation (Aileron)