COP-USA DVR2308SE-SL User Manual
Page 119
4/8/16DVR Quick Start Guide
9
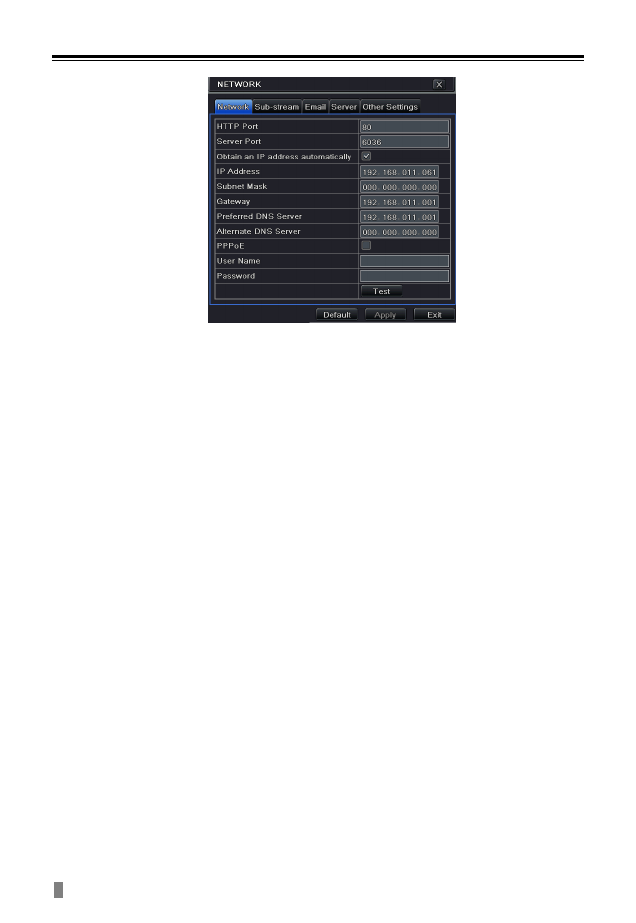
Fig 5-1 Network configuration
Note:If the ActiveX cannot be downloaded or installed, please refer to
Appendix A Q7 in the user manual.
5.2 Access DVR on WAN
1. Connect the DVR to internet through router or virtual server
Please enter into MenuSetup Network Setup as shown in Fig 5-1.
Input IP address, Subnet, Gateway. If using DHCP, please enable DHCP in
both the DVR and the router.
Forward IP address and port number in Virtual Server setup of the router or
virtual server. Configure the firewall to allow accessing the DVR. (If the user has
enabled the UPnP function in both the DVR and router, he can skip this step.
Please refer to the relevant chapter for more details.)
If users want to utilize dynamic domain name, please apply for a domain
name in a DNS server supported by the DVR or router. Then add to the DVR or
router.
Open IE browser, input IP address, or dynamic domain name and enter. If
HTTP port is not 80, add the port number after IP address or domain name.
IE will download ActiveX automatically. Then a window pops up and asks for
user name and password. Input name and password correctly, and enter to
view.
2. Connect the DVR to Internet through dial-up ADSL
Enter into the DVR‟s Main MenuSetupNetwork interface to enable PPPoE
and then input user name and password received from your ISP. Next, click
„Apply‟. The DVR will connect to the server and would give a confirmation
message.