Remote surveillance – COP-USA DVR2308SE-SL User Manual
Page 118
4/8/16DVR Quick Start Guide
8
In this interface, user can set start, end time and channels to search the
captured images and save, lock or delete these images. There are at most
2000 images which can be saved in the SATA disk. If there are more images
saved in the SATA disks than 2000 images, those additional images will
supersede prior images. Double click the image with the left mouse to
automatically playback from the time of the image captured.
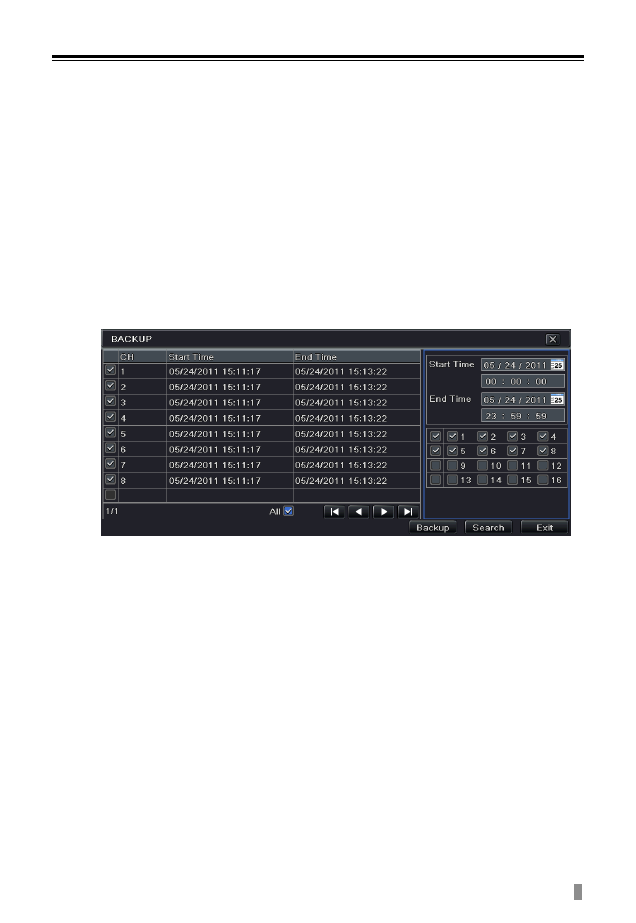
4.2 Back up
This unit supports backup by USB Flash and USB HDD.
Enter into Backup interface (refer to Fig 4-10), set the start & end time, select
channels and then click Search button to display the searched data in the data
backup list box.
Press Backup button to begin to write video from HDD inside DVR to backup
device. Click Start button to start backup.
Fig 4-10 Backup setup
5. Remote Surveillance
In order to view the DVR from a network it must be connected to a LAN/WAN
or internet. The network setup should be done accordingly.
5.1 Access DVR on LAN
Please enter into MenuSetup Network Setup as shown in Fig 5-1.
Input IP address, Subnet, Gateway. If using DHCP, please enable DHCP in both
the DVR and the router. Enter into Menu Information Network, and user
can check the network settings of the DVR.
Enter into Record Setup to set network video parameters like resolution, frame
rate etc.
Open IE on a computer on the same network. Input the IP address of the DVR
in IE address bar and press enter. If HTTP port is not 80, add the port number
after IP address or domain name.
IE will download ActiveX component automatically. Enter the username and
password in the subsequent window