Checkline 3000FX Series User Manual
Page 13

- 16 -
6 .0 M
AN AGI N G
S
I N GLE AN D
S
TAT I ST I CAL
V
ALU ES
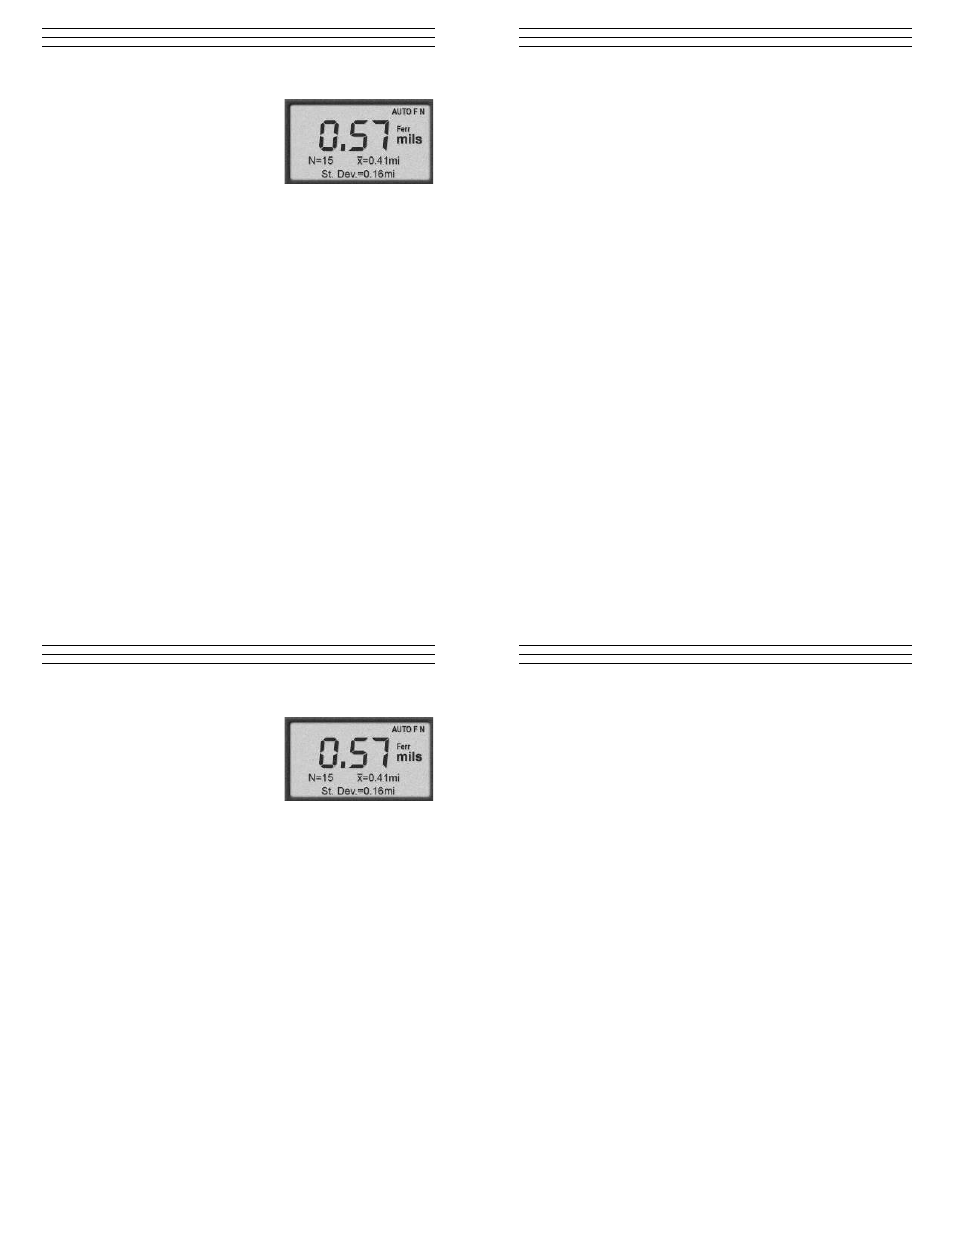
The 3000FX gauge is provided with
online statistics. The statistical values
are re-calculated and displayed in the
two bottom lines after everymeasure-
ment.The statistical values calculated
by the 3000FX gauges are:
N:
Number of measured values
x:
Average of measured values
s:
Standard deviation
Max: Maximum single value of the measurement series
Min: Minimum single value of the measurement series
Note:
The DCFN-3000FX can store a total of 80 readings combin-
ing the F-mode N-mode, not 80 readings in each mode (160 total).
6.1 Selecting which statistical values will be displayed.
1. Press ▼ repeatedly until Options appears on the display.
2. Press
OK
.
3. Press ▼ Until On-Line Statistics appears on the display.
4. Press
OK
.
5. Press ▼ to select either Maximum and Minimum or
Mean and Std Deviation for display.
6. Press
OK
to confirm your selection.
6.2 Displaying and printing single values
To display single values:
1. Press ▼ repeatedly until Statistics appears on display.
2. Press
OK
. Printout of statistics appears on the display.
- 13 -
1. Carry out a zero procedure (see section 4.2).
2. Press
▼. Calibration appears on the display.
3. Press
OK
. Zero Setting appears
4. Press
▼ again. Foil Calibration appears.
5. Press
OK
. Place probe on foil. Standard appears.
6. Put the measurement foil on the uncoated test object and
place the probe repeatedly on the foil.
7. Press
▼ or ▲ until the displayed value agrees with the
thickness value of the calibration foil.
8. Press
OK
. Calibration has been set appears briefly, then
the start screen with four dashes - - - - appears.
You can now carry out the measurement
4.4 Zero
Offset
In this menu item, a constant positive or negative value can
be set. This value is automatically added to the measured value
or subtracted from the measured value every time a measure-
ment is carried out. The display then shows the addition or the
difference. Moreover, the zero offset setting is always indicated
below in the display as a reminder.
This measuring mode is useful when determining the upper
coating layer of a multi-layer system. If the lower layer(s)
is (are) known and show an adequately uniform thickness,
the coating thickness of this (these) layer(s) can be set as a
negative offset value. The display then only shows the
thickness of the top layer.
When measuring coated rough metal surfaces, this mode can
also be selected. In this case, the roughness effect, which is
determined on the basis of the uncoated rough metal surface, is
