1 connect the pc adapter to the pc, 2 connect the easy dock pro, Connect the pc adapter to the pc – Warpia SWP220 User Manual
Page 10: Connect the easy dock pro
Wireless USB DisplayDock Set User Guide
3.1 Connect the PC Adapter to the PC
Connect the Wireless USB PC Adapter to a high speed PC USB port. The system will
automatically detect and install the drivers for the connected PC Adapter.
System Tray icon turns red
to indicate that the PC Adapter (Host) is ready to
connect to any paired device in range.
3.2 Connect the Easy Dock PRO
1. Attach the Easy Dock PRO to the remote display device (TV/Projector/Monitor), and
ensure the PC (with PC Adapter attached) is within 3 meter distance from the Easy Dock
PRO for the initial connection. Ensure the two adapters have clear line-of-sight. Connect
the provided power supply to the Docking Base power receptacle.
Note
: The PC Adapter and Device Adapter in this set are already paired and do not require
performing a pairing procedure. If you should need to perform pairing manually for
any reason (e.g. connecting to a new host PC Adapter, or adding a Device Adapter
that was not purchased in a set), please refer to Appendix B: Pairing Procedure
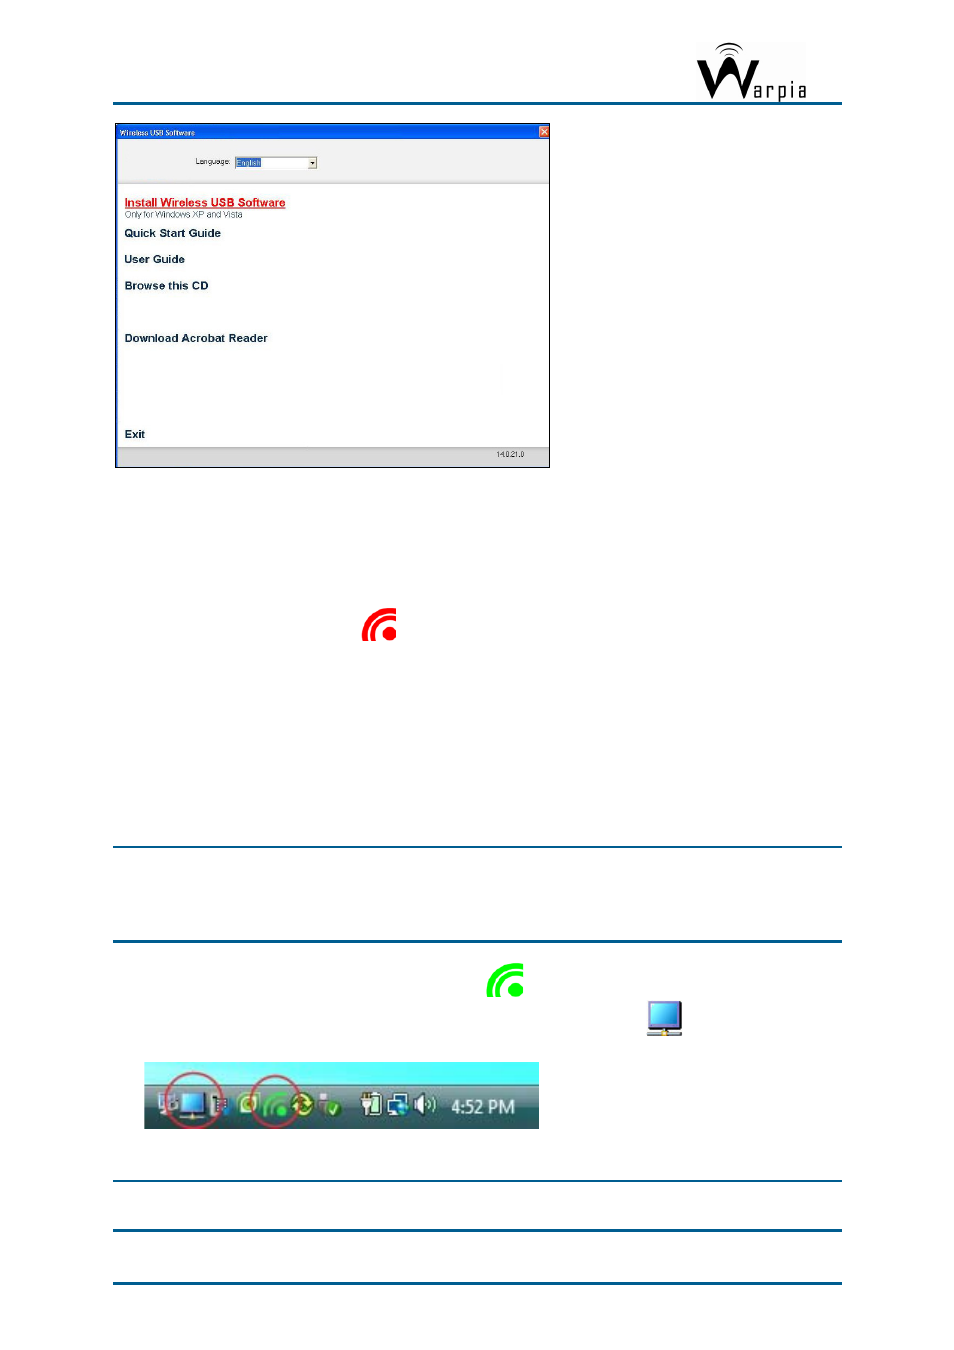
2. Wait for the System Tray icon to turn green
, indicating that a wireless connection
with the Easy Dock PRO has been established. The Display icon
is also displayed as
soon as a connection is established and the Display drivers are active.
Note
: If you do not see the icon changing to green, or do not see the Display icon, please
see Appendix A: Troubleshooting Help for suggestions.
Page 10