Introduction, Tools, Helpful hints – Satellite Mondo User Manual
Page 2
PN 20340 REV G
Page 1
INTRODUCTION
These Assembly Instructions cover the portable restroom. Portable restrooms must be assembled according to approved
assembly procedures. Avoid variations in assembly which could adversely affect product life.
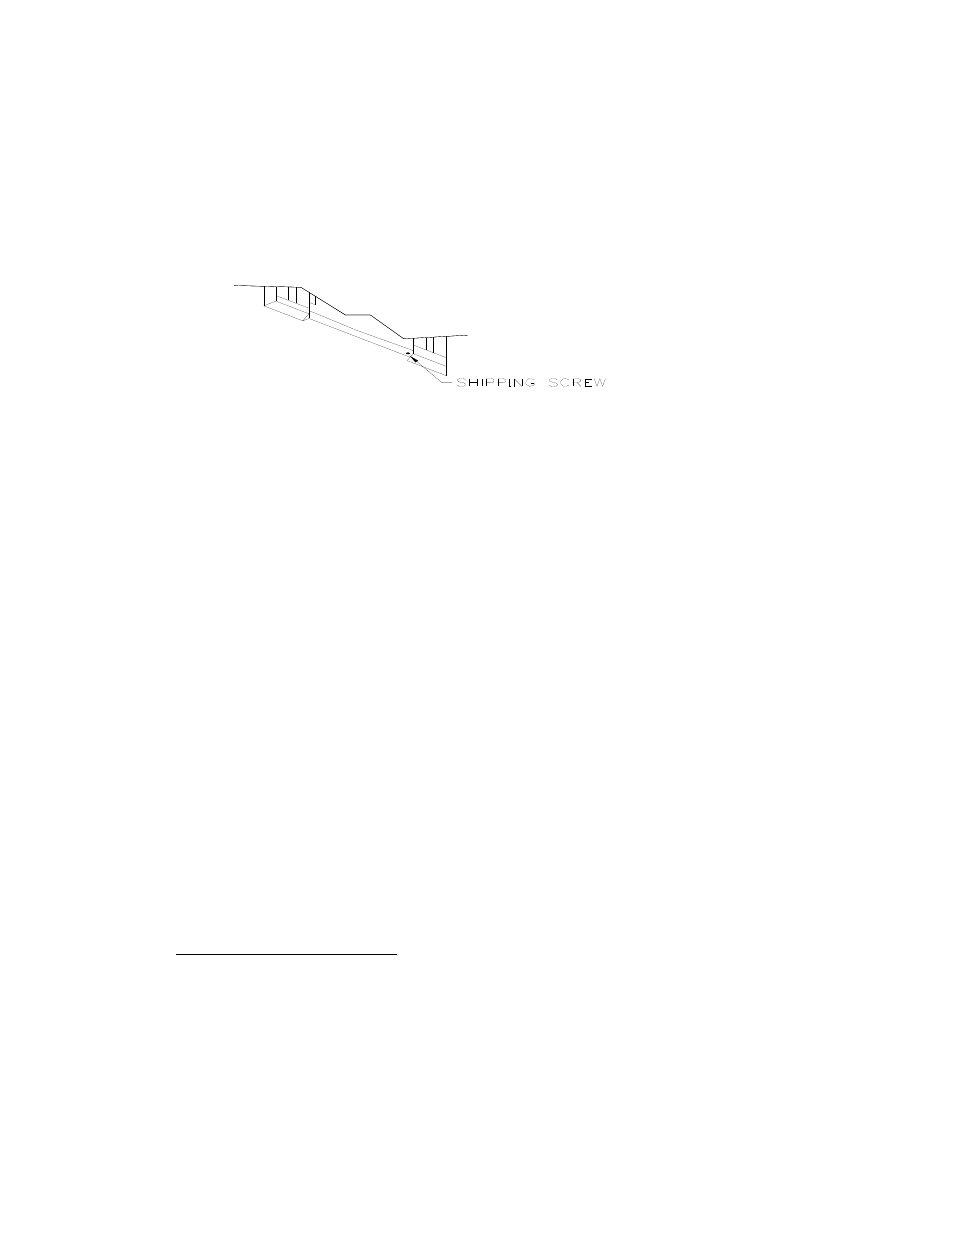
IMPORTANT: Do not remove shipping screw from bottom of door until instructed to in the “Install the Front Assembly”
step.
• The assembly procedures are written for assembly of single units. If assembling multiple units, considerable efficiency
can be gained by having a crew working in assembly line fashion.
TOOLS
1.
HAND OR AIR RIVET GUN
2.
DRILL ELEC/CORDLESS
3.
3/8 NUT DRIVER BIT
4.
1/4 DRILL BIT
5.
DEBURRING TOOL
6.
#2 PHILLIPS SCREWDRIVER OR DRIVER BIT
7.
5/16 DRILL BIT
8.
APRONS (CARPENTERS)
9.
1/2 WRENCH OR SOCKET AND RACHET SET
HELPFUL HINTS
• Keep panels out of direct sunlight
• Have an apron with at least two large pockets, easy to get parts out of
• Don’t open up all your kit boxes. Open up only enough kit boxes to assemble the number of toilets you are currently
working on. KEEP PARTS ORGANIZED.
• Use toilet paper holders for parts bins on multiple unit assembly
• The door latch can be put on at any time. It may be more efficient to have someone do this early on multiple
unit assembly.