Attaching the video camera, Adjusting the video device – Welch Allyn 88460 Optical Colposcope with Swing Arm Roller Stand - User Manual User Manual
Page 14
10
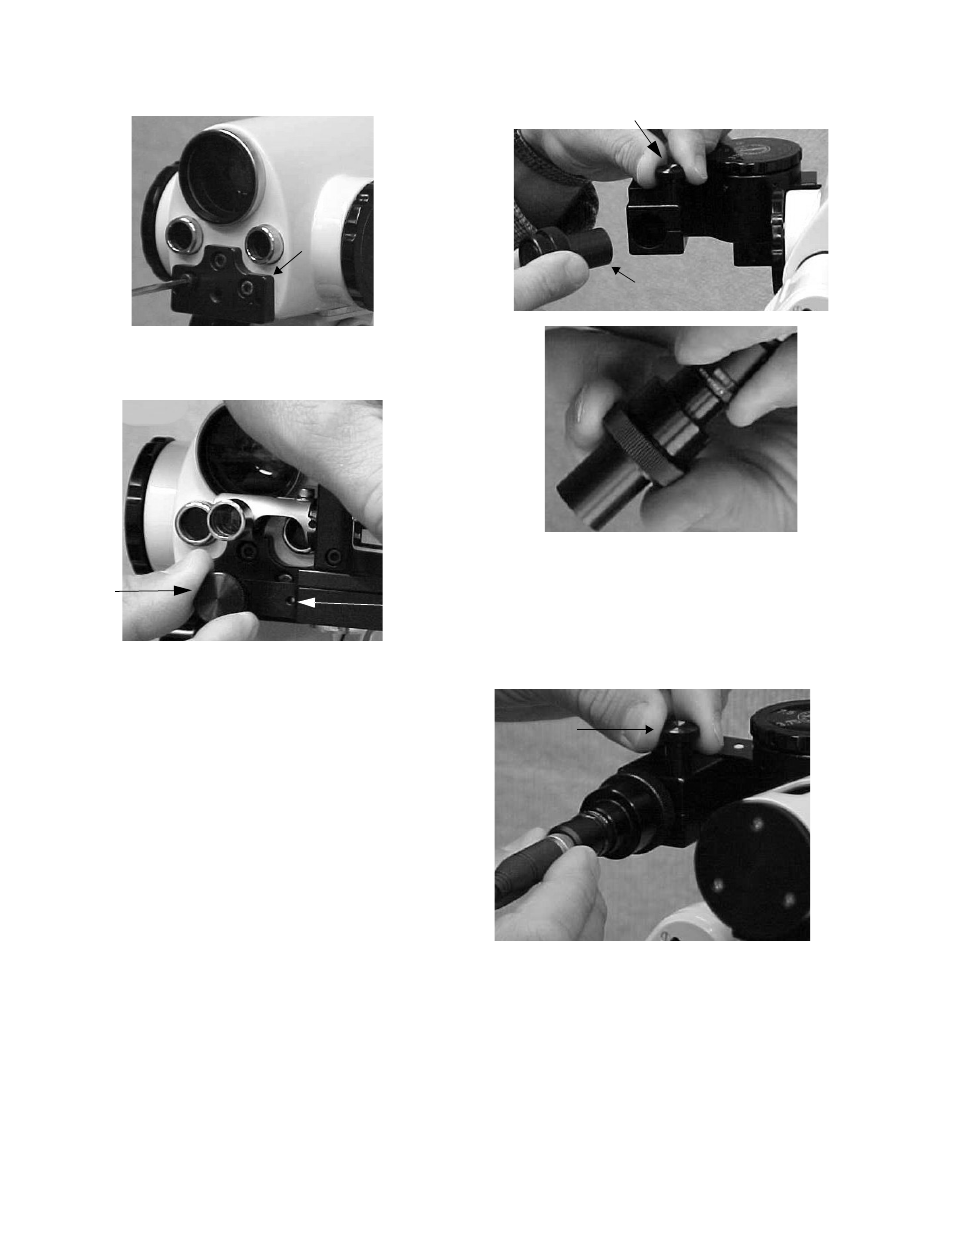
Attach the mounting plate (B) onto the front surface of
the Standard Colposcope with the 3 M4 Allen screws
provided.
The video adapter is attached to the mounting plate
using the knurled screw (C). Verify the pilot pins (D) are in
the correct position while tightening.
Attaching the Video Camera
Loosen the top clamping screw (E), take the C-mount
barrel (F) out of the video adapter, remove the lens cover,
and screw it firmly into the lens socket of the video cam-
era.
To prevent dust from getting into the imager, it is sug-
gested that the camera head is facing down during this
procedure. Re-insert the C-mount barrel, along with the
camera, into the video adapter until it goes no further.
Switch the video on and turn the camera with the C-
mount until the image on the monitor is in the upright
position. Tighten the clamping screw (E).
Adjusting the Video Device
Adjust the video adapter to ensure that the center of the
colposcopic image is also the center of the image on the
video. Use a simple object with a flat surface and good
contrast (e.g. a medicine box) to aid in the adjustment.
B
C
D
E
F
E