Vintage Cellars CellarPro Owners Manual User Manual
Page 14
13
8. The cooling unit is now free to remove. Drop front end down, and move side to
side to free from cabinet opening.
CAUTION: Two people may be required to remove the cooling unit, which weighs 45
pounds. Do not let the cooling unit drop on unprotected bottle racks.
TO INSTALL NEW COOLING UNIT
1. Wait 24 hours before plugging in and operating your CellarPro cooling unit.
2. Carefully remove the new cooling unit from the packaging. You may reuse this
packaging for shipping or storing the old cooling unit
3. Remove any materials that have been packed inside the exhaust cavity.
4. Before installing the cooling unit, make sure it works by plugging it in and
letting it run on a hard, flat surface. Check that cold air is being produced by
the unit.
5. NEVER turn the cooling unit on its side or upside down
6. The cooling unit should be plugged into an outlet with a 15-amp circuit
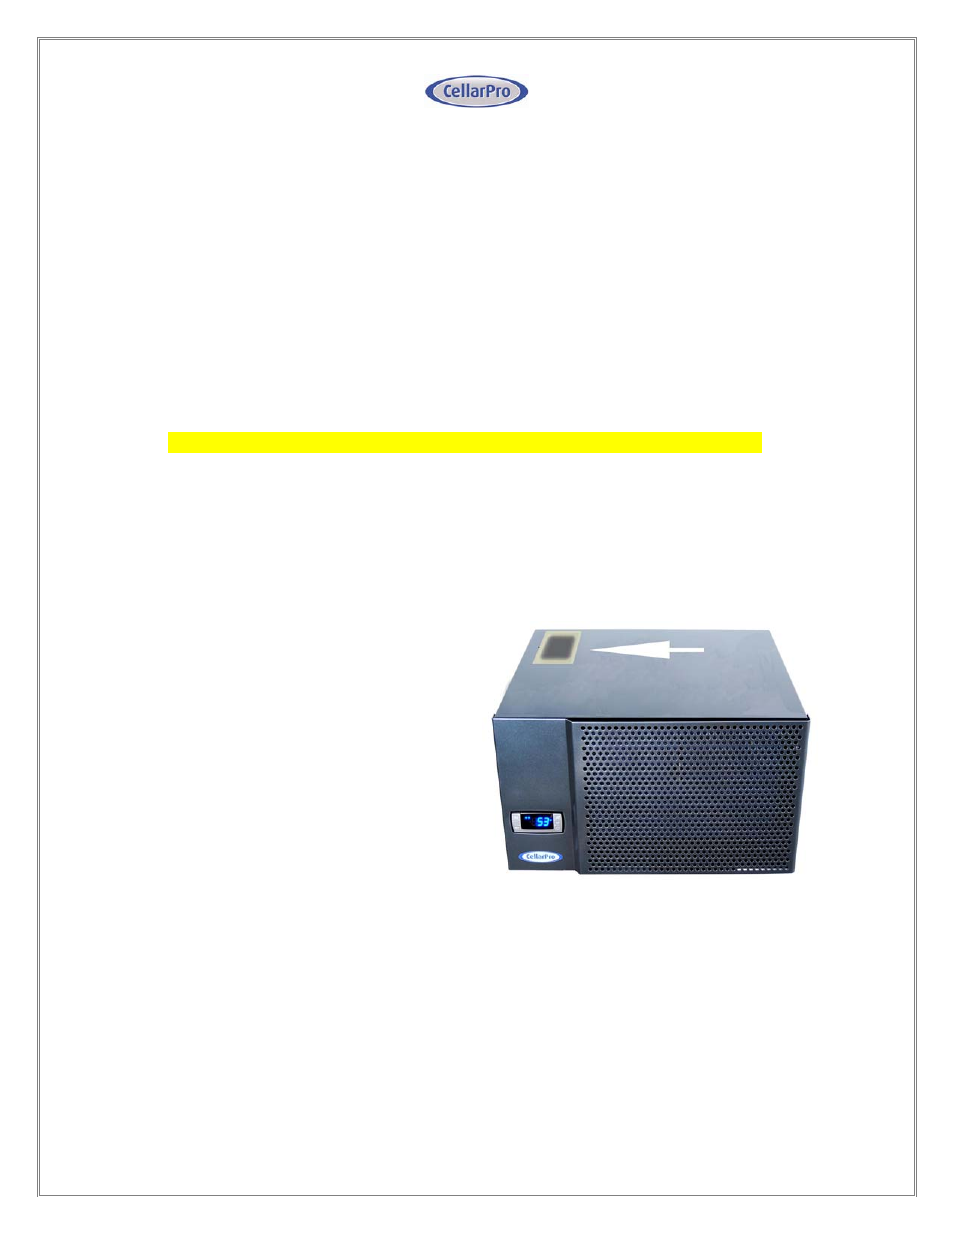
7. Before installing the cooling unit,
make sure that the exhaust panel
is installed in the correct position.
For rear-vented cellars, the
exhaust panel MUST cover the
TOP exhaust vent (see picture at
right). In this configuration, the
cavity at the REAR of the cooling
unit is OPEN.
8. Attach the mounting clips to the new cooling unit so that they line up with the
holes in the cellar. First, remove the front grill (attached with two screws on each
side of the cooling unit), attach the mounting clips and then replace the front grill.
9. Some cellars have three pieces of foam located on the bottom and on each side
of the bracket that supports the back of the cooling unit. These foam pieces
should be placed in their original locations
10. Follow the removal instructions described above in reverse.