Kontron KISS 2U Short KTQ67 User Manual
Page 32
8. Installation and Removal
KISS 2U Short V2 – User’s Guide (V1.00)
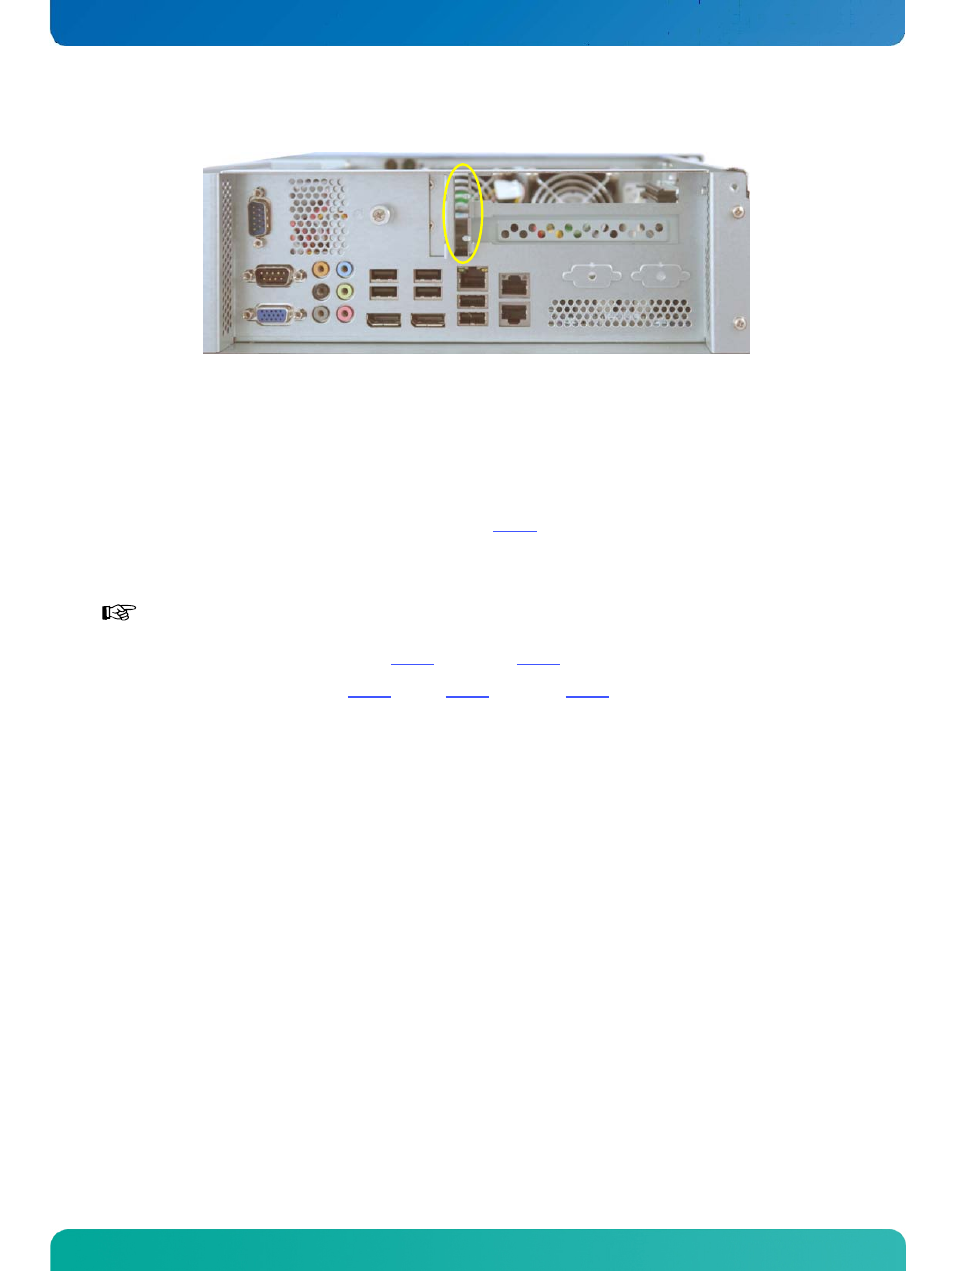
Fig. 32: Detail rear side of KISS 2U Short V2 with opened slide bracket
4. Insert/remove the expansion card into/out of the PCI/PCIe slot of the riser caed.
5. Place the bracket of the expansion card or the slot bracket on the rear side of the chassis.
6. Move the slide bracket to the right until it rests firmly on the brackets of the expansion cards or the slot brackets.
7. Secure the slide bracket position with the fastening screws (Fig. 31, pos. 1)
8. Close the system and secure the cover with the captive knurled screw at the front side and the two captive knurled
screws on the rear side.
In order to close the KISS 2U Short V2 platform chassis, ensure that the cover is reinstalled properly and
secured with following screws:
❏ the cover fastening screw (Fig. 11, pos. 6) and Fig. 25) on the front side
❏ the knurled screws (Fig. 15, pos. 6, Fig. 16, pos. 8 and Fig. 26) on the rear side
30
www.kontron.com