Tools required, Parts included – Elecraft P3SVGA User Manual
Page 6
6
Use a grounded anti-static mat on your work bench.
If you choose to use a soldering iron to work on your P3 for any reason, be sure your iron has an ESD-
safe grounded tip tied to the same common ground used by your mat or wrist strap.
Tools Required
1. #1 size Phillips screwdriver. To avoid damaging screws and nuts, a power screwdriver is not
recommended.
2. Pliers or wrenches for installing 1/4” (6.4mm) nuts 3/16” (4.8 mm) jack screw nuts.
The following tools are strongly recommended:
1. ESD wrist strap.
2. Static dissipating work pad.
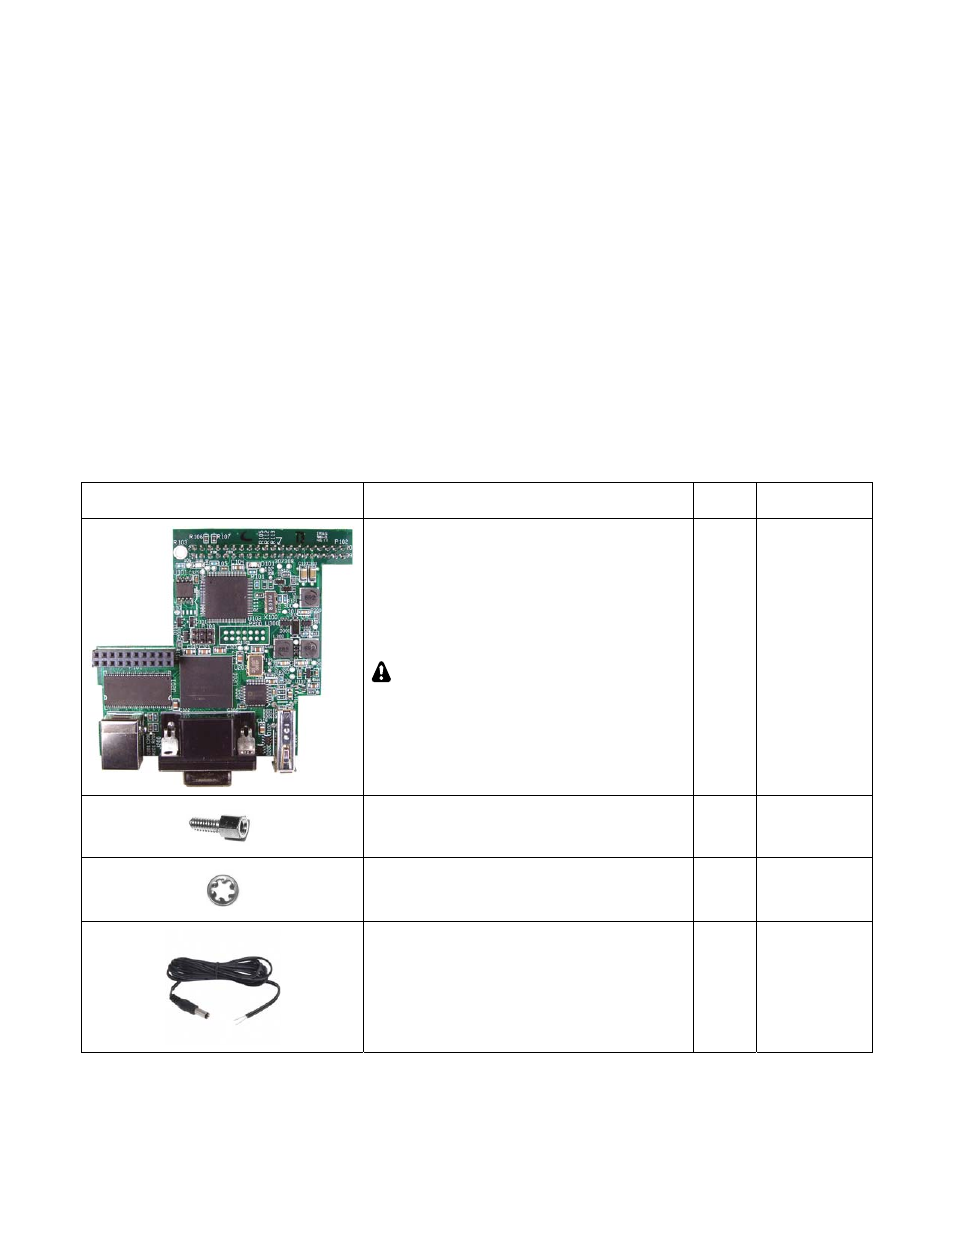
Parts Included
The following parts should be included in your kit. Check to ensure you have them all. If any parts are damaged
or missing, contact Elecraft for replacements (see Customer Service and Support, pg 4).
ILLUSTRATION DESCRIPTION
QTY.
ELECRAFT
PART NO.
P3SVGA Circuit Board Assembly
ESD Sensitive.
1 E850482
Jackscrew Nut, 4-40 (may be mounted on
the Circuit Board Assembly Connector)
2 E700078
Lock Washer, Inside Tooth, #4 (may be
mounted on the Circuit Board Assembly
Connector)
2 E700010
Power cord assembly (used to connect the
P3 directly to a 10 to 15 VDC power supply).
NOTE: Do not attempt to power your P3 from
the K3’s 12V outlet when equipped with the
P3SVGA. See Connections on pg 5.
1 E980221