Menu functions – AVer SPB350+ User Manual
Page 17
15
ENGLISH
M
M
e
e
n
n
u
u
F
F
u
u
n
n
c
c
t
t
i
i
o
o
n
n
s
s
The MENU functions of SPB350+ enhance fine-tuning your screen display, set the timer, select OSD language
and more. Press the MENU button to call up and exit from the main menu or sub-menu display. Then use
▲or▼ buttons to select the items in the menu list. Use ►/ENTER button to enter sub-menu and ◄/ ENTER
to return to main menu. To adjust the setting, press ◄or► buttons. To make a selection, press ENTER.
OSD Menu
Description
MENU
EFFECT
Press ► and use ▲or▼ buttons to select and display the image in Camera mode
into positive (true color), monochrome (black and white) or negative. Then press
►/ENTER to make a selection.
EFFECT
MIRROR
PRESENTER
SPLIT SCREEN
PIP
SETTING
TIMER
CAPTURE
RECALL
DEFAULT
COLOR
B / W
NEGATIVE
MENU
EFFECT
MIRROR
PRESENTER
SPLIT SCREEN
PIP
SETTING
TIMER
CAPTURE
RECALL
DEFAULT
ON
OFF
MIRROR
Press ► and use ▲or▼ buttons to select turning on/off MIRROR to flip the image
in Camera mode. Then press ►/ENTER to make a selection.
MENU
EFFECT
MIRROR
PRESENTER
SPLIT SCREEN
PIP
SETTING
TIMER
CAPTURE
RECALL
DEFAULT
SPOTLIGHT OFF
VISOR OFF
SHADE
COLOR
RESIZE
PRESENTER
Press ► and use ▲or▼ buttons to select and turn on either SPOTLIGHT or
VISOR. Then press ►/ENTER to make a selection. Only one feature can be used
at a time.
SPOTLIGHT overlays a frame on the presentation screen. Selecting SHADE
changes the opacity of the area outside the box from 0%, 50% and 100%, COLOR
to change the frame color from red, green and blue, and RESIZE to change the
size of the frame. To resize or move the frame around the presentation screen,
press the shuttle wheel ▲,▼,◄, & ►.
VISOR covers part of the presentation screen. The upper part of the presentation
screen is slightly exposed when it is being called each time. To expose part of the
covered area, press the shuttle wheel ▲,▼,◄, & ►. Select SHADE to change the
darkness of the shaded area between 50% or 100%.
MENU
EFFECT
MIRROR
PRESENTER
SPLIT SCREEN
PIP
SETTING
TIMER
CAPTURE
RECALL
DEFAULT
VERTICAL
HORIZONTAL
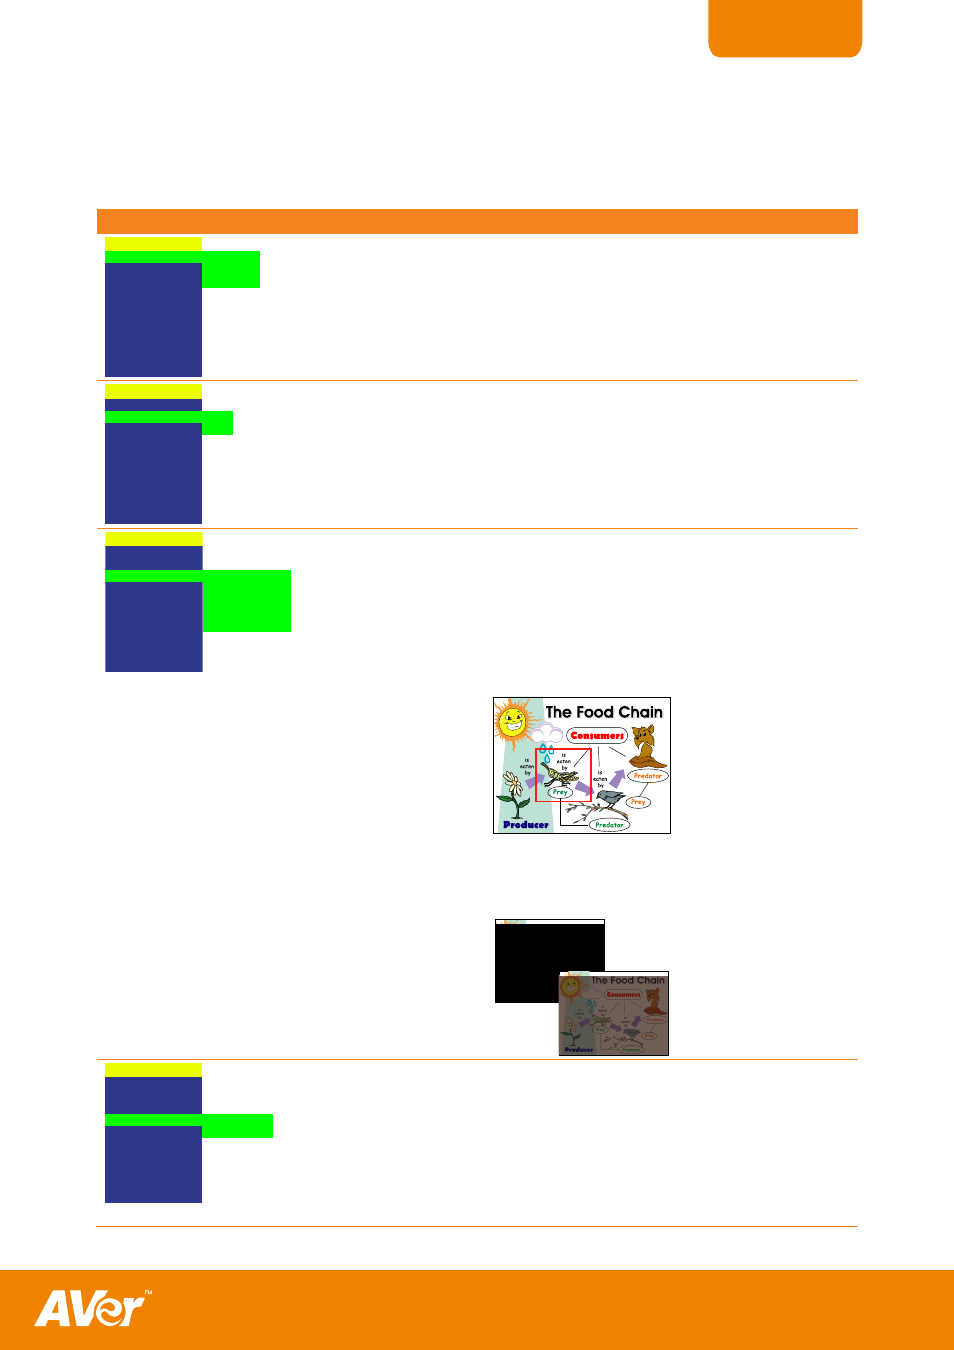
SPLIT SCREEN
Press ► and use ▲or▼ buttons to select dividing the screen either vertically or
horizontally. Then press ►/ENTER to make a selection.
This function divides the screen into two parts. One side displays the live image
from the SPB350+ camera and the other side displays the captured images from
the memory source in 8-thumbnail preview.
Use the ▲,▼,◄, &► buttons to make a selection and ENTER to enlarge the
selected image in split screen mode. To horizontally or vertically pan the enlarged
image, use the ◄ & ► or ▲or▼ buttons.