Using avervision spb350+ as a mass storage – AVer SPB350+ User Manual
Page 15
13
ENGLISH
Name
Function
(12) MENU
Pull up and exit the OSD main-menu and sub-menu.
(13) PC1 and PC2
Indicator
Indicate the selected RGB IN video source either in RGB IN 1 or RGB IN 2.
(14) Video Output
LED Indicator
Indicate the setting of the Video Output switch to which the video signal is being
sent out.
U
U
s
s
i
i
n
n
g
g
A
A
V
V
e
e
r
r
V
V
i
i
s
s
i
i
o
o
n
n
S
S
P
P
B
B
3
3
5
5
0
0
+
+
a
a
s
s
a
a
M
M
a
a
s
s
s
s
S
S
t
t
o
o
r
r
a
a
g
g
e
e
This enables you to transfer the captured image to and from the memory source and PC.
You MUST read and follow the instructions below BEFORE connecting the USB cable.
Every time when using the SPB350+ as Mass Storage, the following MUST be done:
1. Select the memory source.
To select
the
memory source, press MENU > select SETTING >
MEMORY > SOURCE > EMBEDDED or SD and press ENTER;
then press MENU to exit.
2. MUST set the USB CONNECTION as MASS STORAGE.
To set the USB connection type, press MENU > select SETTING
> USB CONNECTION > MASS STORAGE and press ENTER;
then press MENU to exit.
3. When “MASS STORAGE” appears at the lower left corner of the
presentation screen, you may now connect the USB cable (See
“Connecting a Computer via USB Connection” for illustration).
4. Upon connecting the USB cable, the system automatically
detects the new removable disk.
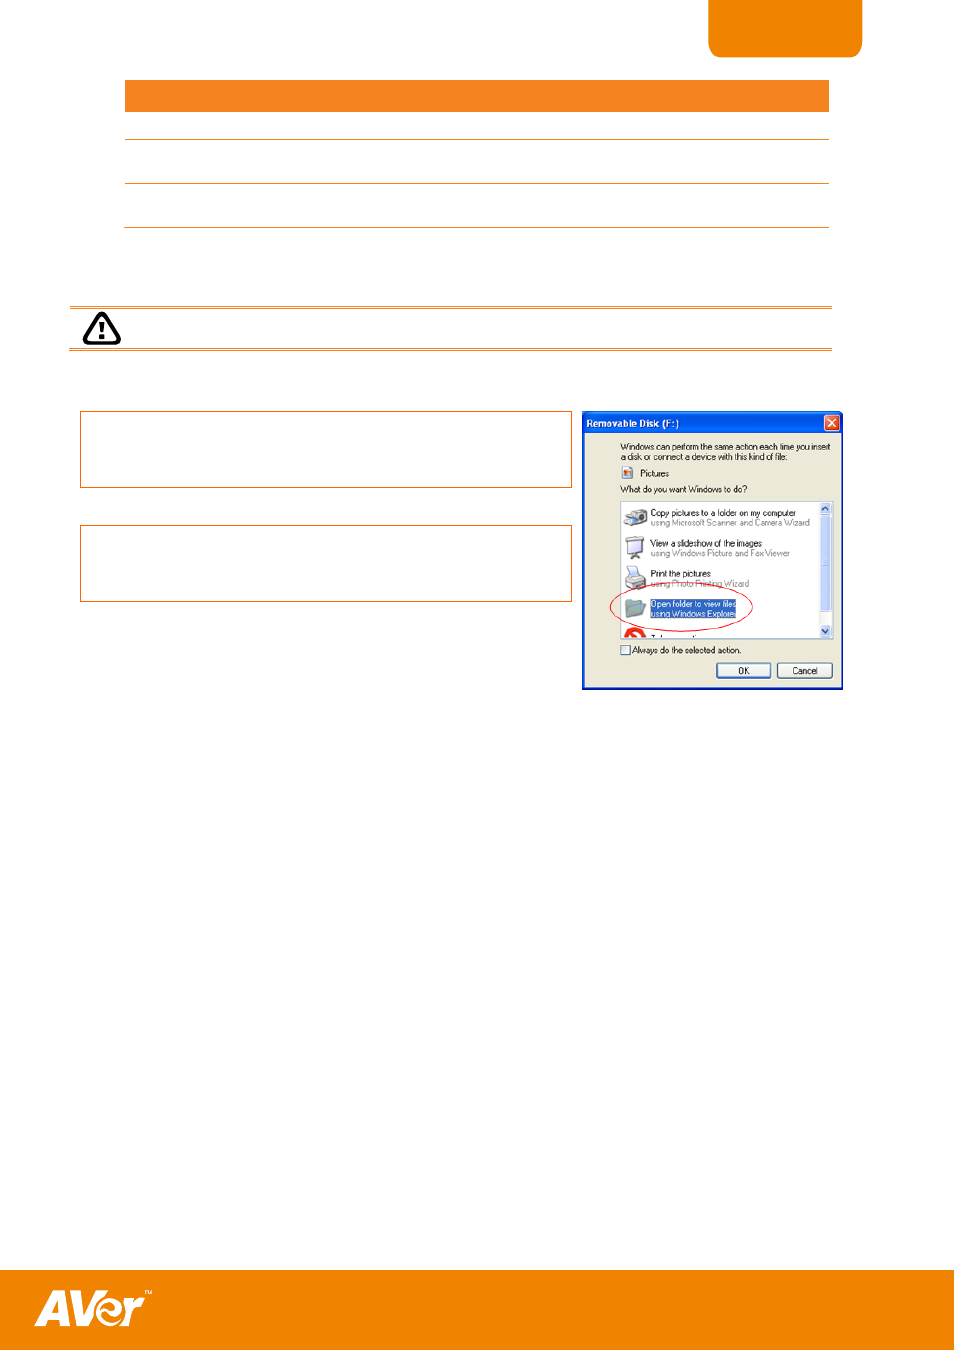
5. In the Removable Disk dialog box, select Open folder to view files
and then click OK. You may now transfer the file to and from
your PC hard disk.