Wide-flash adapter sw-102 (d, Target-light function, Wide-flash adapter sw-102 – Nikon os Speedlight SB-102 User Manual
Page 29: Cord fastening hanger, Attaching the sw-102
Attention! The text in this document has been recognized automatically. To view the original document, you can use the "Original mode".
Cord Fastening Hanger
This hanger secures the sync cord to the bracket to
keep it out of the way while shooting.
To use the cord fastening hanger, attach it to the speed-
light bracket as shown in the photo, then attach the
sync cord to the hook.
Wide-Flash Adapter SW-102 (D
Designed specifically for use with this flash unit, the
Wide-Flash Adapter SW-102 increases the SB-102’s
angle of coverage from that of a 28mm lens (on land
and underwater) to that of a 15mm lens (underwater).
When the adapter is attached, the SB-102’s GN is re
duced to 22 on land and 11 underwater (when using
ASA/ISO 100 film at “MFULL”),
•
W hen the SW -102 is attached, be sure to use the correct shooting
situation marks
{«¡
m
for underwater or
^
for on-iand shooting) when
setting the exposure calculation dial.
•
To prevent overexposure during close-up shooting within approxim ately
0.6m (2ft),
attach
the adapter even if
using a lens other than the
UW -Nikkor 15mm f/2.8N.
• To prevent the loss of the SW -102 and to enable it to be attached
quickly, tie one end of
a
piece of string to its hole and tie the other end
to the speedlight.
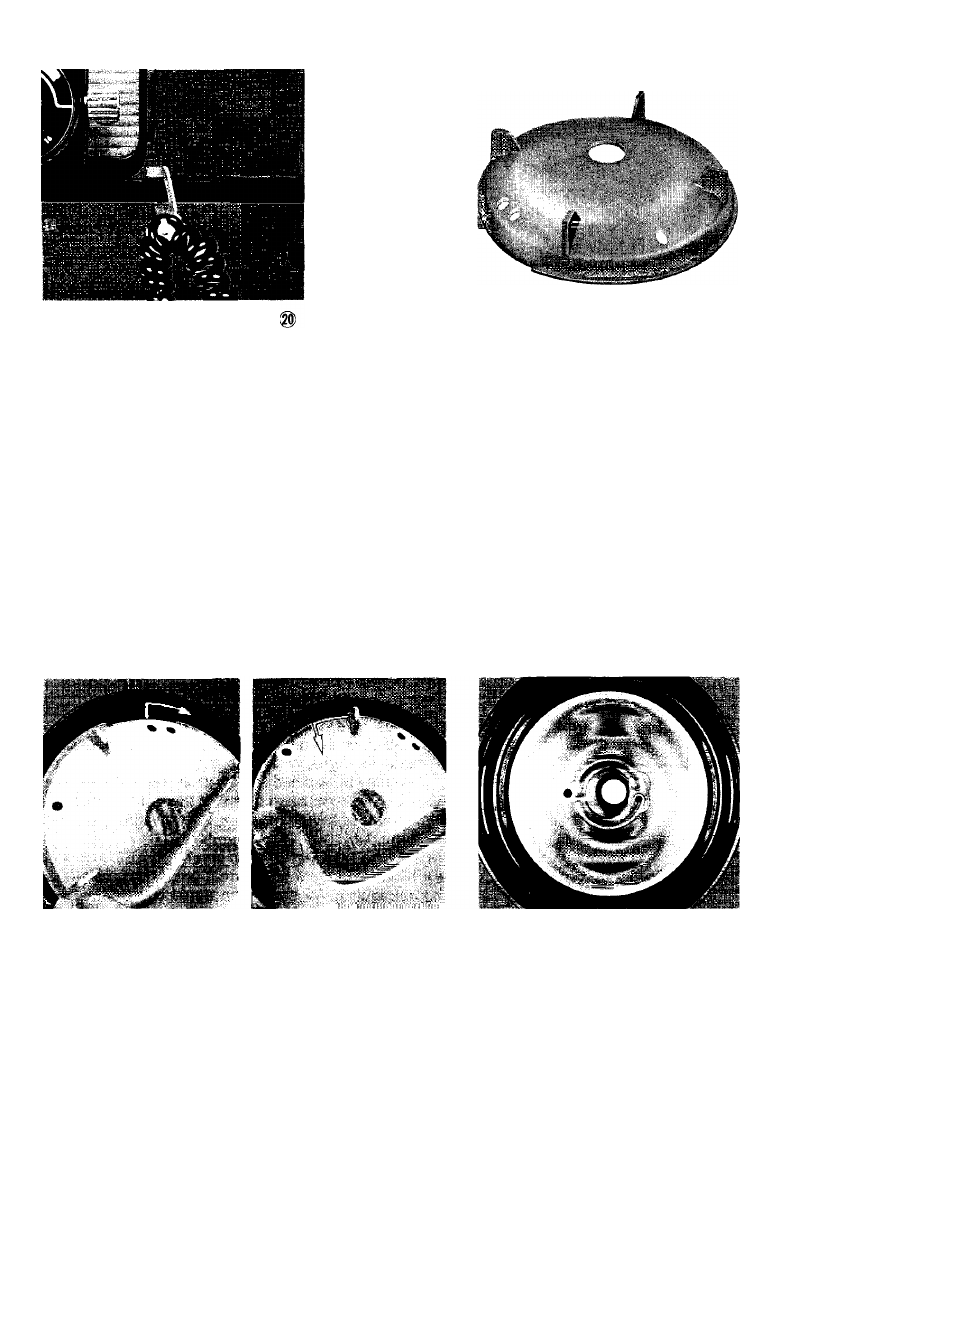
Attaching the SW-102
To attach the adapter, align the adapter’s mounting
notches with the adapter mounting catches on the flash
head, push the adapter onto the flash head as shown in
the photo, then turn the adapter clockwise as far as it
will go.
To remove: Turn the adapter counterclockwise and pull
it off.
Target-Light Function
The SB-102’s target-light enables the flash head to be
accurately positioned for close-up shooting regardless
of whether or not the speedlight is mounted on the
joint/arm. When the speedlight’s power switch is turned
on and the T-S switch ® is turned to "T.LIGFIT” or
“T&S,” the target-light will emit a beam of light to
indicate the direction of the flash head. To accurately
position the flash head, reset it by using the joint and
arm until the beam of light falls on the center of the
subject.
•Although you can shoot while the target-light is on, it is better to turn
the
T-S
switch
to
"OFF"
or
"SLAVE"
before
shooting
to
conserve
battery power.
• if the target-light is on when the flash is fired, the target-light will flicker
for a few moments. This does not indicate a malfunction.
• Recycling takes slightly longer when the target-light is being used.
29