Adjustment step 2, How and when to adjust the forces, Adjust the force – Craftsman 139.53675SRT User Manual
Page 29
Attention! The text in this document has been recognized automatically. To view the original document, you can use the "Original mode".
Adjustment Step 2
Adjust the Force
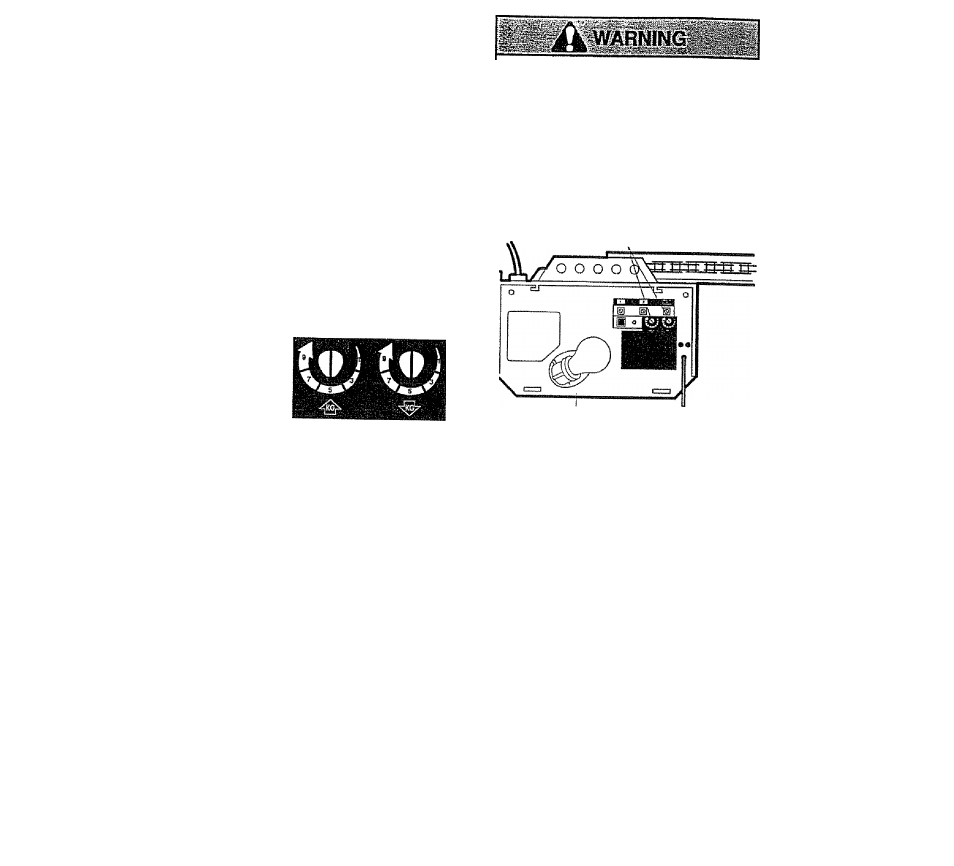
Force adjtjsirnent contrais are located on the right
Side рале1 of the opener. Force adjustment settings
regulate the amount of power required to open and
dose the door.
The door wifi
stop
in the
up
direction if anything
interferes with its travel. The door wii!
reverse
in the
down
direction if anything interferes with its travel
(including binding or unbalanced doors).
If the forces are set too light, door travel may be
intemipted by
nuisance reversals
in the
down
direction and
stops
in the ф direction. Weather
conditions can affect the door movement, so
occasional adjustment may be needed.
The maximum force adjustment range is 260 degrees,
about 3/4 of a complete turn, Oo not force controls
beyond that point. Turn force adjustment controls
with a screwdriver.
Too much force on the door will Interfere with
the proper operation of the safety reverse
system.
The door might not
reverse
properly
when required and could seriously Injure or
kill someone under it
Do not increase the
force beyond the minimum amount required
to close the door. Do not use the force
adjustments to compensate for a binding or
sticking garage door. Test the safety reverse
system
following
all
adjustments
to
force
levels. See page 30.
Forea Adjussment
Contrais,
Right Sida Panel
Acflustmem taba!
How and When
to
Adjust the Forces
Test the DOWN (close) force
Grasp the door bottom when the door is about
halfway through DOWN (close) travei. The door
should reverse.
Reversal halfway through down
travel does not guarantee reversal on a one-inch
obstruction. See page 30.
If the door is hard to
hold or doesn’t reverse, decrease the DOWN (close)
force by turning the control counterclockwise.
Make 10 degree turn adjustments until the door
reverses normally. After each adjustment, run the
opener through a complete cycle.
Test the UP (open) force
Grasp the door bottom when the door is about
halfway through UP (open) travel. The door should
stop, if the door is hard to hold or doesn't stop,
decrease UP (open) force by turning the control
counterclockwise.
Make 10 degree turn adjustments
unffl
the doorstops
easily. After each adjustment, run the
opener
through
a complete travel cycle.
if the door doesn’t open af
least 5
feet
Increase UP (Open) force by turning the control
clockwise. Make 10 degree turn adjustments until
door opens completely. Re-adjust the UP limit if
necessary. After each adjustment, run the opener
through a complete travel cycle.
If the door
reverses
during the down (close) cycle
and the opener lights aren’t flashing
increase DOWN (close) force by turning the control
clockwise. Make 10 degree turn adjustments until the
door completes a close cycie. After each adjustment,
run the opener through a complete travel cycle. Do
not increase the force beyond the minimum
amount required to close the door.
29