Caution, Warning – Tomei Powered TITANIUM MUFFLER User Manual
Page 8
4.
Fit the silencer rubber band to the silencer (take care not to scratch the silencer), and then mount it
to the exhaust hanger.
※Use the Silencer Band (⑧, previous page) , Silencer Band Rubber (⑨, previous page)
with the M8 Flange Bolts (⑩, previous page) , and Flange Nuts (⑪, previous page).
5.
Note the clearance of each part prior to tightening from the front.
Torque Specs
Flange Nut M10
(Previous Page ⑤) 【34∼39N・m(3.5∼4.0kgf-m)】
Flange Nut M8
(Previous Page ⑪)【20∼28N・m(2.0∼2.9kgf-m)】
Clamp Band
(Previous Page ⑥)【25N・m(2.6kgf-m)】
6.
Connect the Main Pipe A/B, Main Pipe B and Silencer Assembly with the Spring Mounts.
※Use the Springs, included in the kit (⑦, Previous Page).
CAUTION
· Please check all clearances with the vehicles body and make sure that the bolts are not interfering
with anything else. The clearances can vary with each vehicle. So you may need to loosen the bolts
on both the catalytic converter side and the front pipe side, so you can adjust the exhaust, to have
the right clearance with the cars body.
· After fitting the straight pipe and/or catalytic converter please check that there are no signs of oil,
dirt so as not to burn them later when the car is running.
· After fitting the exhaust, you should check if the rear bumper will
be at risk from heat from the pipe. You may need to add extra heat
shield protection on the rear bumper.
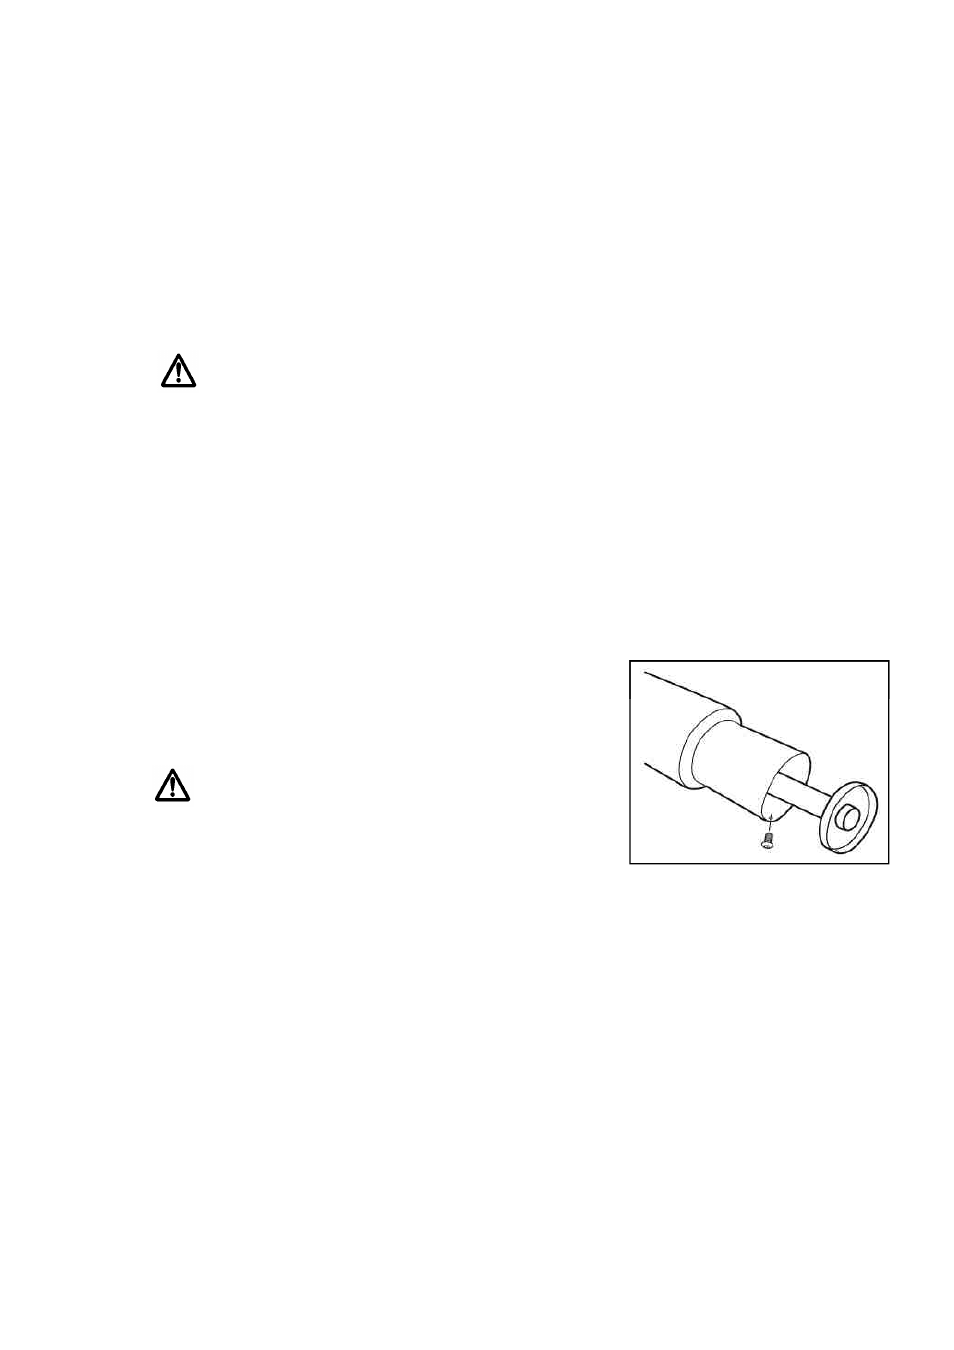
7. If needed you can then install the sound reducer.
※ Sound Reducer accessories (⑫)
8
※ Sound Reducer accessories (⑫)
Button Bolt M6 (⑬)
Tightening torque [8∼12 N・m (0.8∼1.2kgf-m)]
WARNING
* It is highly recommended not to use the sound reducer when
using the car for high speed/ hard driving as it may cause
problems.
* Only install or remove the sound reducer when the engine and exhaust is cold to avoid any burns
or injuries.
8. Reconnect the cars battery negative terminal.
8