Cradlepoint WIPIPE CBA750 User Manual
Page 27
CRADLEPOINT
CBA750 | USER MANUAL Firmware ver. 1.9.0
© 2012 CRADLEPOINT, INC. PLEASE VISIT
HTTP://KNOWLEDGEBASE.CRADLEPOINT.COM/
FOR MORE HELP AND RESOURCES
PAGE 25
As an alternative, you can locate a MAC address in a
specific operating system by following the steps
below:
Windows
98/Windows
Me.
Go
to
the
computer‟s Start
menu, select Run, type in
winipcfg, and hit Enter. A popup window will
be displayed. Select the appropriate adapter
from the pull-down menu and you will see the
Adapter Address. This is the MAC address of
the device.
Windows 2000/Windows XP/Windows 7. Go to the computer‟s Start menu, select Programs, select Accessories,
and select Command Prompt. At the command prompt, type in ipconfig /all
and hit Enter. The physical address
displayed for the adapter connecting to the router is the MAC address.
Mac OS X. Go to the computer‟s Apple Menu, select System Preferences, select Network, and select the
Ethernet Adapter
connecting to the router. Select the Ethernet
button and the Ethernet ID
will be listed. This is
the same as the MAC.
Save/Update.
Record the changes you have made.
Clear.
Re-initialize this area of the screen, discarding any changes you have made.
When you are done editing the settings, you must click the Save Settings
button at the top of the page to make the
changes effective and permanent.
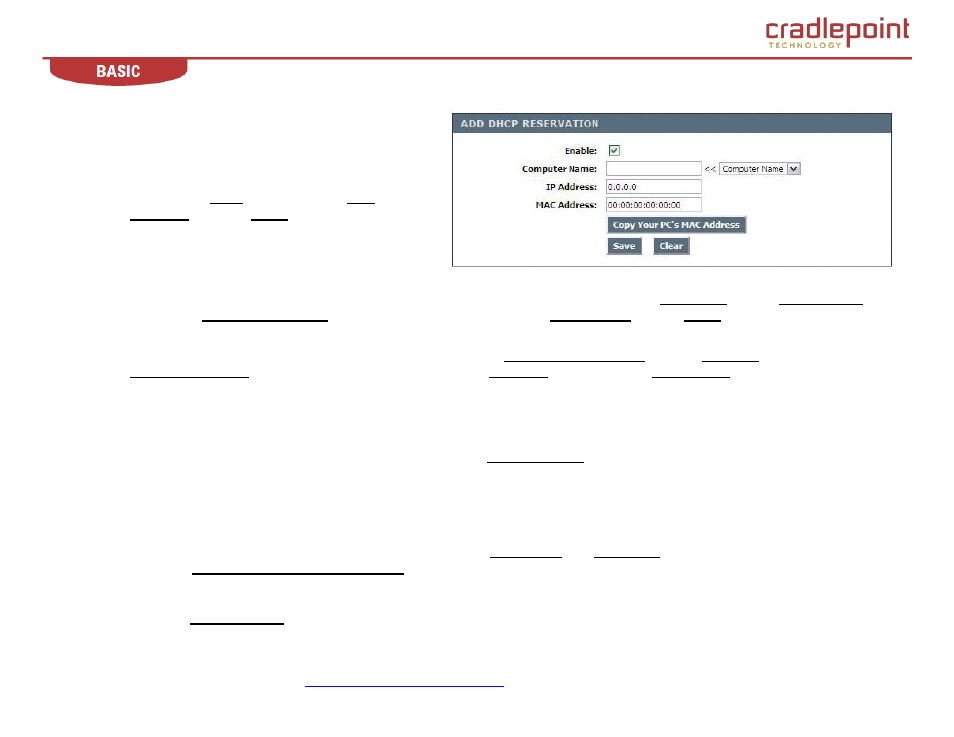
Example: A DHCP reservation is used for making sure the router always gives a computer or device the same IP address.
Let‟s say you have a
Wi-Fi printer
that you want to
access via
the Internet. You can connect to the CradlePoint Router
from the
Wi-Fi printer designated in this section
.
1. Enter a designated IP address somewhere between the
Starting IP
and
Ending IP
addresses.
2. Click the
Copy Your PC’s MAC Address
button and the CBA750 will detect the MAC address
of the device
and
enter it automatically.
3. The
printer
name can be entered in for reference but is not required.
4. Click the
Save Settings
button at the top of the page.