Installing a floppy drive (tower computer) – Dell Precision 490 User Manual
Page 69
b.
Push the vented metal insert until it clicks into place and its metal tabs rest flush against the chassis surface.
Install a drive-panel insert (see
Replacing a Drive-Panel Insert
8.
If you are installing another drive in the FlexBay, see the appropriate installation procedure in this section.
9.
Reinstall the drive panel (see
10.
Ensure that all connectors are properly cabled and firmly seated.
11.
Replace the computer cover (see
Replacing the Computer Cover
).
12.
Connect the computer and devices to electrical outlets, and turn them on.
Installing a Floppy Drive (Tower Computer)
1.
Follow the procedures in
Before You Begin
.
2.
Remove the computer cover (see
Removing the Computer Cover
).
3.
Remove the drive panel (see
).
4.
If another device is installed in the FlexBay, remove that device (see the appropriate removal instructions in this section).
5.
If metal shields are present in your computer (see
About the Metal Shields Present in Some Drive Configurations
) and the FlexBay is not populated, slide
the sliding-plate lever to the right and hold it in place as you pull to remove the vented metal insert from the FlexBay.
6.
Remove the FlexBay drive-panel insert (see
7.
If no screws are attached to the drive, remove the shoulder screws from the inside of the drive panel and attach the screws to the new drive.
8.
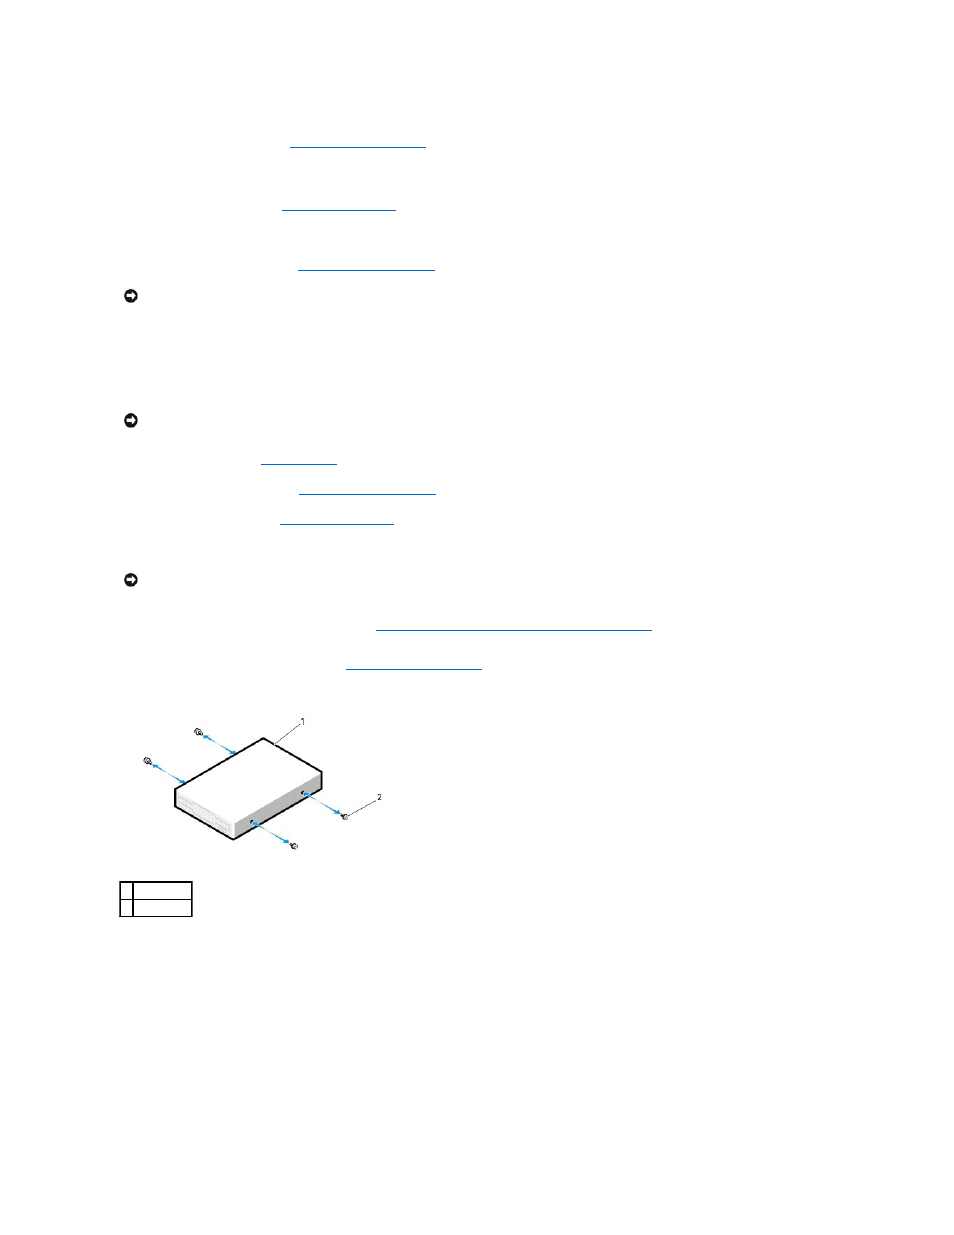
Gently slide the drive into the FlexBay until you hear a click or feel the drive securely installed.
NOTICE:
To connect a network cable, first plug the cable into the network port or device and then plug it into the computer.
NOTICE:
In a tower configuration with 3 hard drives, a floppy drive is not supported, since the third hard drive is installed in the FlexBay.
NOTICE:
If metal shields are present in your computer configuration, they must be installed at all times while your computer is in use or your computer
may not function properly.
1 floppy drive
2 screws (4)