Dell XPS 210 User Manual
Page 72
72
Removing and Installing Parts
5 Prepare the card for installation.
See the documentation that came with the card for information on configuring the card, making
internal connections, or otherwise customizing it for your computer.
CAUTION:
Some network adapters automatically start the computer when they are connected to a network.
To guard against electrical shock, be sure to unplug your computer from its electrical outlet before installing
any cards.
6 Place the card in the connector and press down firmly. Ensure that the card is fully seated in the slot.
7 If you are installing the card into the x16 card connector, position the card so the securing slot is
aligned with the securing tab, and gently pull the securing tab.
8 Place the card in the connector and press down firmly. Ensure that the card is fully seated in the slot.
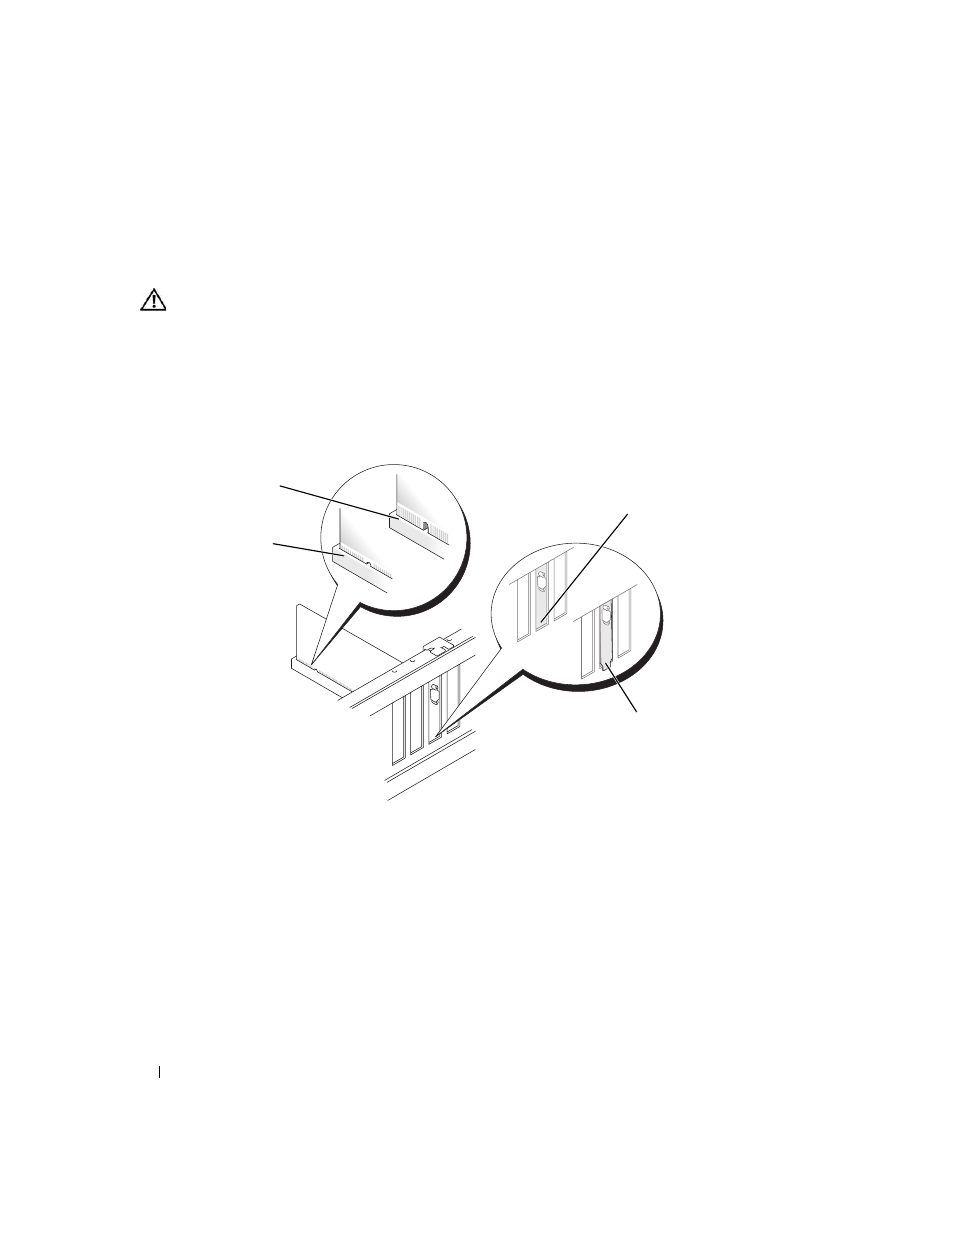
9 Before you close the card retention door, ensure that:
•
The tops of all cards and filler brackets are flush with the alignment bar.
•
The notch in the top of the card or filler bracket fits around the alignment guide.
1
card not fully seated
2
bracket within slot
3
bracket caught outside of slot
4
card fully seated
4
1
2
3