Front-panel inserts, Floppy drive, Removing a floppy drive – Dell OptiPlex GX60 User Manual
Page 122
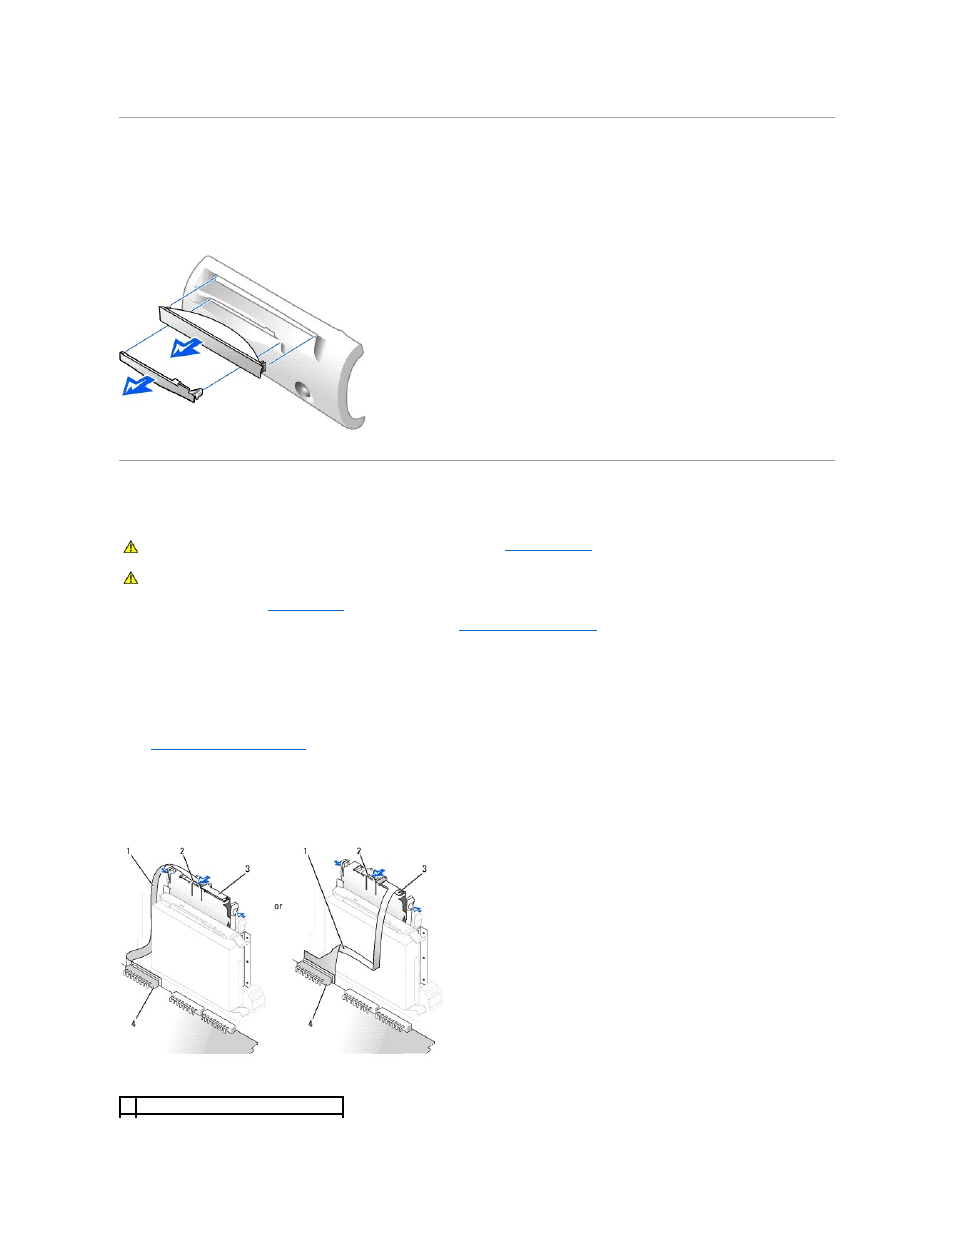
Front-Panel Inserts
If you are installing a new floppy or CD/DVD drive rather than replacing a drive, remove the front-panel insert.
Floppy Drive
1.
Follow the procedures in "
Before You Begin
."
2.
If you are installing a new floppy drive rather than replacing a drive,
remove the front-panel inserts
Removing a Floppy Drive
1.
Disconnect the floppy-drive cable from the system board connector (DSKT).
2.
Remove the power cable from the interposer board.
3.
Disconnect the CD/DVD drive cable
and the power cable from the CD/DVD drive.
4.
Remove or raise the drive by pressing the green tabs on either side of the drive and lifting the drive up.
5.
Remove the floppy-drive cable from the floppy drive:
a.
Remove the interposer board from the floppy drive by pressing the tab and rotating the interposer board.
CAUTION:
Before you begin any of the procedures in this section, follow the
safety instructions
.
CAUTION:
To guard against electrical shock, always unplug your computer from the electrical outlet before opening the cover.
1 floppy-drive cable