Ringing and answering menu, Fax history more options menu – Dell 966w All In One Wireless Photo Printer User Manual
Page 41
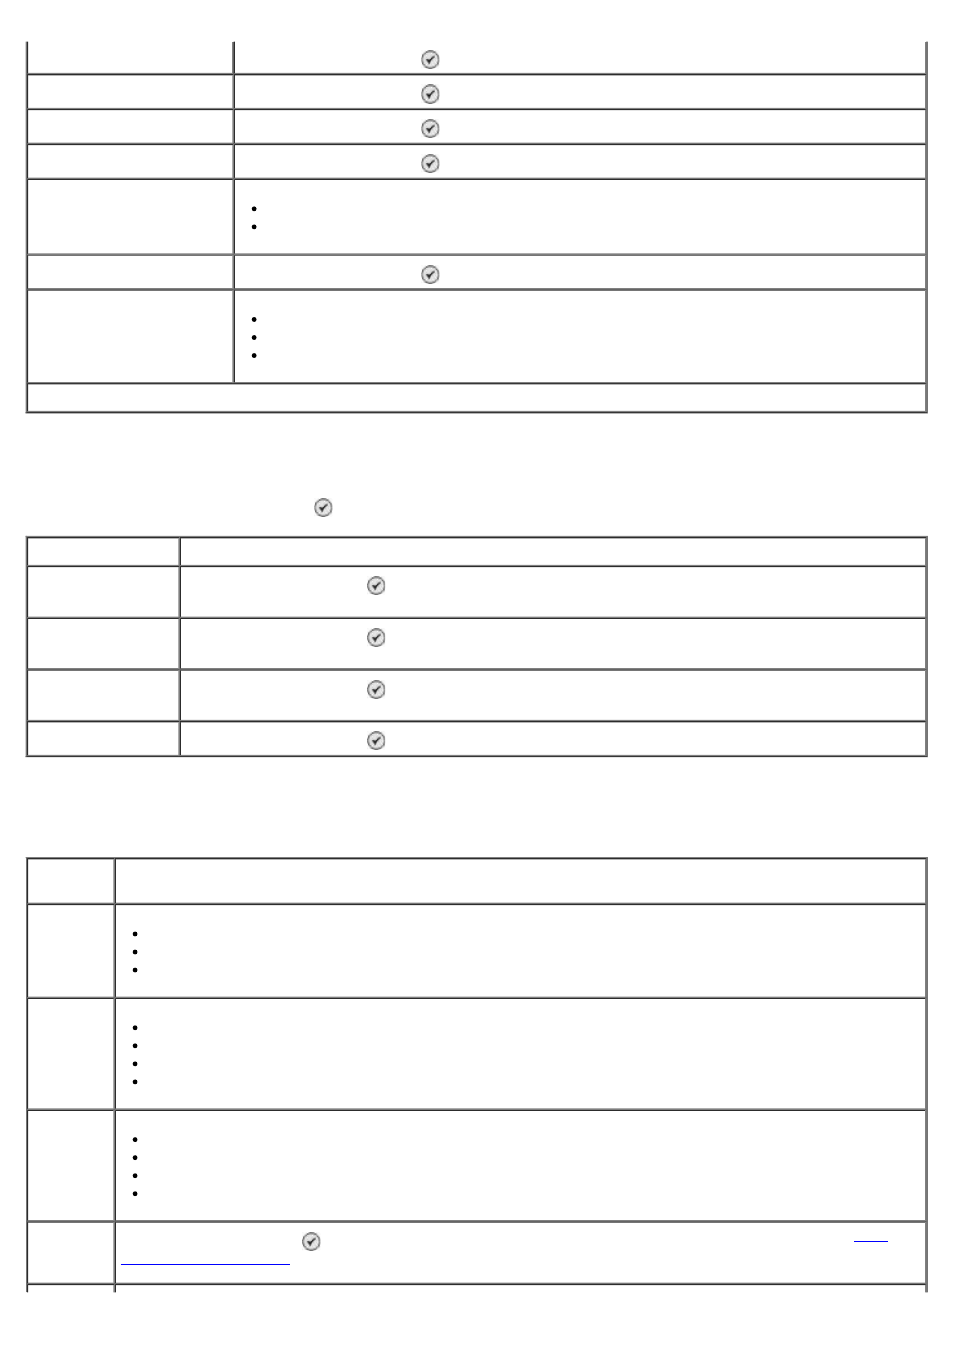
Fax History More Options Menu
You can access the Fax History More Options menu by highlighting one of the numbers shown on the Fax History
screen and pressing the Select button .
Ringing and Answering Menu
You can access the Ringing and Answering menu by selecting Ringing and Answering from the Fax Setup menu.
* Factory default settings
View History on Screen
Press the Select button to display the fax history on the screen.
Print Sent History
Press the Select button to print a history of sent faxes.
Print Received History
Press the Select button to print a history of received faxes.
View Pending Faxes
Press the Select button to display information about pending faxes on the screen.
Report
Manual Print*
Every 40 Jobs
Print Fax Activity History
Press the Select button to print a history of your fax activity.
Confirmation
Off
On Error*
For All
Menu item
Action
Redial This
Number
Press the Select button to enter the Fax Mode menu with the selected number displayed in the
Fax Number Window.
Add Number to
Phone Book
Press the Select button to enter the Phone Book: Add Entry menu with the fax number field
automatically populated with the current fax number.
Add Number to
Blocked Faxes
Press the Select button to enter the Blocked Fax: Add Entry menu with the fax number field
automatically populated with the current fax number.
Clear All History
Press the Select button to clear the fax activity log.
Menu
item
Action
Ring
Volume
Off
Low*
High
Pick-up
On
1st Ring
2nd Ring
3rd Ring*
5th Ring
Distinctive
Ring
Any Ring*
Single Ring
Double Ring
Triple Ring
Auto
Answer
Schedule
Press the Select button to enter the Auto Answer Schedule menu. For more information, see
.