Hard drives, Removing a hard drive – Dell PowerEdge SC1420 User Manual
Page 59
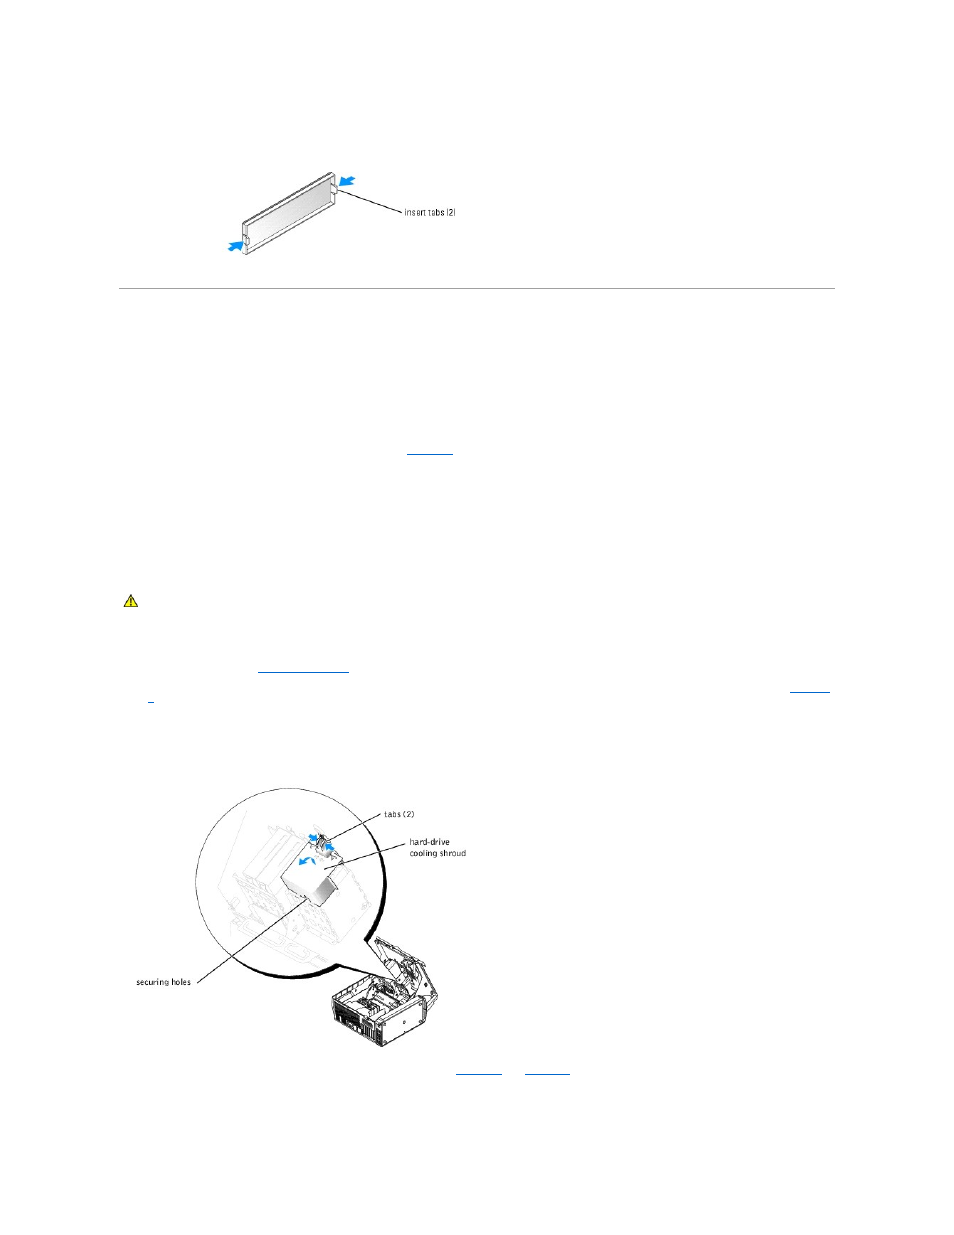
Figure 7-2. Removing Front-Panel Inserts
Hard Drives
Your system contains up to four SATA or SCSI non-hot-plug hard drives. The integrated SATA controller supports two SATA hard drives. If more than two SATA
drives are installed, they must be connected to an optional SATA controller card. If your system contains SCSI hard drives, they must be connected to an
optional SCSI controller card.
The fourth hard drive is installed in the 5.25-inch drive bay (see
) using an adapter. After installing the drive and adapter, the removing and installing
procedures are the same as the other hard drives.
The basic steps for removing and installing SATA and SCSI hard drives are the same.
Removing a Hard Drive
1.
Turn off the system and attached peripherals, and disconnect the system from the electrical outlet.
2.
Open the system. See "
Opening the System
" in "Troubleshooting Your System."
3.
4.
Remove the hard-drive cooling shroud from the system.
Figure 7-3. Removing or Installing the Hard-Drive Cooling Shroud
5.
Disconnect the power and interface cables from the hard drive. See
.
6.
Press in on the tabs on each side of the drive and slide the drive up and out of the drive bay.
CAUTION:
Only trained service technicians are authorized to open the system and access any of the components inside the system. See your
System Information Guide for complete information about safety precautions, working inside the computer, and protecting against electrostatic
discharge.