Changing node names and ip addresses, Changing a node name in a cluster – Dell Acceleration Appliances for Databases User Manual
Page 31
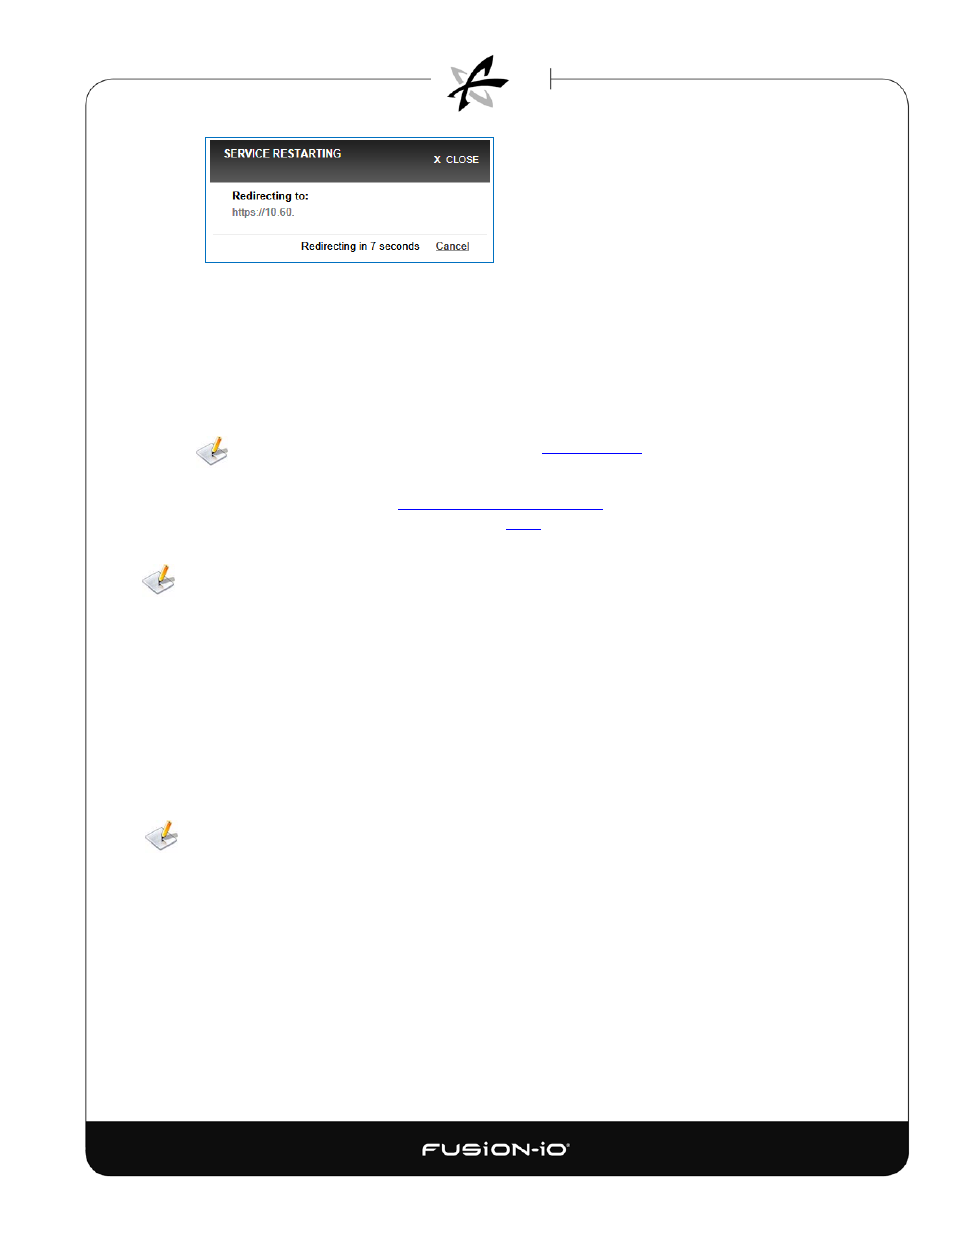
If the host name has changed, the service restarts, and the login process is initiated again.
After re-direction, the login dialog appears again.
6. Log in with the same username and password as before.
The software is now configured so you can begin to manage your ION Accelerator
appliance. The Overview screen appears, as shown in the Basic Tasks and Overview Tab
section.
For items not covered in the steps above, see
Remote Access
in the Configuring ION
Accelerator Settings section.
To change the admin password, see
Changing the Admin Password
in the Tabs Bar section.
For
details on managing admin and user passwords, see
Users
in the Configuring ION Accelerator
Settings section of this guide.
The admin account allows up to 10 concurrent sessions to run on the ION Accelerator appliance.
7. Once you are logged in to ION Accelerator, proceed to the ION Accelerator Appliance GUI
Guide for instructions on how to set up and manage your ioMemory storage.
CHANGING NODE NAMES AND IP ADDRESSES
This section explains how to change the names or IP addresses for ION Accelerator nodes once they
have been configured in the First Boot process. For details on using the
system:setup
command
referred to in this section, refer to the ION Accelerator CLI Reference.
Changing a Node Name in a Cluster
Changing a node name requires cluster downtime.
1. Ensure that both nodes are up.
2. Close all active sessions by disabling or disconnecting all target ports.
3. In the CLI, run
system:setup lan
to display the Setup dialog for LAN configuration.
4. Change the name of the node in the dialog.
5. Select OK and press Enter. Both nodes will restart, one at a time.
6. Repeat the previous two steps for the second node in the cluster.
31.41
24