Resizing an image – Casio EX-S500 User Manual
Page 123
123
PLAYBACK
Resizing an Image
You can resize a recorded image to either of the three
following sizes.
• 1600
× 1200 pixels (UXGA):
Best for print sizes 3.5˝
× 5˝ or smaller (More detail than
1280
Ч 960)
• 1280
Ч 960 pixels (SXGA):
Best for print sizes 3.5˝
× 5˝ or smaller
• 640
× 480 pixels (VGA):
Best for attachment to e-mail messages or incorporation
into Web pages
1.
In the PLAY mode, press [MENU].
2.
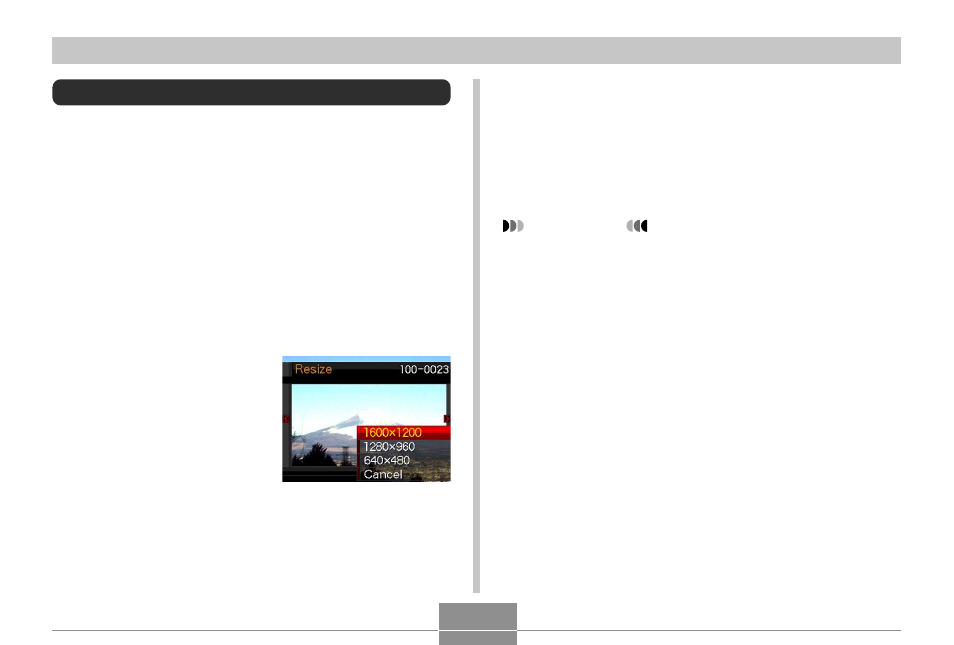
Select the “PLAY”
tab, select “Resize”,
and then press [
̈].
• Note that this operation is
possible only when a
snapshot image is on the
monitor screen.
3.
Use [
̇] and [̈] to scroll through images and
display the one you want to resize.
4.
Use [
̆] and [̄] to select the setting you
want, and then press [SET].
• To cancel the resize operation, select “Cancel”.
IMPORTANT!
• Resizing an image creates a new file that contains
the image in the size you select. The file with the
original image also remains in memory.
• Note that you cannot resize the following types of
images.
— 640
× 480 pixel and smaller images
— Movie images and the voice recording file icon
— Images created with MOTION PRINT
— Images recorded with another camera
• The resize operation cannot be performed when
there is not enough memory to store the resized
image.
• When you display a resized image on the camera’s
monitor screen, the date and time that appear when
the image is displayed indicate when the image was
originally recorded, not when the image was resized.