Connecting to a power source, Connecting to the console port – Cisco 2940 User Manual
Page 71
C-3
Catalyst 2940 Switch Hardware Installation Guide
OL-6157-01
Appendix C Configuring the Switch with the CLI-Based Setup Program
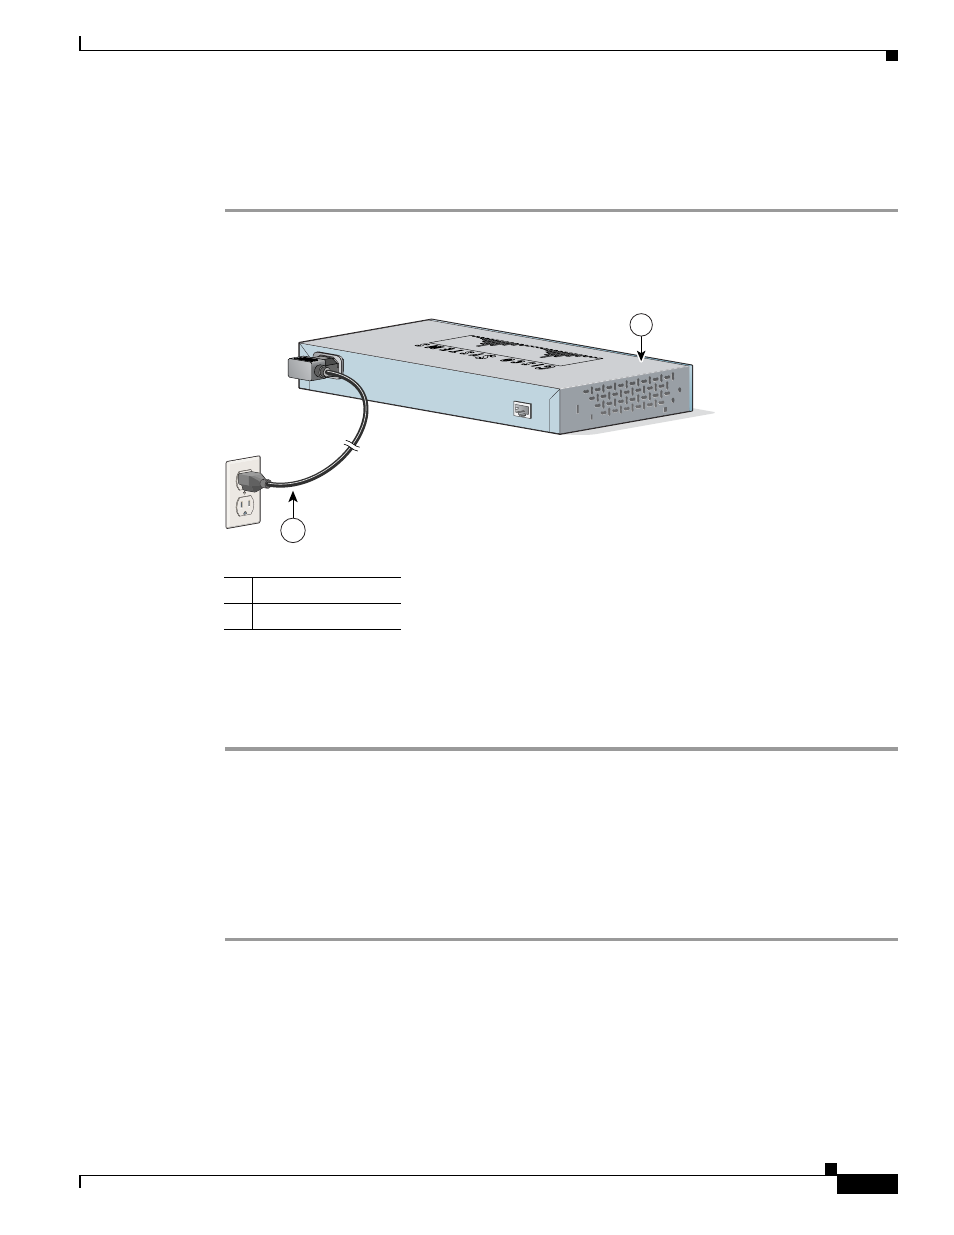
Connecting to a Power Source
Connecting to a Power Source
Follow these steps to connect to a power source:
Step 1
Connect one end of the supplied AC power cord to the power connector on the switch rear panel, as
shown in
Figure C-2
Connecting Switch to AC Power
Step 2
Connect the other end of the power cable to a grounded AC outlet.
As the switch powers on, it begins the power-on self-test (POST), a series of tests that run automatically
to ensure that the switch functions properly. If POST fails, see
to
determine a course of action.
Connecting to the Console Port
You can use the console port to perform the initial configuration. To connect the switch console port to
a PC, use the supplied RJ-45-to-DB-9 adapter cable.
Follow these steps to connect the PC or terminal to the switch:
Step 1
Using the supplied RJ-45-to-DB-9 adapter cable, insert the RJ-45 connector into the console port on the
rear of a switch, as shown in
.
1
Switch
2
AC power cord
89891
1
2