Testing your collar – Dogtra 2500B Series User Manual
Page 17
30
TESTING
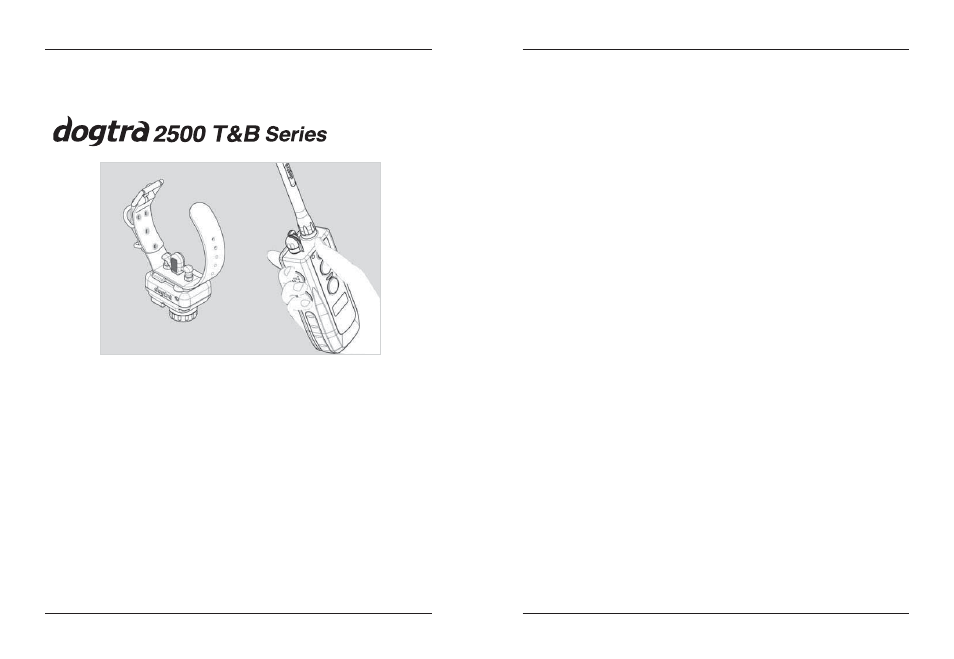
1. To activate the receiver/collar, place the red
dot on the back of the transmitter to the red
dot on the collar/receiver. Hold the two red
dots together for a moment until the LED
light on the receiver/collar comes on. The
indicator light will come on for a moment
then blink once every 4 seconds, showing
that the collar is ready to use. (If the
indicator light is red, or if there is only 1 bar
showing on the battery icon on the LCD
transmitter screen, the unit needs to be
charged.)
TESTING YOUR
COLLAR
31
TESTING
2. Place the test light, included in the package
contents, on the contact points as shown in the
diagram.
3. Turn the transmitter on by pressing the blue
button on the right side of the transmitter until
the LCD screen illuminates. The LCD screen
shows the amount of battery life remaining
and the LED blinks once every 4 seconds.
4. Watch the test light as you push the “Nick”
button on the transmitter. It should light for
just a moment. The higher the intensity, the
brighter the test light will be.
5. Watch the test light as you push the
“Constant” button on the transmitter. It should
light for as long as the button is pressed.
However, as a safety feature, the
collar/receiver will automatically stop
stimulation if the constant button is depressed
for 12 seconds or longer.
6. Turn the Rheostat Intensity Dial on the
transmitter clockwise and then
counterclockwise. The test light should glow
brighter with higher levels of stimulation and
dimmer with lower levels. When you change
the intensity dial, the number on the LCD
screen will change as well.