Scan settings, Scan to menu, Scan to user folder – Compaq Printer A1500 User Manual
Page 32: Scan to email, Scan to applications
28
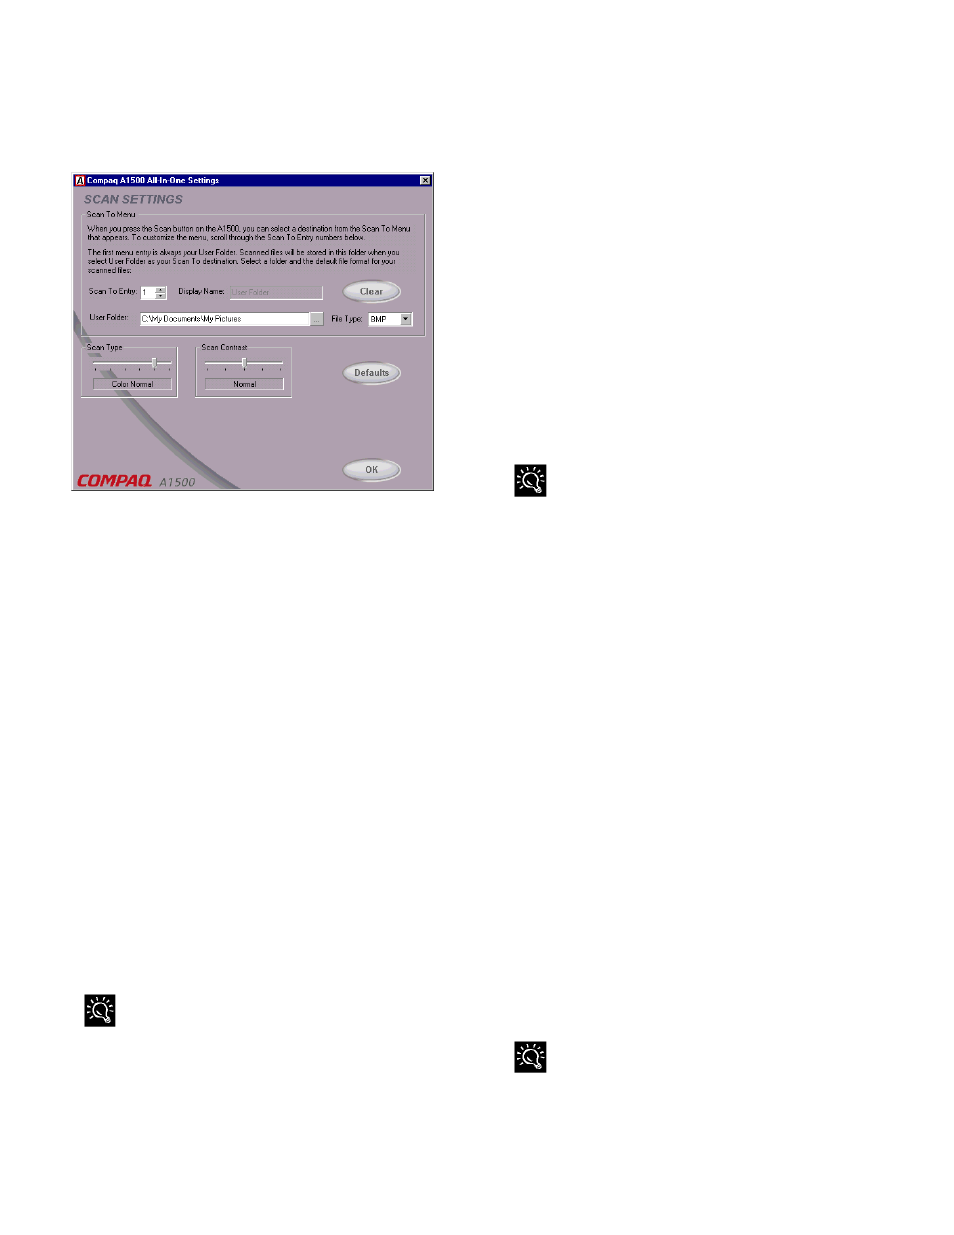
Scan Settings
The Scan Settings window controls the scan type and
contrast and the Scan To list.
Scan Settings Window
Scan To Menu
When you press the Scan button on the A1500, a Scan
To menu appears on the LCD display panel. The first
two menu entries are User Folder and Email. You can
add up to 12 additional menu options for your favorite
applications.
Scan To User Folder
The first menu entry is always the User Folder.
The User Folder is where your scanned pictures are
stored after you scan them. Once scanned, they will be
given the filename of Month-Day-###.ext, such as
Aug-05-002.JPG.
By default, the User Folder is set to My Pictures, which
is usually located in your My Documents folder. You
can change this to any folder you wish. Type in the
new folder name, or press the […] button to browse for
an existing folder.
Images can be stored in one of three popular file types
(Windows bitmap BMP, TIFF, or JPEG), or one of
two text formats (ASCII Text TXT, or Rich Text
Format RTF). Select a default file type.
You can change the file format each time you scan. Press the
Menu button after pressing the Scan button and choose a new
file type.
Scan To Email
The second Scan To menu entry is always Email. To
scan to email, you must have an internet account and
connection, a valid email address, and an email
program that supports MAPI (such as Microsoft
Outlook, Outlook Express, Eudora, etc).
By default, the TXT file format is used for Emails.
Your documents will be scanned, converted by
ReadIRIS, and then placed into the body of your email
message.
You can select a different default file type, or change
the file type when you scan. Your scanned files will be
attached to the email message.
Once scanned, your email program will be run. You
can then select recipients from your email address
book, add a subject, and type a message. Be sure and
read over any scanned text to verify its accuracy.
To automatically send faxes as emails without any user
interaction, see the Fax Speed Send section.
Scan To Applications
Once an image is scanned, the A1500 can launch your
favorite image processing applications. You can define
up to twelve (12) additional Scan To applications,
numbered 3 to 14.
Scan To Entry
To store an entry, first select the number you wish to
assign to that entry. The numbers do not have to be
sequential. Pick numbers that are meaningful to you.
Display Name
Once you’ve chosen a number, give the entry a name.
This name can be up to 14 characters, and will be
displayed on the A1500 LCD panel.
Application
Type the path of the application program you want to
use to edit or view the scanned image. To browse for a
program, click on the […] browse button.
File Type
Select a file type that is compatible with the program.
For graphics programs, choose one of the graphics file
formats (BMP, TIFF, or JPG). For text or word
processing programs, choose TXT or RTF. .
ReadIRIS must be installed to convert your scanned files into
the text (TXT) or word processing (RTF) formats. ReadIRIS is
normally installed as part of the A1500 software installation.