Changing print cartridges, Changing print cartridges using your computer, Changing print cartridges using the a1500 – Compaq Printer A1500 User Manual
Page 20
16
Changing Print Cartridges
!
CAUTION: When changing cartridges, avoid touching the motor
located in the front right corner load area, as it can be hot.
The system can keep track of the ink level in each of the
three cartridge types: black, color, and photo. When you
tell the system that a new cartridge has been installed, the
ink level for that cartridge type is set back to full.
If you tell the system that you are installing an old
cartridge, the ink level for that cartridge type is not reset.
This allows exchanging the black and photo cartridge as
required while maintaining the ink level for both. You can
also use the old selection when you take a cartridge out
for cleaning. For more information, see the “Cleaning
Print Cartridges” section in this chapter.
Changing Print Cartridges using your
Computer
1. Access the Compaq A1500 Printer Control
Program by right-clicking the A1500 Monitor icon
in your system tray, or by clicking
Start Program Compaq A1500 All-In-
One Compaq A1500 Control Program.
2. Select the Cartridges tab.
3. Click the Install/Change Cartridges button.
4. Lift the control panel by pulling toward you on the
edge nearest the LCD display.
5. Lift the cartridge access door.
6. Replace/install the selected cartridge.
7. Close the cartridge access door.
8. Close the control panel. Press firmly on the top
center of the control panel until it snaps into place.
9. Click the button that indicates which cartridge is
being installed. If it is a new cartridge, be sure to
verify that the correct type is selected: standard or
high yield.
10. Installing new cartridges requires an alignment
check and an alignment pattern will automatically
print. Go to step 4 of “Aligning Print Cartridges
from the Computer” in this chapter.
11. When re-installing old cartridges, the alignment
procedure is optional.
Changing Print Cartridges using the A1500
1. Lift the front control panel by pulling toward you
on the edge nearest the LCD display.
2. Lift the cartridge access door. Replace/install the
selected cartridge. Install the color cartridge in the
left position, and the black or photo cartridge in the
right position.
3. Close the cartridge access door and the control
panel. Press firmly on the top center of the control
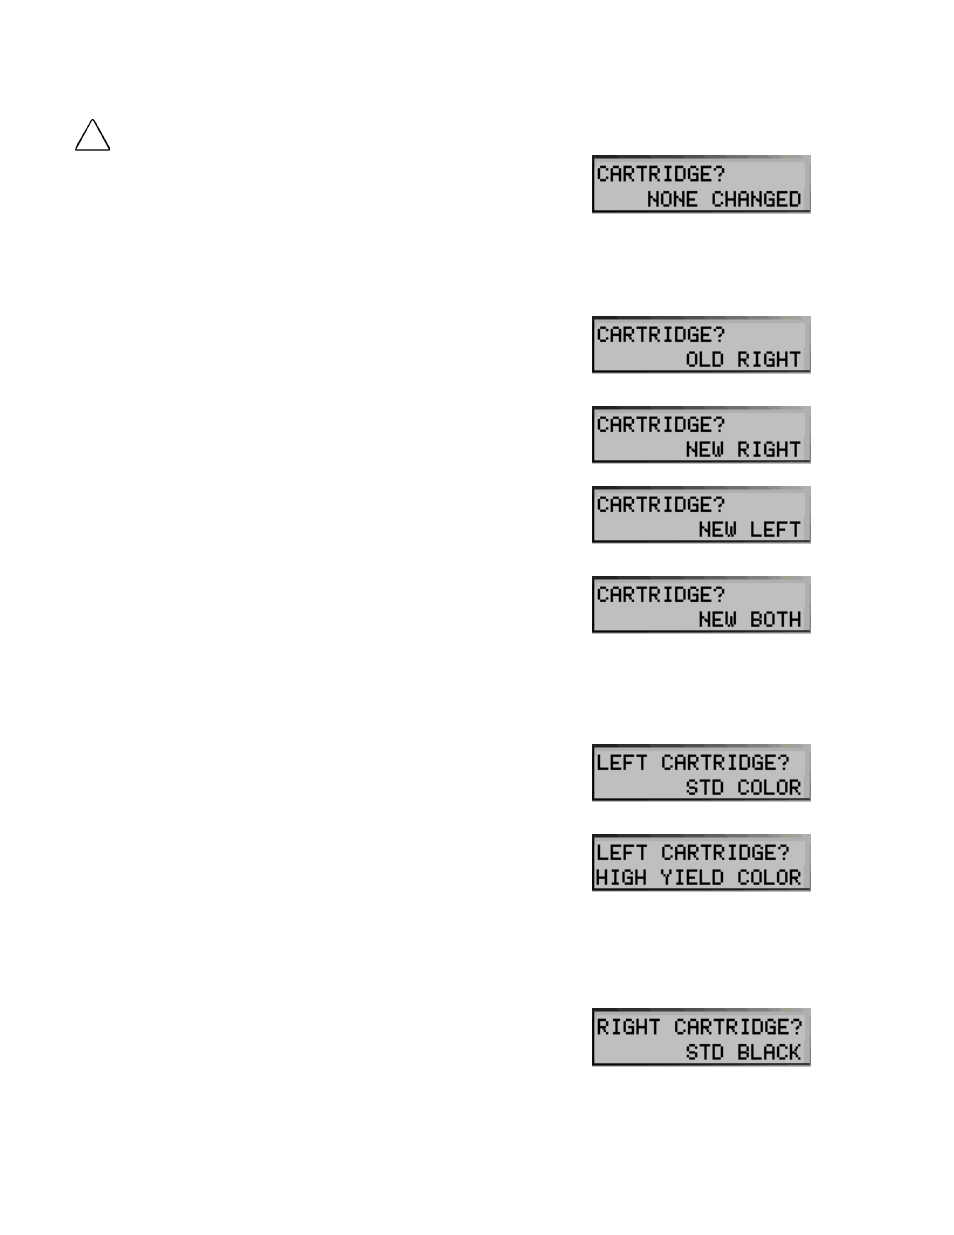
panel until it snaps into place. The LCD panel
displays the following message:
4. Press Start if you did not change any cartridges. If
you changed a cartridge, press the Options button
until the correct answer displays on the LCD
panel. Press Start.
5. If you select New Left or New Both cartridges in
Step 4, press the Options button until the correct
answer displays on the LCD panel. Press Start.
6. If you select New Right or New Both cartridges in
Step 4, press the Options button until the correct
answer displays on the LCD panel. Press Start.