OSRAM SYLVANIA LEDstixx User Manual
Page 4
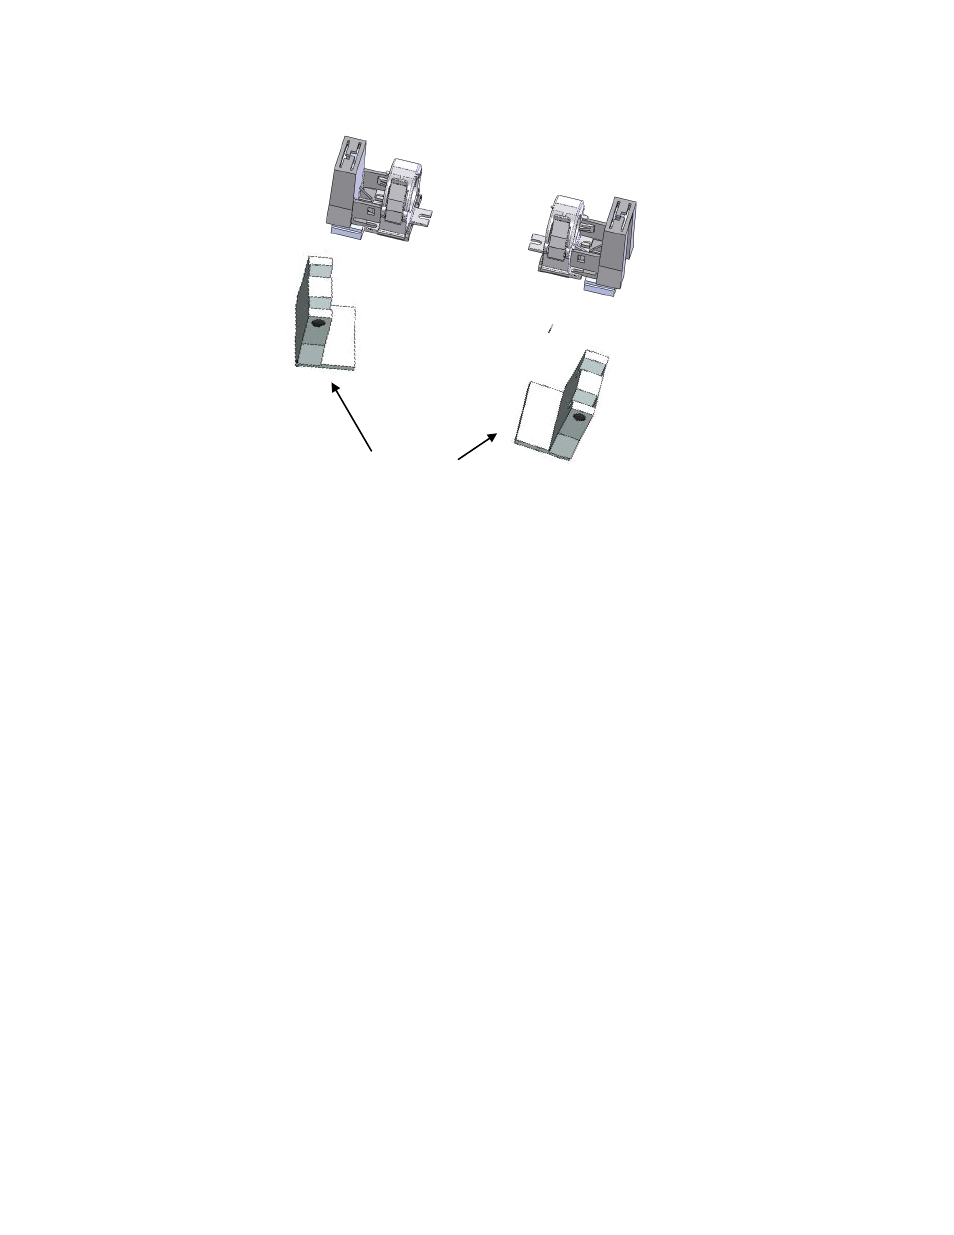
1.5.3 The fixture includes two Mounting Brackets (Figure B), one per each end.
Attach one to each end of the fixture with the screw slots facing outwards.
Be sure they are attached such that the screw slots face outwards and such
that the side of the Mounting Bracket with larger inside diameter opening
faces the LEDstixx fixture body. The release clip on the Mounting Bracket
allows for opening up the bracket to install the fixture body and for
rotational aiming of the fixture body after it is installed.
1.5.4 Mark mounting hole locations.
1.5.5 Secure each Mounting Bracket to the horizontal surface of the refrigerated
case using two self tapping 3mm screws in each bracket.
1.5.6 Install the LEDstixx Canopy fixture body into the Mounting Brackets such that
the arrows on the back of the ends of the fixture body point into the case
when mounted up against the underside of the canopy. The angled reflector
surface of the fixture should face into the refrigerated case. See Figures D
and F.
1.5.7 Close the release clip on the left side Mounting Bracket.
1.5.8 Rotate LEDstixx Canopy fixture body for aiming.
1.5.9 Close the release clip on the right side Mounting Bracket to lock fixture in
place. The Release Clip and be opened later for future aiming once units are
energized.
1.5.10 The LEDstixx Canopy fixture is rotatable in 2.5° increments. If the fixture
body needs to be aimed, open the right side release clip, rotate the fixture
body, and snap the release clip closed to secure the fixture in the desired
position.
Figure C
Existing
Tombstone
s