Steering servo and linkage installation – E-flite F-86 Sabre 15 DF ARF User Manual
Page 26
26
E-flite F-86 Sabre 15 DF ARF Assembly Manual
During manufacturing the end of the nose gear wire
may be slightly enlarged due to cutting. If this happens
use a file to reduce the diameter of the end of the
wire so that it slides smoothly through the bushings.
9. Slide the steering bellcrank on the nose gear
wire from inside the fuselage. Use a 1.5mm hex
wrench and 3mm x 3mm setscrew to secure the
steering arm to the nose gear wire. The nose gear
wire will fit flush at the top of the steering arm. The
setscrew will tighten onto the flat spot of the nose
gear that can be seen in the photo in Step 6. Make
sure to use threadlock on the setscrew to prevent
it from vibrating loose. Tighten the collar on the
bottom so the nose gear turns freely but will not
slide up and down on the bushing.
Check to make sure the nose gear wire
can move freely so the steering servo is not
overloaded when trying to steer your aircraft.
Steering Servo and
Linkage Installation
Required Parts
Assembled airframe Steering linkage
Transmitter
Receiver
Steering servo
Servo mount
Servo mounting strap
Nose gear pushrod wire, 7
7
/
8
-inch (200mm)
2.5mm x 10mm sheet metal screw (4)
Required Tools and Adhesives
Pin vise
Drill bit: 5/64-inch (2mm)
6-minute epoxy
Mixing stick
Sandpaper
Felt-tipped pen
Mixing cup
Phillips screwdriver: #1
1. Insert the Z-bend for the nose gear pushrod wire
into the steering bellcrank.
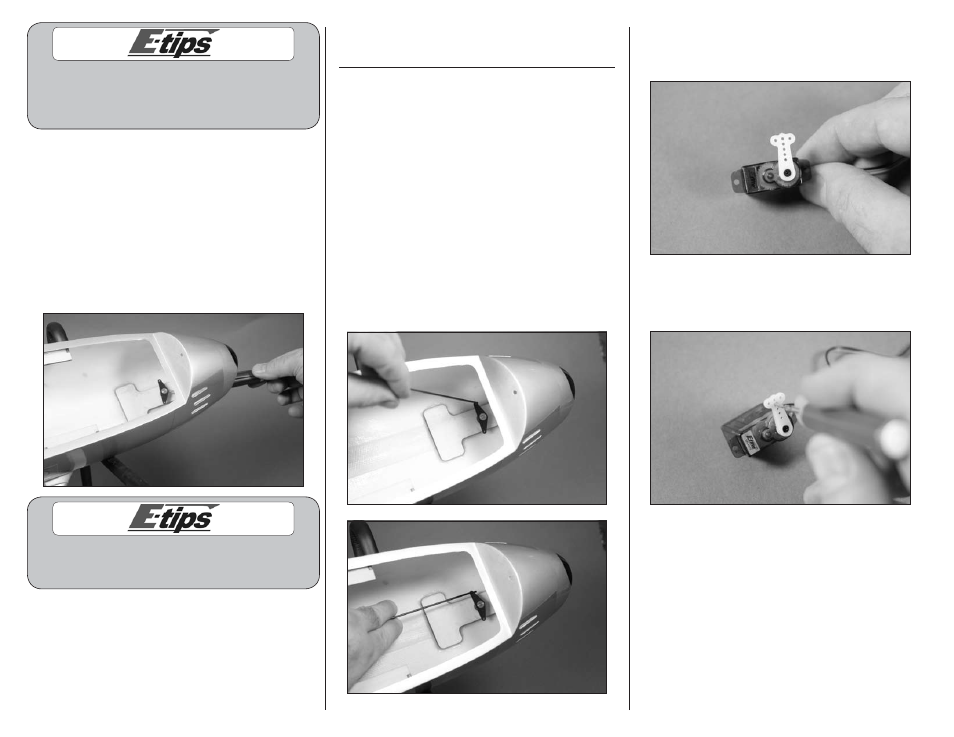
2. Use the radio system to center the steering servo.
Note the direction of the servo arm in relationship
to the servo.
3. Use a pin vise and 5/64-inch (2mm) drill bit to
enlarge the hole in the servo arm that is four holes
away from the center of the servo arm as shown.