Radio installation – E-flite T-34 Mentor 25e ARF User Manual
Page 6
6
E-flite T-34 Mentor 25e ARF Assembly Manual
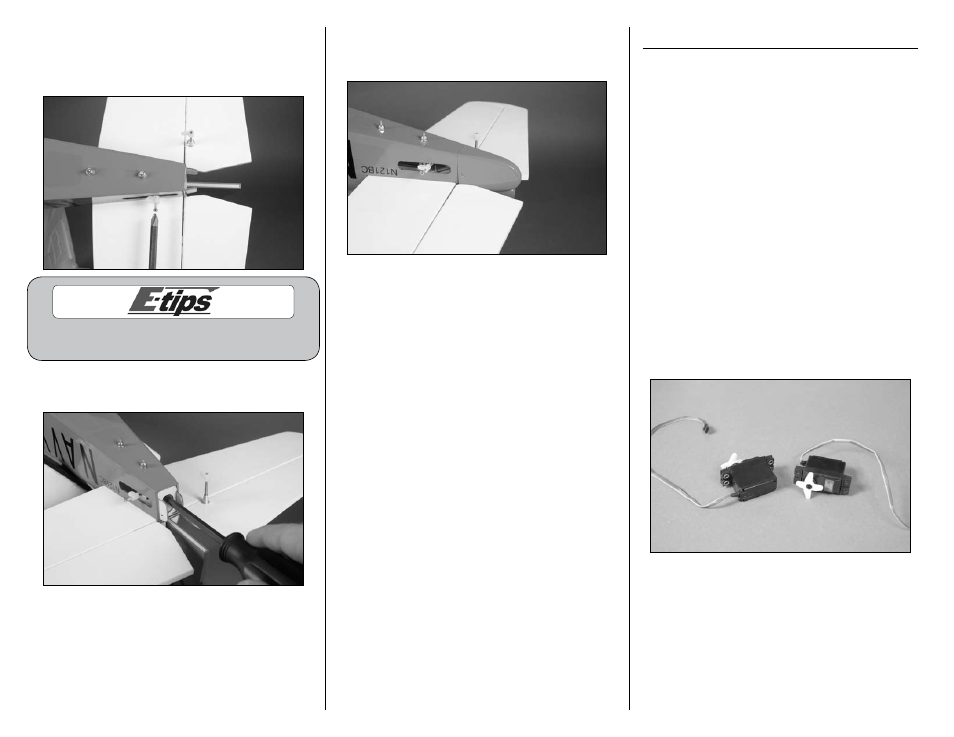
11. Use a #1 Phillips screwdriver to tighten the
control horn screw. Reposition the nylon control
horn if necessary so it faces the front of the
fuselage so the rudder pushrod can be connected.
Always use threadlock on metal-to-metal fasteners
to prevent them from vibrating loose.
12. Tighten the black screw using a #1 Phillips
screwdriver.
13. Use a #1 Phillips screwdriver to install the two
#2 x 1/2-inch self-tapping screws that secure the
aft tail cone to the rear of the fuselage.
Radio Installation
Required Parts
Fuselage assembly Servo with hardware (2)
Receiver
Y-harness
HD servo horn
Hook and loop tape
Elevator pushrod wire, 23
1
/
4
-inch (590mm)
Rudder pushrod wire, 22
7
/
8
-inch (581mm)
Pushrod keeper
Nylon clevis (2)
Silicone keepers (2) Plywood servo plate (2)
Radio system
Brass pushrod connector
Nylon pushrod connector backplate
Required Tools and Adhesives
Pliers
Phillips screwdriver: #1
Thin CA
Pin vise
Medium CA
Drill bit: 5/64-inch (2mm)
1. Prepare the rudder and elevator servos by
installing the grommets and brass eyelets as shown.