Fixed flap installation – E-flite T-34 Mentor 25e ARF User Manual
Page 16
16
E-flite T-34 Mentor 25e ARF Assembly Manual
9. Slide a silicone keeper on the clevis, then thread
the clevis on the linkage wire. With the aileron
servo centered, attach the clevis to a hole on the
servo horn that is 1/2-inch (13mm) from the center
of the horn. Adjust the linkage so the aileron is
aligned with the wing tip when the aileron servo is
centered.
10. Repeat Steps 1 through 9 to install the
remaining aileron servo and linkage.
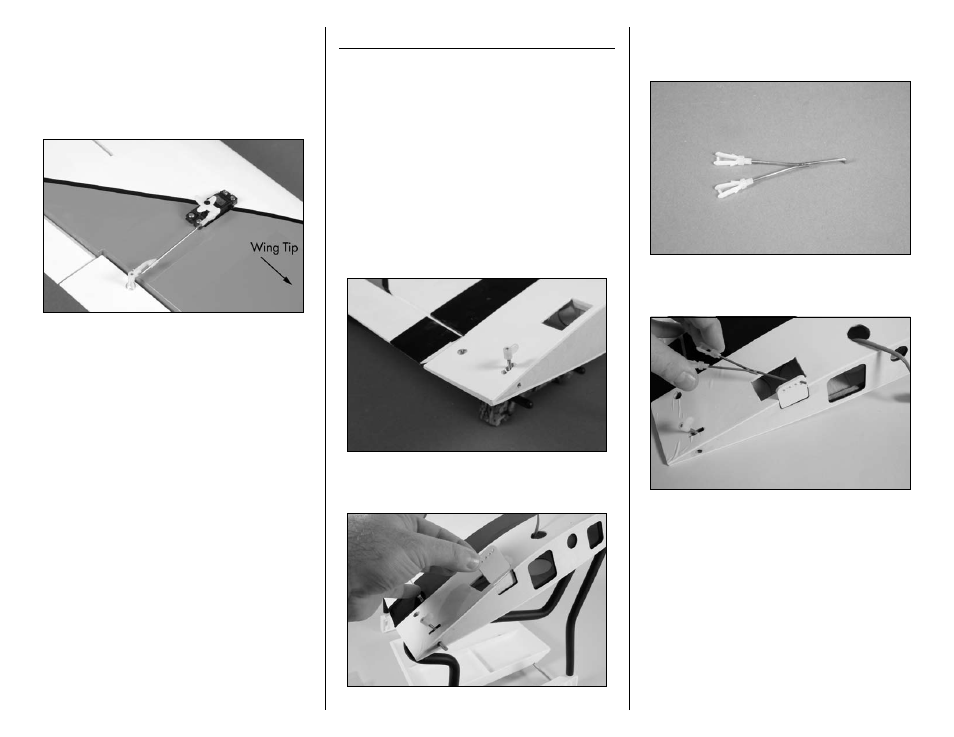
Fixed Flap Installation
Required Parts
Wing panel (left)
Nylon control horn
Flap linkage
Nylon clevis (2)
Silicone keeper (2) Flap stay
Required Tools and Adhesives
Medium CA
Note: If you are installing the operational
flaps you can skip this section of the manual.
1. Thread the control horn on the flap linkage.
The top of the horn will be flush with the top of the
threads as shown.
2. Use medium CA to attach the flap stay in the
notch in the root of the right wing panel.
3. Slide on two silicone keepers and thread the
two nylon clevises on the flap linkage. Thread each
clevis 10 turns as a start.
4. Insert the flap linkage in the forward hole in the
flap stay as shown.