Final assembly, Control throws – E-flite T-34 Mentor 25e ARF User Manual
Page 21
21
E-flite T-34 Mentor 25e ARF Assembly Manual
Final Assembly
Required Parts
Fuselage assembly Wing assembly
Canopy hatch
Nylon wing bolt (2)
Required Tools and Adhesives
Flat blade screwdriver
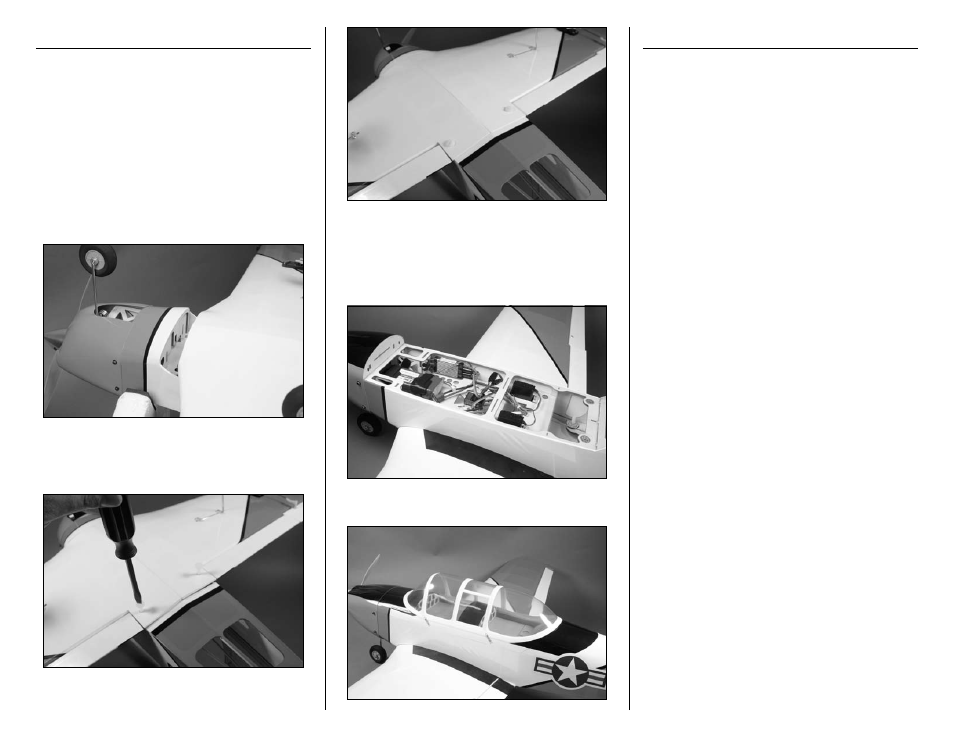
1. Position the wing on the bottom of the fuselage.
Slide the wing forward so the tab on the front of
the wing goes into the slot at the front of the wing
saddle. Check to make sure the wires from the
wing are inside the fuselage.
2. Use two nylon wing bolts to secure the wing to
the fuselage. Use a flat blade screwdriver to tighten
the wing bolts.
3. Connect the wires from the aileron servos to the
Y-harness plugged into the AIL port of the receiver.
If you installed operating flaps, plug the lead from
the flap servo into the appropriate channel of your
receiver.
4. Place the canopy hatch back on the fuselage.
Control Throws
1. Turn on the transmitter and receiver of your
model. Check the movement of the rudder using
the transmitter. When the stick is moved right,
the rudder should also move right. Reverse the
direction of the servo at the transmitter if necessary.
2. Check the movement of the elevator with the
radio system. Moving the elevator stick toward the
bottom of the transmitter will make the airplane
elevator move up.
3. Check the movement of the ailerons with the
radio system. Moving the aileron stick right will
make the right aileron move up and the left aileron
move down.
4. Use a ruler to adjust the throw of the elevator,
ailerons and rudder.